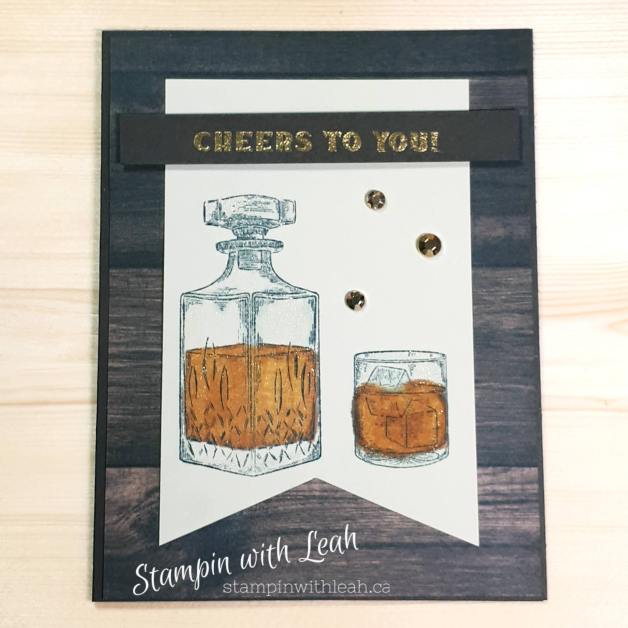
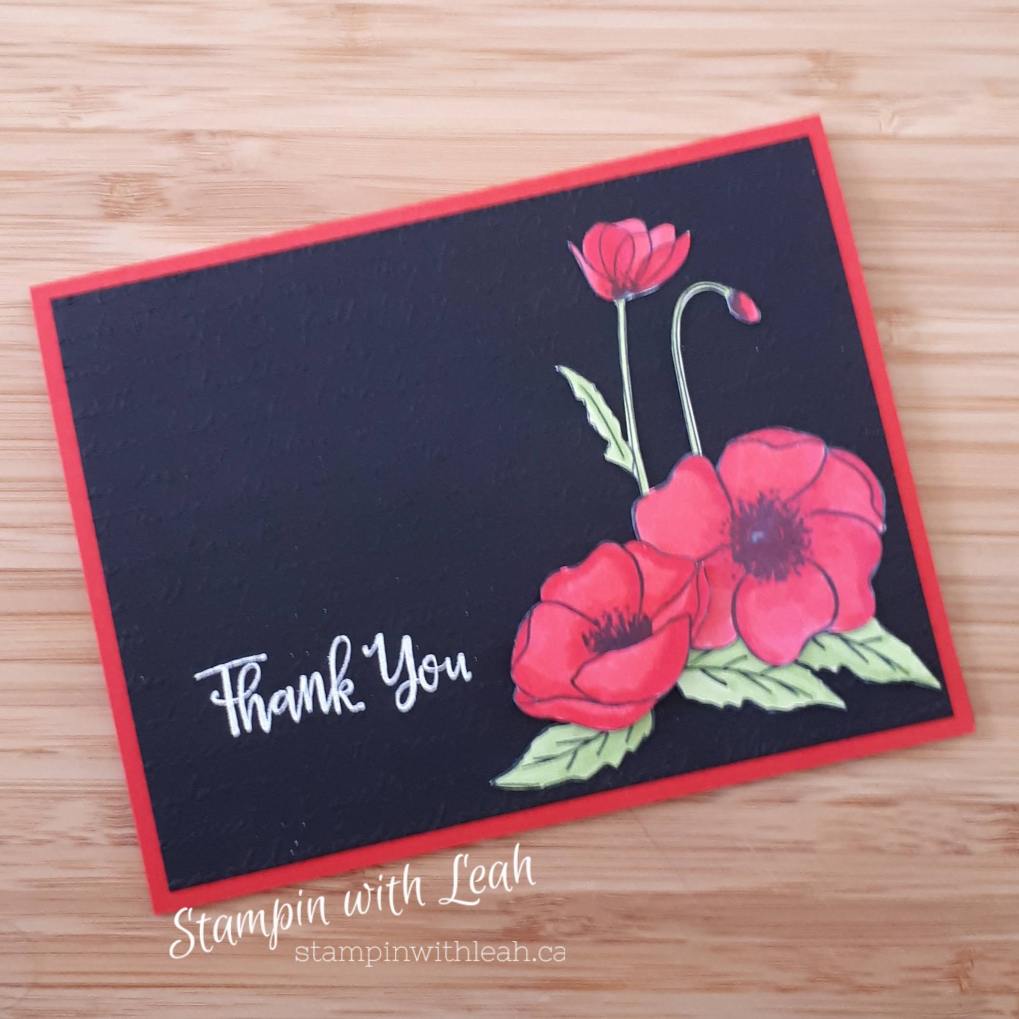
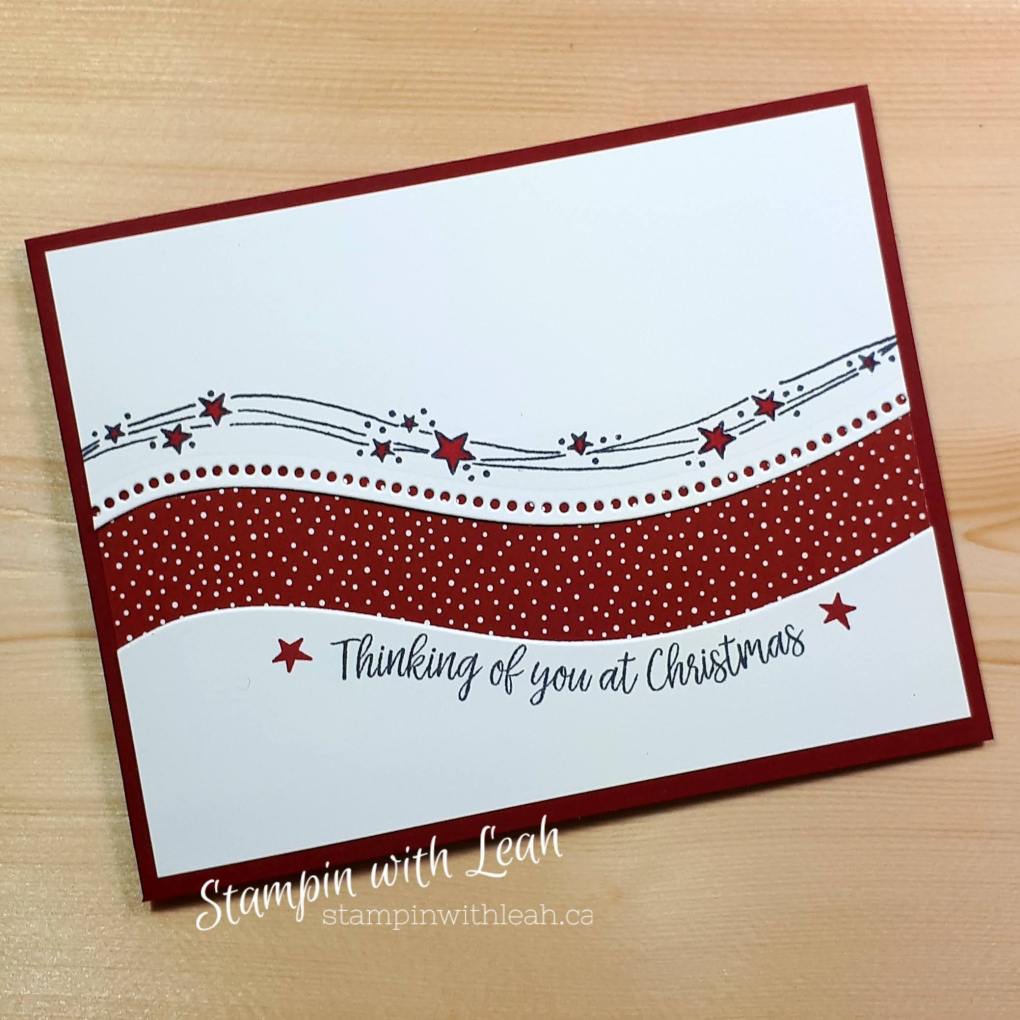
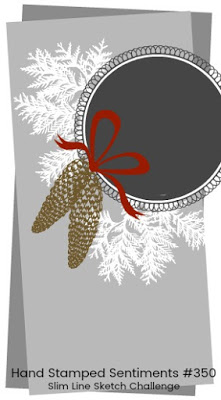
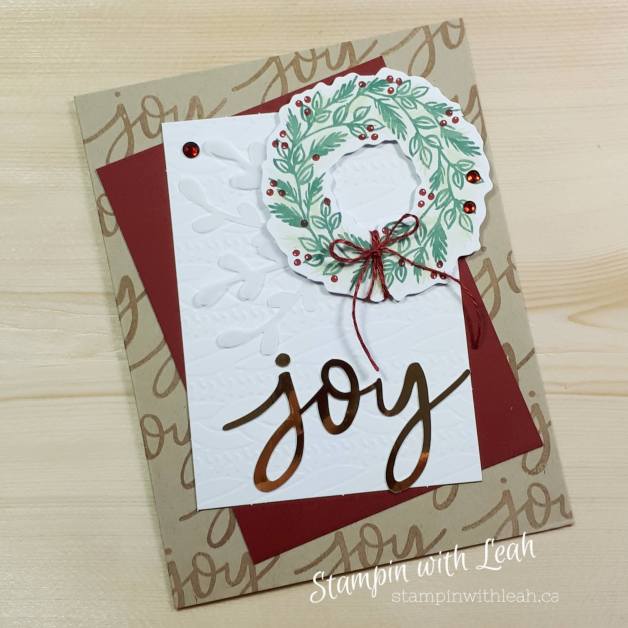
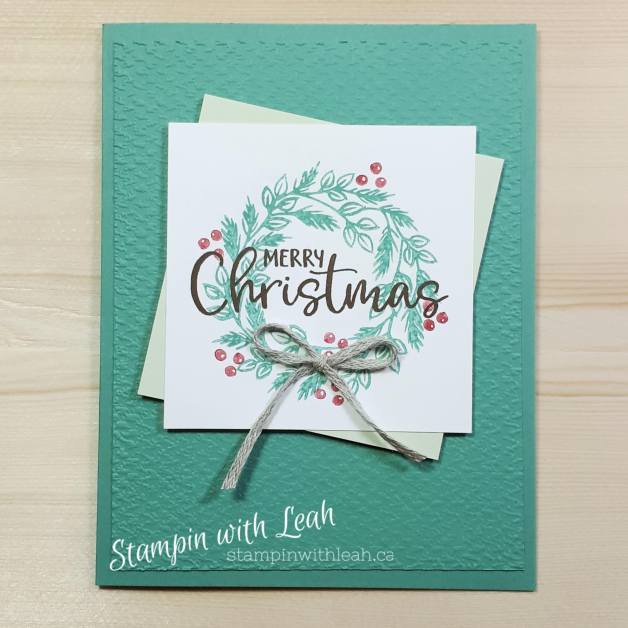
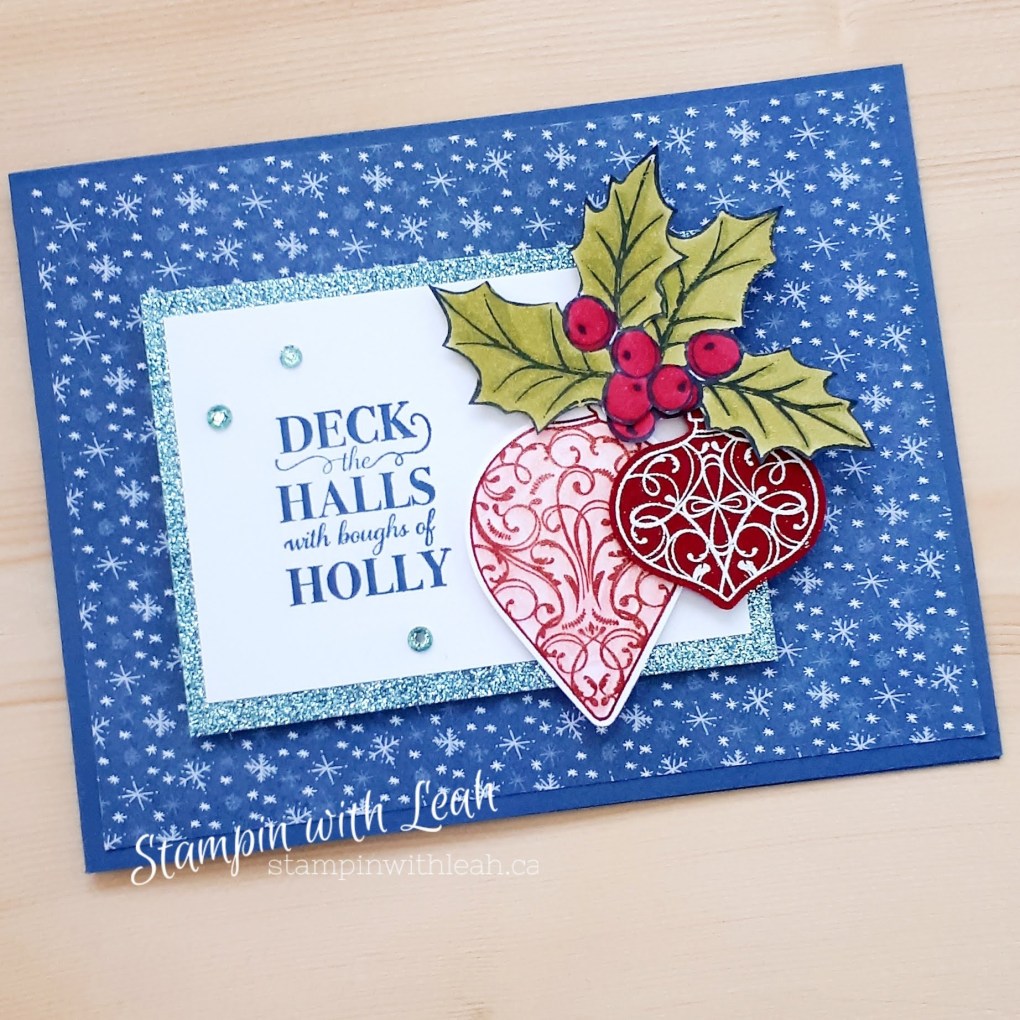
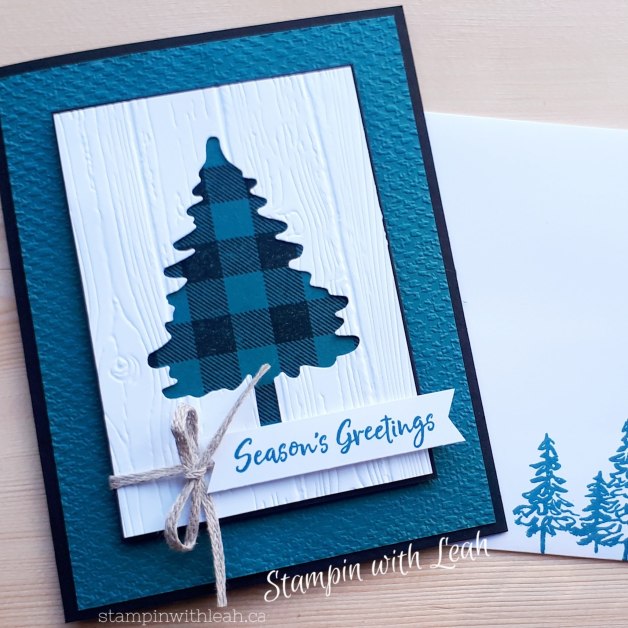
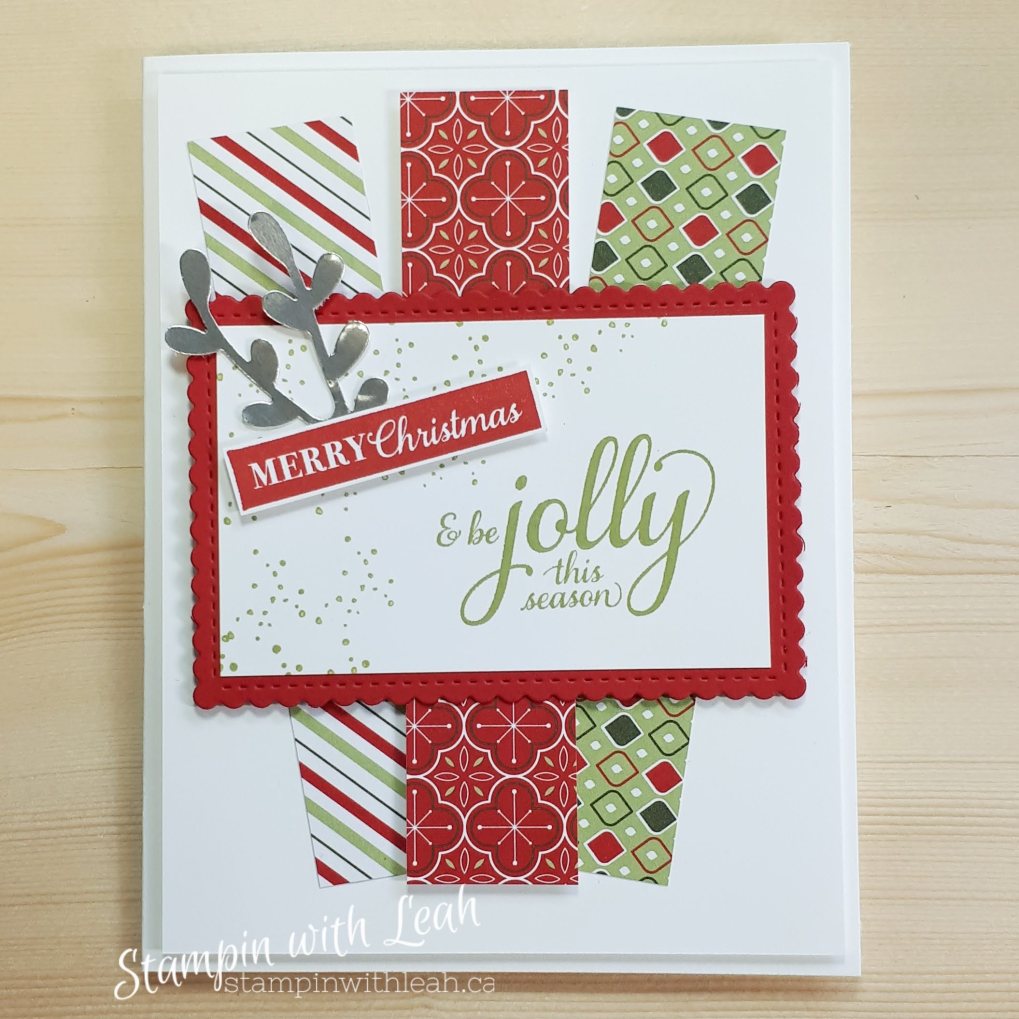
Today’s card was created with the colour challenge from Handstamped Sentiments in mind. I also wanted to highlight some of the soon to be retiring product and some items that are on sale right now. The list is huge right now! Here is a visual pdf or go to my last blog entry for clickable images.
I love these ornaments and how quickly you can create beautiful images. Using the Wink of Stella to carry the ink colour also creates some amazing looking ornaments.
For the visual people in the group here are links to all the retiring product – remember the discounted prices won’t go into efffect until Dec 8th! Please also note that not all of these products will be on sale – but ALL of them are retiring and will no longer be available after Jan 4th. *Bundles may include some/all products that are not retiring; however the items will no longer be available in the 10% discount bundle format.
I will also be doing a Facebook live Sunday Dec 6th at 10am and going through the catalogue to show all the retiring items. Grab your Holiday Catalogue, a highlighter, pen and a paper for your wishlist.
I’ll be placing an order on Dec 8th (to insure I don’t miss out on any deals). You can contact me before then to save on shipping or place an online order using the host code: UH6R3FVD (this host code will be valid until Dec 30th)
I had a good time this morning creating some cards for a private online class. This card was created using the sketch from Freshly Made Sketches (#FMS463).
I have been not feeling well, and generally blue about Covid Christmas, but this card brought me a lot of joy. This layout was quick, simple and fun holiday card. Just about ready to mail out all my cards!
I am moving into full Christmas card mode as I get ready to send out a handmade holiday greeting to all of my students at school, my co-workers, friends, and family. I do have a number of Whiskey lovers in my family – so this stamp set was a MUST for birthdays, Father’s Day and now of course – Christmas. Maybe I can even find a way to make a Valentine’s card with this set. Hmmm…
Anyways, you can see how I made this card in my You Tube video below or on my FB page.
Here is a close up view of the Wink of Stella on the glass and decanter. Such a great touch!
If you love this card – you can contact me to purchase it, or you can grab all the supplies you need to make your own fabulous handmade holiday cards.
If you follow my blog or Facebook page you will know that i am a HUGE fan of using sketches to design. Today’s card was made using a sketch from Freshly Made Sketches. I wanted to add details, but still keep it simple. I think the detail that makes this card is the wink of stella added to the decanter and glass. I just love how it adds a shine to everything it touches!!
The dimensions for this card are standard base (8.5″X5.5″, scored at 4.25″) then a layer of DSP ( 5-3/8″ X 4-1/8″). The banner is 3″ by 4.5″. To make the v at the bottom I marked aspot that was 1.5″ across and .75″ up the banner and then used snips to cut tot he point. The whiskey itself was created by highlighting with light Cinnamon Cider blends and then blending it with light Mango melody blends.
This week I will be spending a lot of time chatting with my Grade 2/3 class about Remembrance Day, planting our own Poppies in our school garden and we will be creating our own Poppy art in class. So I thought I’d spend my Stampin’ week focussing on Stampin’ Up!’s gorgeous Painted Poppies set. Today’s card is created using the Painted Poppies stamp set and a lot of fussy cutting (there are dies available- I just wanted a closer cut).I also heat embossed and then dry embossed the background.
If you want to get your own supplies to create this card ( and many others – check out my FB page for more samples this week) you can simply click the product images below.
I’m so excited to be designing with some exclusive products today. This card is a case from the very talented Jan Clothier. I loved how with minimal effort she created a very beautiful card.
The stamp set being used will be available to customers on November 3rd. It is the Curvy Christmas Stamp Set (155364). It will also be available at a discount as part of the Quite Curvy Variety Bundle. If you absolutely can’t wait to get your hands on it you can grab a starter kit and include this in your product choices.
For all the details on how this card was created you can watch my You Tube video below. Enjoy!
Here is a listing of the non-bundle items I used. Contact me directly to order the bundle ( or wait until November 3rd to grab it your self).
Another way to get your hands on this Bundle is if you live in Canada and sign up for the Curvy Celebrations Stamp Camp I am offering with Marika LaForge. Make sure to RSVP by November 4th so we can send you all of your supplies on time.
I have two more Paper pumpkin Alternatives for you today. The first one was inspired by the Hand Stamped Sentiments Sketch Challenge #350. (#HSSSC350)
I added a Crumb Cake cardstock base and stamped Joy using Crumb cake ink all over the background. Then I layered a Cherry Cobbler cardstock piece that was the same size as the larger white embossed piece from the Paper Pumpkin kit ( which was the next layer). Finally I added some vellum cardstock sprigs, the wreath from the kit, the gold foil “Joy” from the kit and some Holiday Rhinestones.
My last alternative for today was a take on an alternative presented in the kit.
I used a piece of Just Jade cardstock. 8.5″ X 5.5″ ( scored at 4.25″) and then I embossed another layer of Just Jade cardstock (4″X 5.25″) using the Tasteful Textiles embossing folder. Next I stamped the wreath image using Just Jade (stamped off) and Cherry Cobbler berries ( stamped off) on a 3″X3″ piece of Whisper White cardstock. Then I stamped the sentiment using Early Espresso ink. I layered the wreath on a tilted piece of Soft Seafoam cardstock ( 3″X 3″). I attached those pieces to the card base using dimensionals. Finally I tied a bow using Braided Linen Trim and attached it to the wreath using a mini dimensional.
I hope you enjoyed these Paper Pumpkin alternatives.
If you missed out on the October kit – make sure to grab the November Jolly Gingerbread kit. You can order yours by clicking the image below. You have until Nov. 10, 2020 to get this kit!
It looks so fun and who doesn’t need gift card holders for this upcoming holiday season. The pieces can also be used to create gift tags or as card candy.