Pastel Birthday Card for the Global Design Project Colour Challenge (#GDP489)!

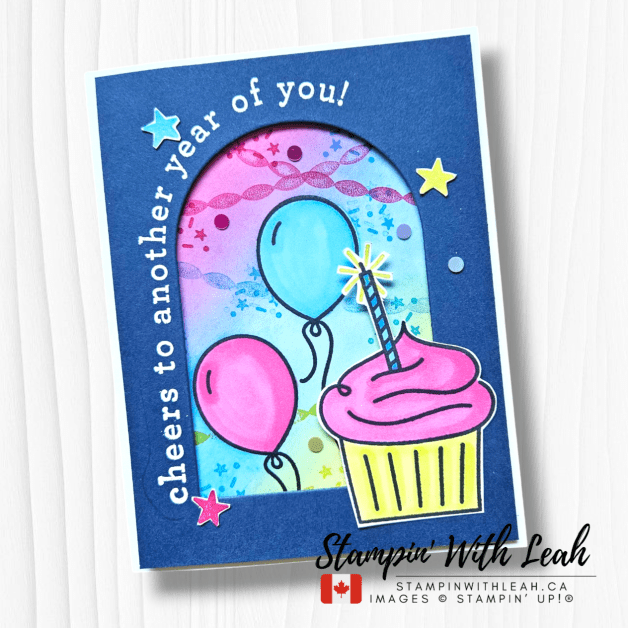
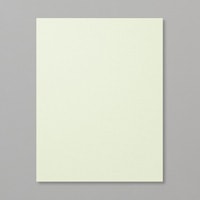
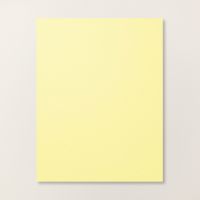
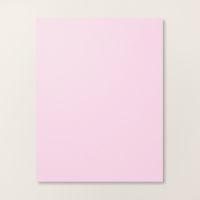
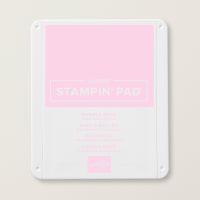
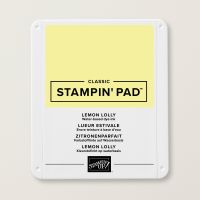
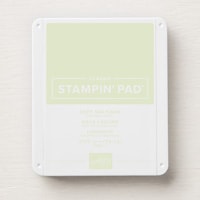
This week’s Global Design Project colour challenge (#GDP489) inspired me to create a birthday card with the soft, pastel hues of Bubble Bath, Soft Sea Foam, and Lemon Lolly. These delicate colours are perfect for a celebratory and cheerful design.

Here’s the card I created:

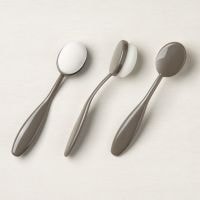
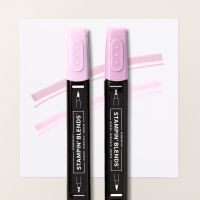
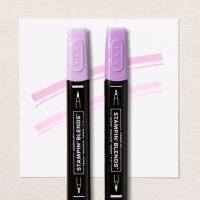
I started with the Textured Notes Dies, using the eyelet die to create a custom mask. With a blending brush and Bubble Bath Ink, I blended a soft background onto the die-cut base for a lovely textured look.

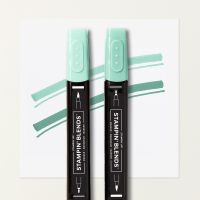
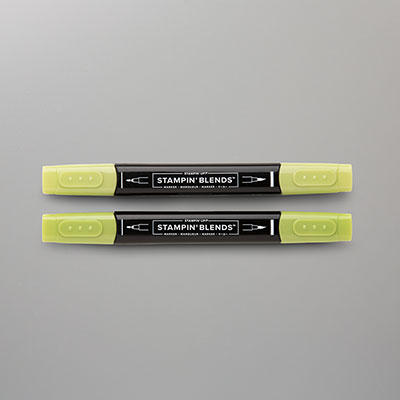
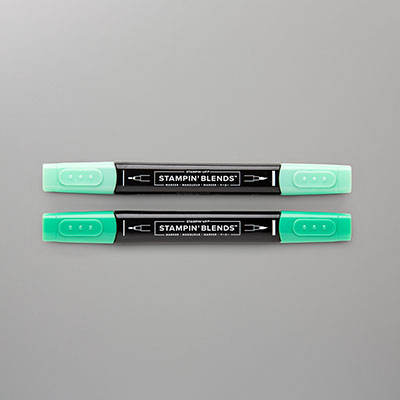
For the floral accents, I swiped Soft Sea Foam Cardstock with Soft Sea Foam Ink and repeated the process with Lemon Lolly Ink on Lemon Lolly Cardstock. These inked layers were used to cut the smaller accent pieces for the flowers and leaves, while the bases were die-cut from uninked cardstock to create contrast. The flowers were assembled with Liquid Glue and then attached to the card front with Dimensionals, and the leaves glued together, then they were tucked under with Mini Glue Dots for a layered effect.

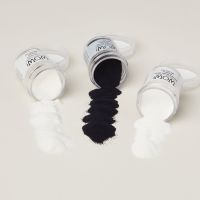
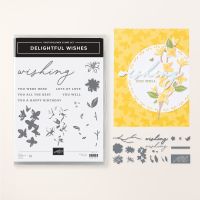
The sentiment took center stage with a die-cut “wishing” from Soft Sea Foam Cardstock backed with adhesive sheets. To complete the sentiment, I stamped “you the happiest birthday” onto Bubble Bath Cardstock using Versamark Ink, then heat embossed it with white embossing powder for a clean elegant look. This was die-cut with the label die from the Delightful Wishes Bundle and adhered with Mini Dimensionals.

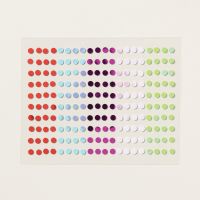
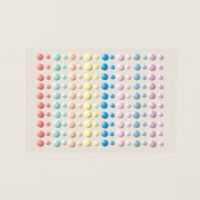
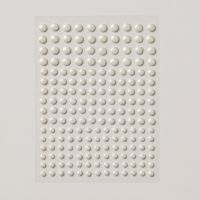
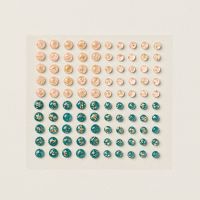
Finally, I added a sprinkle of Bubble Bath Rainbow Adhesive-Backed Dots for a polished and celebratory finish. This birthday card showcases the dreamy pastel palette beautifully and is perfect for sharing warm wishes!

Here is a list of all the supplies I used:

Product List
Versamark Pad
$13.00

📌 Pin this project for later!

Upcoming Card Classes

Looking for more crafting fun? Join my April Card Class to learn new techniques and create beautiful projects. Spots are limited, so reserve yours today!

Looking for more ways to enjoy stamping? Join my Stampin’ Up! Ink Pad Pals team!

  • Save 20%+ on your orders.
  • Get free access to my monthly card class tutorials.
  • Enjoy our monthly team meetings with stamping fun and collaboration.

Contact me to find out more or see the details on my website.

Join now!

I’d love to hear what you think about this card or see your creations inspired by #GDP489. Let’s celebrate creativity together!

Click here to shop my online store.
Click here to access & view the current catalogs.
Click here to subscribe to those fun Paper Pumpkin kits of creativity!
Click here for more information about joining my Online Monthly Technique Club. Earn even more goodies by joining a club!
Click here to learn more about joining my Ink Pad Pals Team. Get the MOST rewards including a discount on future products!
Follow me on social media! I share regularly on Pinterest, YouTube, and Facebook!
Please subscribe to my newsletter, too! Click here and enter your email. When you include your birthday you will even be added to my birthday card mailing list 🙂


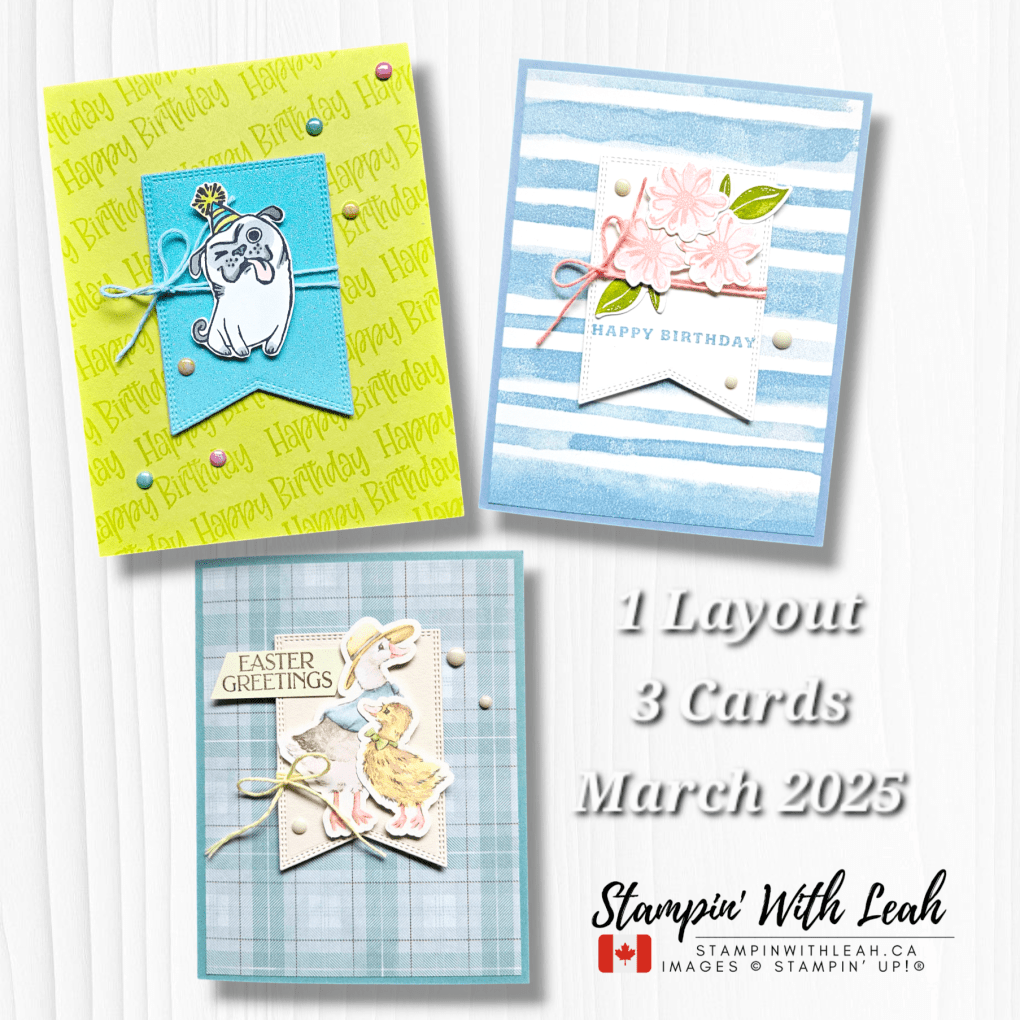
1 Layout, 3 Cards – March 2025 Replay!

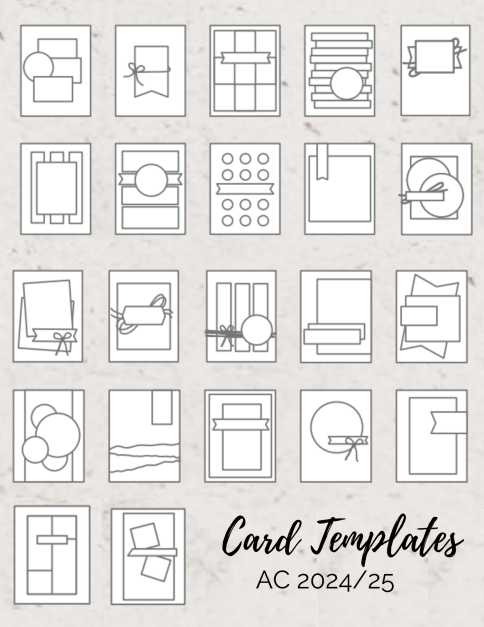
In today’s 1 Layout, 3 Cards episode, I showcased how a single card sketch can inspire three distinct designs. This month, I used the sketch from page 22 of the Annual Catalogue and had so much fun bringing it to life with different themes!

Here’s a closer look at the three cards I created:

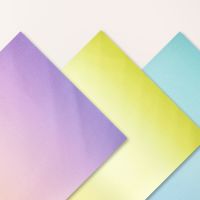
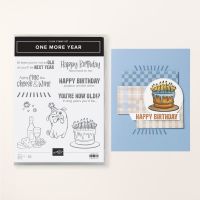
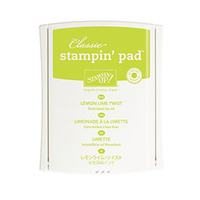
✨ Lemon Lime Twist Birthday Card – I paired the One More Year stamp set with a Pastel Ombre Glimmer Paper banner for a pop of shimmer. The background is fully stamped with a repeating birthday sentiment for a bold and festive look! Watch the replay for tips on stamping the sentiment and colouring the Antique Pearls.

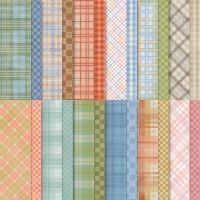
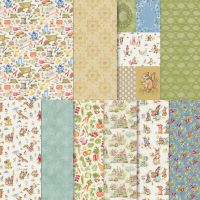
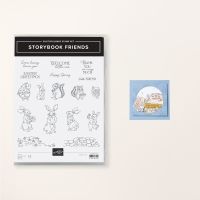
✨ Storybook Easter Card – A sweet, vintage-style card featuring the Storybook Moments DSP critters and a sentiment from Storybook Friends. The soft plaid background adds the perfect cozy touch for spring!

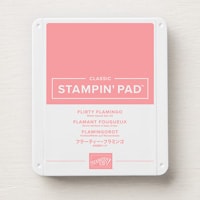
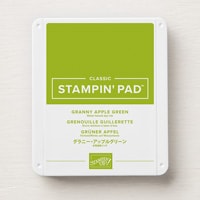
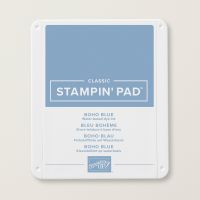
✨ Striped Birthday Card – This one has a softer, more elegant feel with the Painted Stripes background stamp (stamped in Boho Blue, which is retiring soon!). The floral elements come from the Delightful Wishes bundle, stamped in Flirty Flamingo and Granny Apple Green.

All three cards include:
🎀 A banner die-cut from the largest Nested Essentials banner
🎀 Coordinating Baker’s Twine from the Three Color Pack
🎀 Finished with Antique Pearls

💡 If you missed the Live, you can watch the replay here:

I’ve linked all the supplies used in these cards below. Click the images to shop and add them to your cart! You will also find a printable copy of the templates from the Annual Catalogue.

Supplies Used:


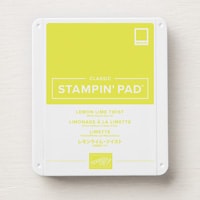
Lemon Lime Twist Classic Stampin' Pad
Lemon Lime Twist Classic Stampin’ Pad
$8.50
Paper Snips
$16.50

Looking for some other fun stamping experiences in person or online? If you are local to Port Coquitlam, join me in person for Coffee and Cards or contact me to book your own card class. You can always check out my calendar of events at my website.

Want to be the first to hear about my upcoming classes? Subscribe to my newsletter!

Which card is your favorite this month? Let me know in the comments! 💕

Click here to shop my online store.
Click here to access & view the current catalogs.
Click here to subscribe to those fun Paper Pumpkin kits of creativity!
Click here for more information about joining my Online Monthly Technique Club. Earn even more goodies by joining a club!
Click here to learn more about joining my Ink Pad Pals Team. Get the MOST rewards including a discount on future products!
Follow me on social media! I share regularly on Pinterest, YouTube, and Facebook!
Please subscribe to my newsletter, too! Click here and enter your email. When you include your birthday you will even be added to my birthday card mailing list 🙂


Hand Stamped Sentiments Inspiration Challenge #459

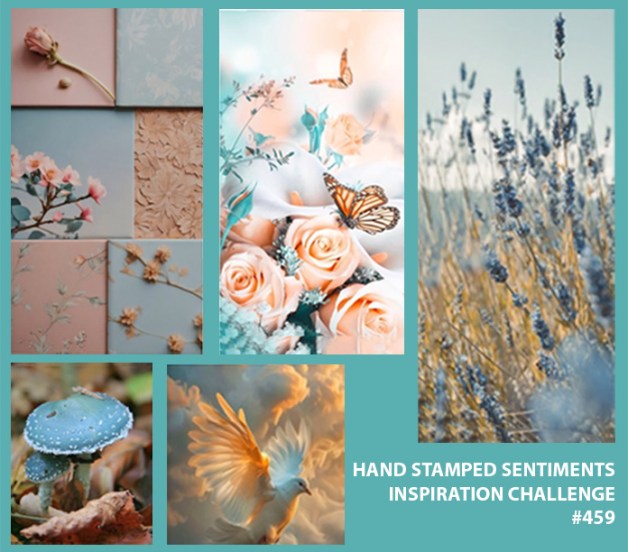
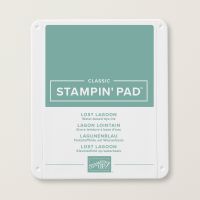
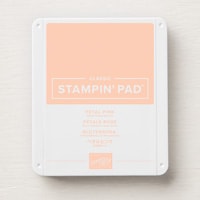
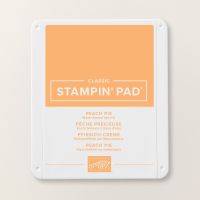
It’s time for a new Hand Stamped Sentiments Inspiration Challenge (#HSS459), and this one is full of dreamy pastels, elegant florals, and soft natural textures! The colour palette of Lost Lagoon, Petal Pink, and Peach Pie creates the perfect delicate, nature-inspired design.

For this challenge, I created a Bandstand Fold Card, a fun interactive design I learned from Dawn Griffith. This fold adds an elegant touch, making it perfect for showcasing beautiful layers of Designer Series Paper.

Here’s the Inspiration Image for This Week’s Challenge:

Here’s the card I created:

Project Details:

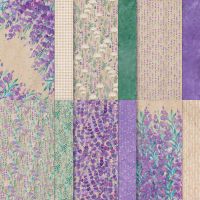
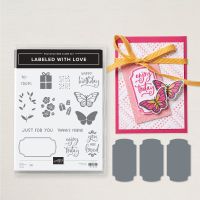
The soft floral design from Perennial Lavender DSP combined with the stunning Thoughtful Designs Specialty DSP creates a layered, ethereal effect, mirroring the inspiration challenge perfectly. The Labelled With Love Bundle adds the perfect focal point with a sentiment framed by delicate stamped florals and soft pastel butterflies.

Want to create this card? I’m including a full list of supplies below as well as a printable instruction sheet with full measurements and step-by-step details so you can recreate this Bandstand Fold yourself!

Here is a full list of the supplies I used:


Paper Trimmer
$39.00
Simply Scored
$51.00

Join the Challenge!

Now it’s your turn! Create a project inspired by the #HSS459 mood board and share it with us. We can’t wait to see how this beautiful color palette and nature-inspired theme spark your creativity!

📌 Pin this project for later! 📩 Subscribe for more card tutorials and inspiration!

Special Offers and Upcoming Events

When you use my host code (6HQ62V46) this month, I’ll send you a link to an exclusive 34 Project Tutorial Bundle as a thank-you!

Upcoming Card Classes

Looking for more crafting fun? Join my April Card Class to learn new techniques and create beautiful projects. Spots are limited, so reserve yours today!

Looking for more ways to enjoy stamping? Join my Stampin’ Up! Ink Pad Pals team!

  • Save 20%+ on your orders.
  • Get free access to my monthly card class tutorials.
  • Enjoy our monthly team meetings with stamping fun and collaboration.

Contact me to find out more or see the details on my website.

Join now!

Stay Connected

Want to stay in the loop for all upcoming events, sales, and inspiration?


Coast to Coast Blog Hop – March 2025 Colour Challenge

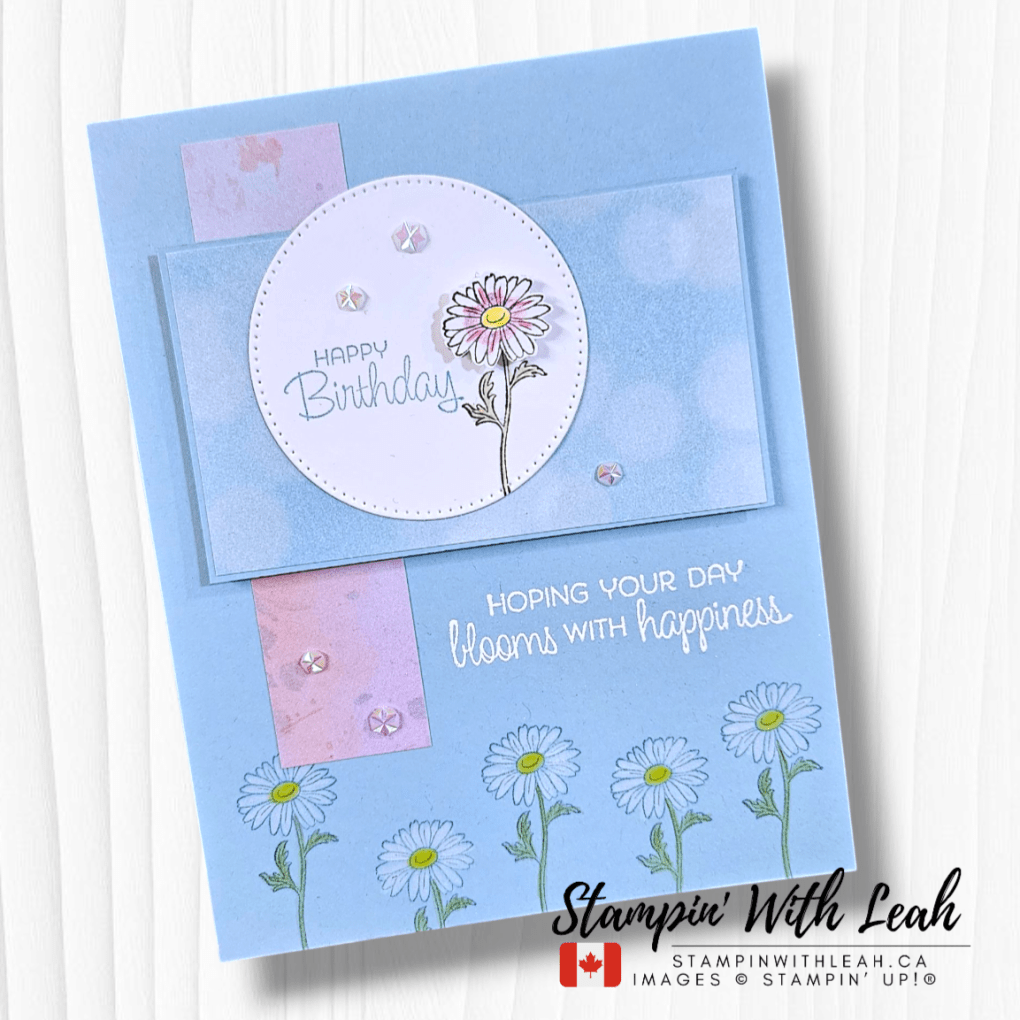
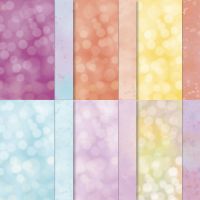
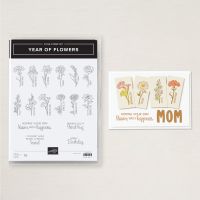
Hello, crafty friends! 🌸 Welcome to this month’s Coast to Coast Creators Blog Hop, where we’re diving into a beautiful colour challenge that has us feeling all the soft, dreamy vibes of spring! This month, I created a delicate floral card using the Year of Flowers stamp set paired with the Beautiful Bokeh DSP—and I am in love with the results! 💙💜💖

This challenge pushed me outside my comfort zone in the best way, and I hope it inspires you to create something fresh and fun! Let’s take a closer look at my project.

🌿 Card Details & Supplies Used

For this card, I wanted to highlight the stunning colours in this challenge while keeping the design soft and elegant. I chose:

✅ Stamp Set: Year of Flowers
✅ Paper: Beautiful Bokeh DSP, Basic White Cardstock
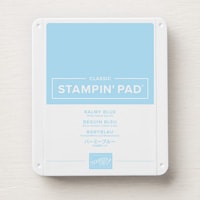
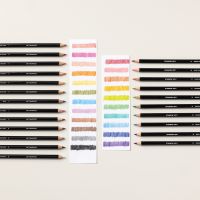
✅ Colours: Balmy Blue Ink, Watercolour Pencils (White, Melon Mambo, Old Olive and Daffodil Delight)
✅ Embellishments: Iridescent Faceted Gems and Basics Wow! Embossing Powder

Here’s how I put it all together:

1️⃣ Background: I layered two soft Beautiful Bokeh DSP panel onto my card base. The blurred effect of this paper adds so much depth without extra work—so dreamy! ✨At the bottom of the card I stamped the daisy in Balmy Blue Ink and lightly coloured with Watercolour Pencils.

2️⃣ Focal Image: I stamped the daisy from Year of Flowers in Memento Black ink and coloured it with Watercolour Pencils for a soft effect.

3️⃣ Sentiment: The sentiment “Happy Birthday” (also from Year of Flowers) is stamped in Balmy Blue Ink. The larger sentiment is stamped in Versamark and heat embossed with white embossing powder.

4️⃣ Finishing Touches: A few Iridescent Faceted Gems complete the look!

🎨 Playing with Colour Challenges

Colour challenges are a great way to step out of your creative routine and explore new palettes! This one had me mixing soft pastels in a way I hadn’t tried before, and I love how they blend together so seamlessly.

What do you think of this colour combo? Would you try it?


💙 Hop Along for More Inspiration!

The Coast to Coast Creators team has created even more stunning projects with this colour challenge! Be sure to hop along and check out all the inspiration. Click below to visit each creator’s post!

And if you love this card, be sure to save it on Pinterest for later! 💕

Want to recreate this card? You can shop all the supplies I used in my online store!

Here is a list of supplies needed to create these card.


Paper Trimmer
$39.00
Simply Shammy
$12.25

Get Exclusive Updates & Perks!

Be sure to subscribe to my newsletter for more crafting tips, project ideas, and updates on upcoming events or check out everything at linktr.ee/stampinwithleah.

Live in Canada, don’t have a demonstrator? Contact me to get a catalogue or find out why right now is a great time to join my team.

A perk to ordering with me in the month of March is that with any order over $65cdn, you will receive an amazing 30+ project Tutorial Bundle from me as a thank you. Just use the host code below. As a member of my team you get free access to this Tutorial Bundle.

You can see all the benefits of joining my team (the Ink Pad Pals) by clicking the image below.

Click here to shop my online store.
Click here to access & view the current catalogs.
Click here to subscribe to Thanks for hopping by! Make sure to pin this post for future reference and share it with your crafty friends.those fun Paper Pumpkin kits of creativity!
Click here for more information about joining my Online Monthly Technique Club. Earn even more goodies by joining a club!
Click here to learn more about joining my Ink Pad Pals Team. Get the MOST rewards including a discount on future products!
Follow me on social media! I share regularly on Pinterest, YouTube, and Facebook!
Please subscribe to my newsletter, too! Click here and enter your email. When you include your birthday you will even be added to my birthday card mailing list 🙂


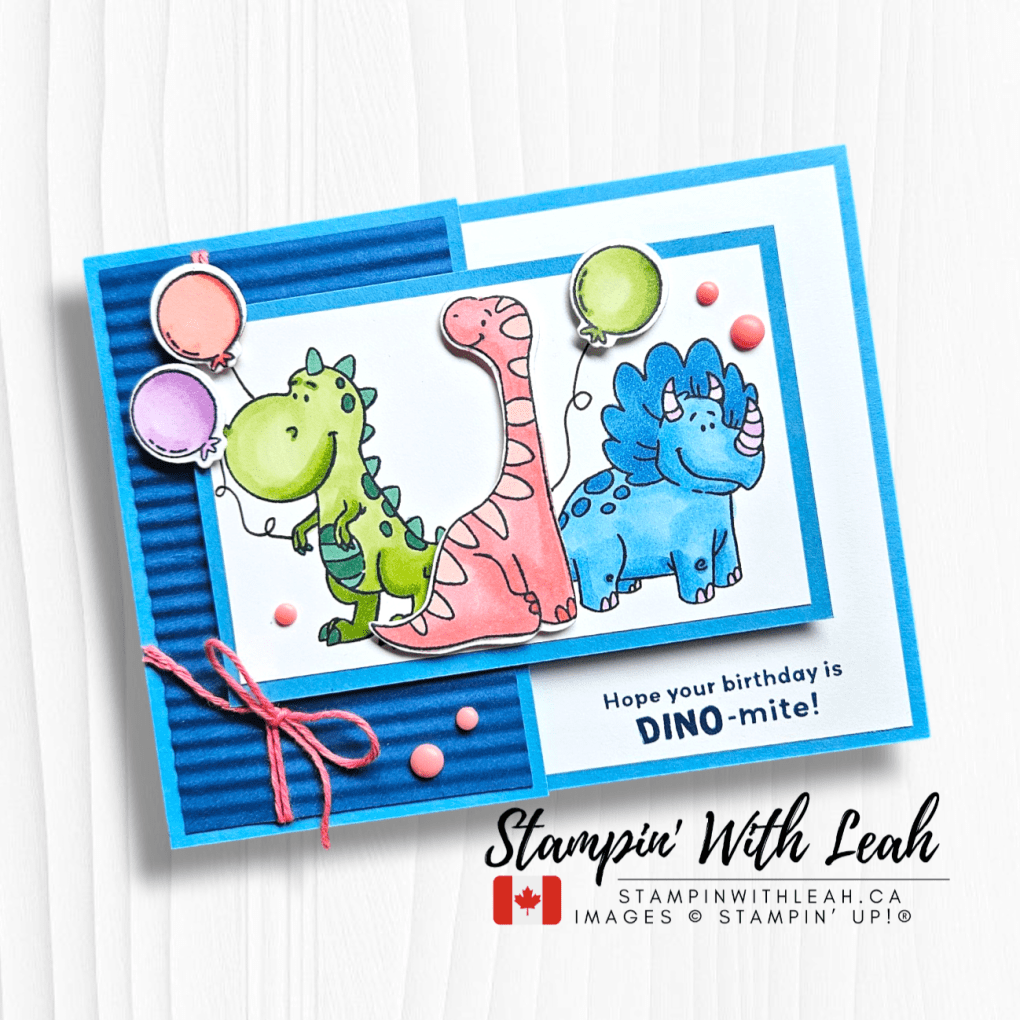
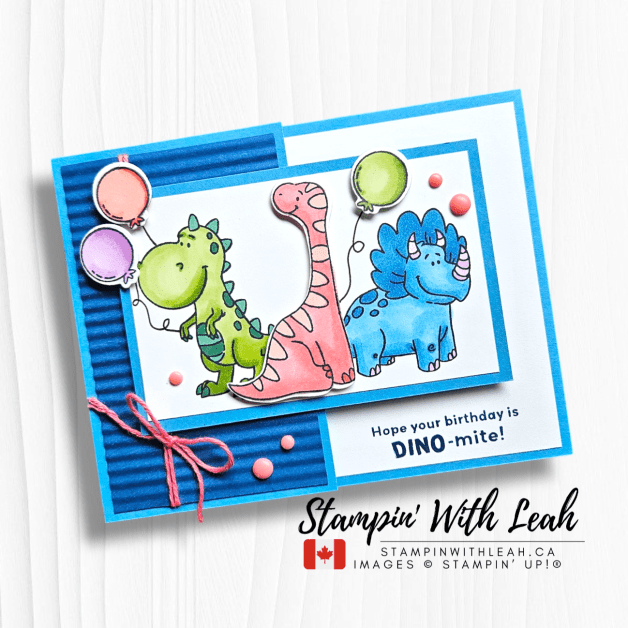
Create a Fun Fold Dinosaur Card with Stampin’ Up!’s Darling Dinos! 🦖🎈

Who’s ready for a DINO-mite birthday card? 🦕💖 This bright and cheerful card features the Darling Dinos Bundle and some brand-new Online Exclusives from Stampin’ Up! such as the Mini Corrugated 3D Embossing Folder and the Pack Your Bags Three Pack Twine. Plus, I used a unique popped up panel layout to make it extra special! Keep reading for all the details and a video for step-by-step instructions!

Card Details & Supplies

Here’s a closer look at the products I used to bring this card to life:

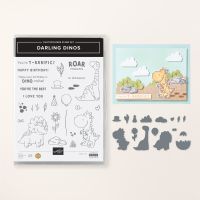
✅ Darling Dinos Bundle – The cutest dino stamps and coordinating dies!
✅ Mini Corrugated 3D Embossing Folder – Adds amazing texture to the background.
✅ Pack Your Bags Twine – A perfect finishing touch.
✅ Rainbow Adhesive Back Dots – Because every card needs a little embellishing!
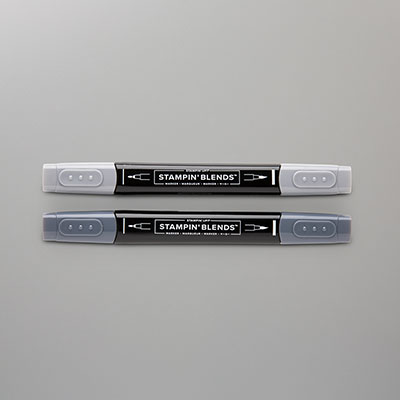
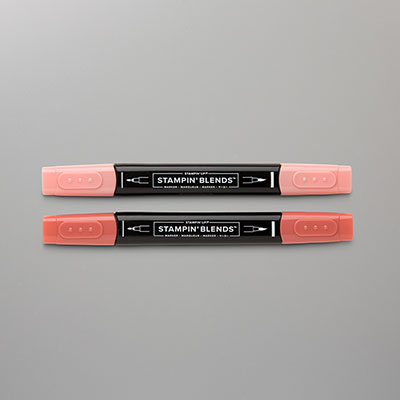
✅ Stampin’ Blends in Granny Apple Green/Shaded Spruce, Azure Afternoon/Fresh Freesia, and Pretty in Pink/Calypso Coral for smooth blending!

Fun Popped Up Panel Layout: A Unique Twist!

This isn’t your typical card—here’s how I created the popped up panel effect:

📏 Card Base: Start with a 4-1/4” x 11” piece of cardstock, scored at 5-1/2”.
✂️ Modify the Front Panel: Cut the front panel in half at 2-3/4” and turn it sideways to create the pop-up effect!
🌟 Decorate & Assemble: Layer your stamped & die-cut dinos, add textured details with the Mini Corrugated 3D Embossing Folder, and finish with twine and embellishments!

💡 Pro Tip: This layout is a great way to add dimension and interest while still fitting in a standard envelope!

Watch the Tutorial! 🎥

Want to see exactly how I made this card? Watch my Facebook Live replay where I walk you through all the steps!

📌 Love this design? Be sure to check out my blog for more inspiration and get my class tutorials! → StampinWithLeah.ca

Supplies You’ll Need:

If you’d like to recreate this card exactly as shown, here are the supplies used:


Paper Trimmer
$39.00
Simply Shammy
$12.25

March 2025 Online Exclusives PDF

Some of the supplies used on this card are part of the new collection of Online Exclusive products for March 2025, and I have a special PDF guide showcasing all the latest must-have crafting goodies! Grab it here:

Bonus Gift! 🎁

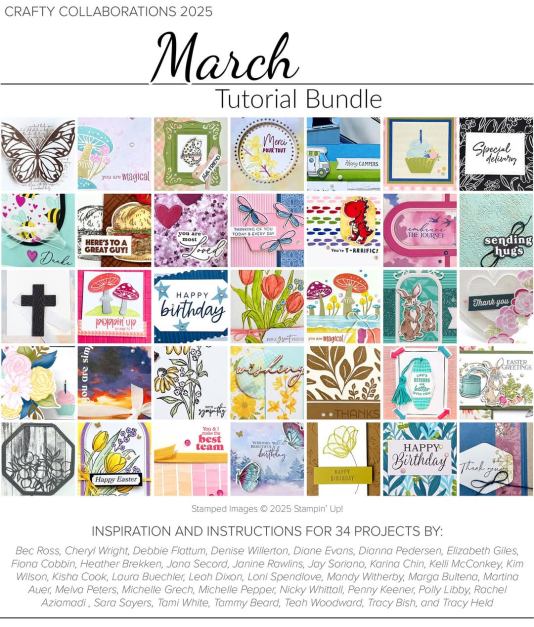
When you place a $65+ order, you’ll receive the 30+-project March Crafty Collaborations Tutorial PDF as an extra gift from me! This is an amazing resource full of creative inspiration from many talented demonstrators. Want to stay updated on all my events and classes? Subscribe to my newsletter!

Join Me for More Stamping Fun

Looking for more ways to craft? Here’s how you can connect with me:

  • In-Person Events: If you’re local to Port Coquitlam, join me for Coffee and Cards or book your own card class.
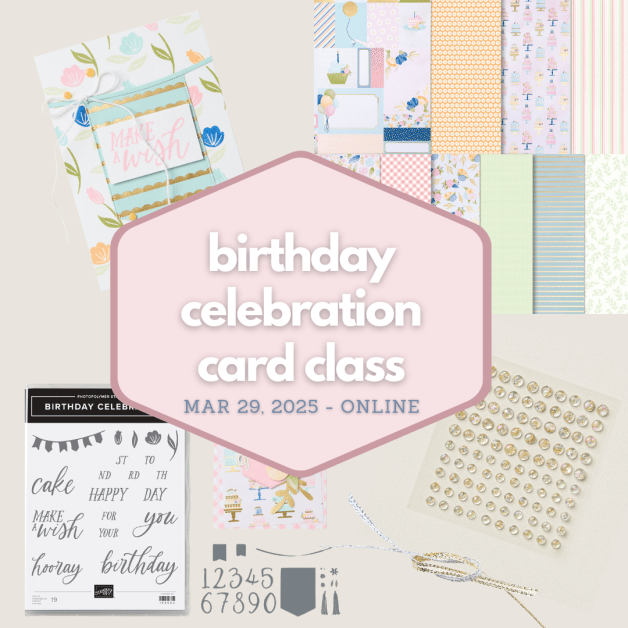
  • Online Events: Birthday Celebrations Card Class (you can still register – although packages may arrive late)
  • Ink Pad Pals Team: Join my team for exclusive perks, discounts, and a supportive crafting community.

Have any questions? Feel free to reach out—I’d love to help!Shop & Connect

Thank you for crafting with me—I can’t wait to see what you create! Don’t forget to leave a comment below and follow this blog for more inspiration.


Birthday Sunshine & Rainbows for GDP487!

I’m so excited to share my latest creation for this week’s Global Design Project Challenge (#GDP487)! The theme this week is Sunshine & Rainbows ☀️🌈☂️, and I had so much fun bringing this cheerful inspiration to life in my card.

Here’s the card I created:

The Design

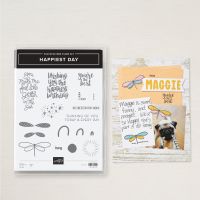
I wanted to capture the bright and happy vibes of sunshine and rainbows, so I used the Happiest Day stamp set along with a blend of bold and vibrant colours! The left panel features a rainbow of stars, which I created by stamping the star image repeatedly and blending the colours seamlessly with Blending Brushes.

Here’s the colour lineup I used to create this beautiful gradient:
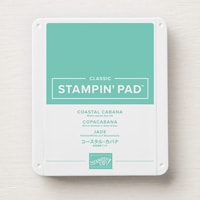
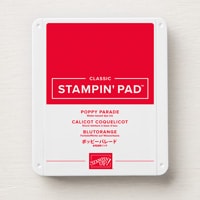
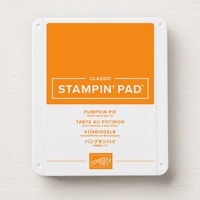
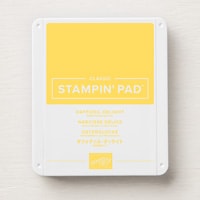
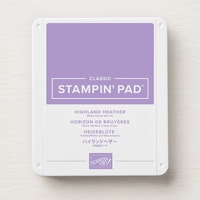
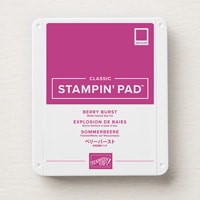
🎨 Poppy Parade, Pumpkin Pie, Peach Pie, Daffodil Delight, Lemon Lime Twist, Coastal Cabana, Azure Afternoon, Highland Heather, Fresh Freesia, and Berry Burst!

To add some extra sparkle, I incorporated a strip of Pastel Ombre Glimmer Paper and some Iridescent Faceted Gems. The sentiment, ‘Wishing You the Happiest Birthday,’ is heat embossed in white on a Coastal Cabana circle, die-cut from the Spotlight on Nature Dies. And of course, I couldn’t resist adding a popped-up dragonfly from the Happiest Day set—a little extra whimsy to finish it off!

Why I Love This Layout

One of my favourite things about this design is its versatility! By simply changing the colours or sentiment, this layout could work for so many different occasions—think thank you cards, baby showers, or even encouragement notes. The blended background technique is a fantastic way to make any card pop with colour!

Here is a full list of the supplies I used:


Versamark Pad
$13.00
Paper Trimmer
$39.00
Simply Shammy
$12.25

What Do You Think?

Do you love rainbow-themed cards as much as I do? What’s your go-to colour combo for happy, cheerful designs? Let me know in the comments! ⬇️💬

Upcoming Card Classes

Looking for more crafting fun? Join my April Card Class to learn new techniques and create beautiful projects. Spots are limited, so reserve yours today!

Looking for more ways to enjoy stamping? Join my Stampin’ Up! Ink Pad Pals team!

  • Save 20%+ on your orders.
  • Get free access to my monthly card class tutorials.
  • Enjoy our monthly team meetings with stamping fun and collaboration.

Contact me to find out more or see the details on my website.

Join now!

Thanks for stopping by, and happy stamping! 💛✨

Click here to shop my online store.
Click here to access & view the current catalogs.
Click here to subscribe to those fun Paper Pumpkin kits of creativity!
Click here for more information about joining my Online Monthly Technique Club. Earn even more goodies by joining a club!
Click here to learn more about joining my Ink Pad Pals Team. Get the MOST rewards including a discount on future products!
Follow me on social media! I share regularly on Pinterest, YouTube, and Facebook!
Please subscribe to my newsletter, too! Click here and enter your email. When you include your birthday you will even be added to my birthday card mailing list 🙂


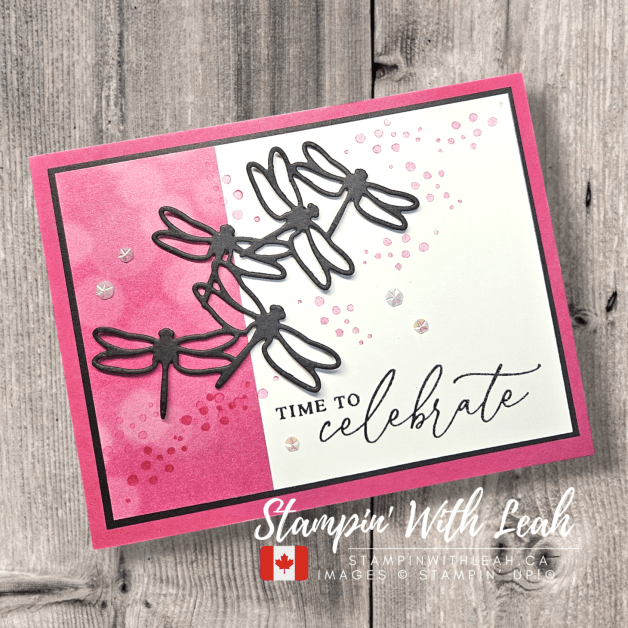
Throwback Thursday: A Little Dragonfly Love!

If you’ve been following me for a while, you might already know—I have a thing for dragonflies. 🖤 My kitchen cabinet handles? Dragonflies. My door knocker? Yep, also a dragonfly! So it’s no surprise that my craft stash has its fair share of dragonfly-themed stamps and dies, too!

For this Throwback Thursday, I couldn’t resist bringing back an old favorite: the Detailed Dragonfly Thinlits from way back in the day. These dies are long retired, but I just can’t let them go—and after making this card, I’m so glad I didn’t!

Blending Old & New

I love pairing retired products with brand-new ones, and this card is the perfect mix of past and present. Here’s what I used:

✨ Detailed Dragonfly Thinlits – A true classic! I die-cut the dragonflies in Basic Black and popped them up with Black Dimensionals for extra depth.

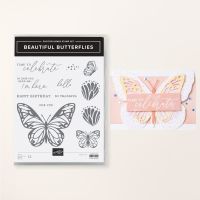
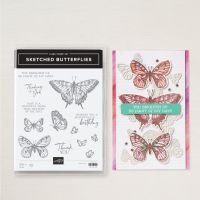
✨ Beautiful Butterflies Stamp Set – This lovely set was a Sale-A-Bration freebie last month, and it pairs so well with my dragonflies!

✨ Beautiful Bokeh DSP – The dreamy, soft background adds the perfect touch of color.

✨ Berry Burst Card Base & Black Trim – A bold, striking contrast to make the design pop.

✨ Iridescent Faceted Gems – Because every card needs a little sparkle, right?

✨ Clear Embossing Powder Over the Sentiment – I stamped my sentiment in Basic Black, then added clear embossing powder to give it a raised, shiny finish. It’s a small detail, but it really makes the sentiment stand out!

Here is a full list of the supplies I used (minus the Detailed Dragonfly Thinlits – you could always use the Beautiful Butterfly Dies to create a butterfly version of this card):

Product List
Paper Trimmer
$39.00
Simply Shammy
$12.25

What’s In Your Forever Stash?

I love bringing out my retired favorites, and this card is proof that oldies can still be goodies! Do you have a Stampin’ Up! set you’ll never part with? Let me know in the comments—I’d love to hear what’s in your forever stash!

Want to see more? Check out my upcoming Card Classes!

Looking for more ways to enjoy stamping? Join my Stampin’ Up! Ink Pad Pals team!

  • Save 20%+ on your orders.
  • Get free access to my monthly card class tutorials.
  • Enjoy our monthly team meetings with stamping fun and collaboration.

Contact me to find out more or see the details on my website.

Click here to shop my online store.
Click here to access & view the current catalogs.
Click here to subscribe to those fun Paper Pumpkin kits of creativity!
Click here for more information about joining my Online Monthly Technique Club. Earn even more goodies by joining a club!
Click here to learn more about joining my Ink Pad Pals Team. Get the MOST rewards including a discount on future products!
Follow me on social media! I share regularly on Pinterest, YouTube, and Facebook!
Please subscribe to my newsletter, too! Click here and enter your email. When you include your birthday you will even be added to my birthday card mailing list 🙂


March Card Class To Go – Kiss of Texture!

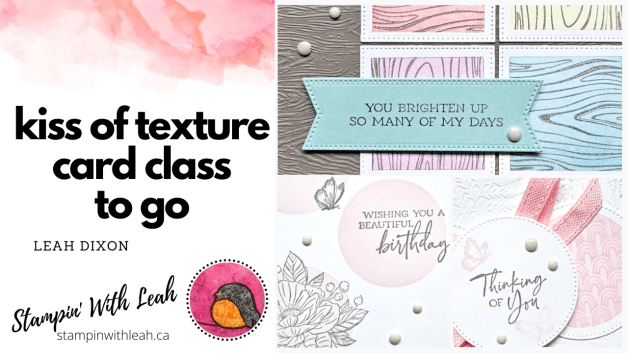
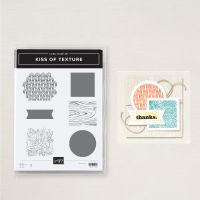
Are you ready to add beautiful texture to your handmade cards? My latest Card Class to Go features the Kiss of Texture stamp set, an incredible Online Exclusive that makes it easy to create layered, textured designs with just ink and stamps—no extra tools required!

How It Works: When you place an order of $60 or more (before tax & shipping) in my online store using host code – 6HQ62V46, you’ll receive the Kiss of Texture Card Class to Go Kit and PDF instructions absolutely FREE! This kit includes pre-cut cardstock, embossed layers, ribbon bits, and embellishments to create six stunning cards (two each of three designs). You will need your own stamps, ink and adhesives at home.

✨ Bonus Gift! Place an order of $75+, and you’ll also receive a pack of Antique Pearls embellishments as my thank-you gift!

📅 Order Deadline: March 11th, 2025
📦 Kits ship by: March 15th, 2025


Watch the Replay!

Missed the live class? Watch the replay here:

In the video I mentioned a Door Prize Draw , you can enter now until Friday (March 7th, 2025) in the evening (PT)! Good Luck!

Card Designs in This Class:

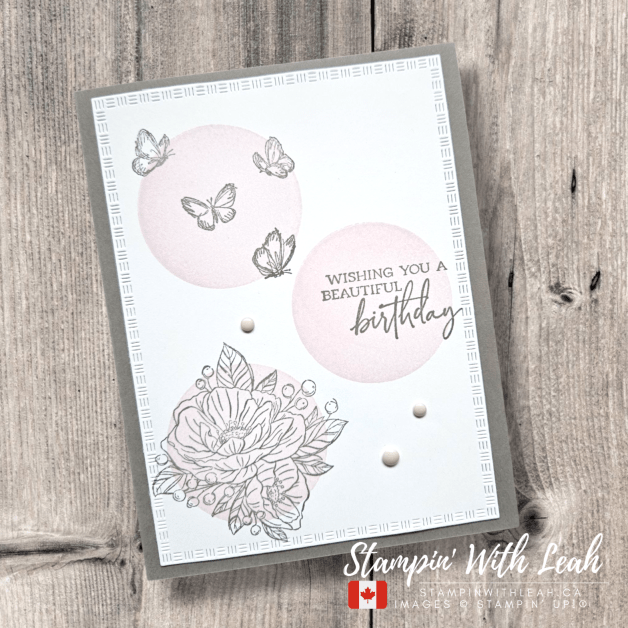
🌸 Floral Elegance Card – A lovely mix of Bubble Bath and Pebbled Path, this design highlights how texture stamps can add depth to floral elements.

🌸 Textured Circles Card – A playful combination of Bubble Bath, Pretty in Pink soft layered circles on a Pebbled Path card base and a touch of Pretty in Pink ribbon.

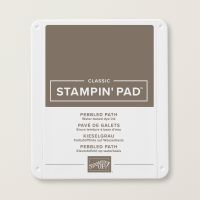
💙 Soft & Subtle Texture Card – Featuring a pastel rainbow of Flirty Flamingo, Lemon Lolly, Balmy Blue, and Fresh Freesia textured with Pebbled Path, this card showcases the “kissing” technique beautifully for a soft, layered look. 

Note: Pebbled Path is an In Color that will retire this year! These colors often sell out fast, so don’t wait to grab yours!

Supplies You’ll Need:

If you’d like to recreate these cards exactly as shown, here are the key supplies used:


Paper Snips
$16.50

Although you will receive the pieces of cardstock, embossed pieces, embellishments and die cut pieces that you need to create the 6 cards- but you may want to order some of the items below to create even more cards at home: 


March 2025 Online Exclusives PDF

Exciting news! Stampin’ Up! has just released a new collection of Online Exclusive products for March 2025, and I have a special PDF guide showcasing all the latest must-have crafting goodies! Grab it here:

Don’t live in Canada? You can still get the tutorial for this class from my Crafting Class Tutorials To Go section of my blog. You’ll find this tutorial and many others there for purchase.

Bonus Gift! 🎁

When you place a $65+ order, you’ll also receive the 30+-project March Crafty Collaborations Tutorial PDF as an extra gift! This is an amazing resource full of creative inspiration from many talented demonstrators. Want to stay updated on all my events and classes? Subscribe to my newsletter!

Join Me for More Stamping Fun

Looking for more ways to craft? Here’s how you can connect with me:

  • In-Person Events: If you’re local to Port Coquitlam, join me for Coffee and Cards or book your own card class.
  • Online Events: Birthday Celebrations Card Class (today is the last day to register!!)
  • Ink Pad Pals Team: Join my team for exclusive perks, discounts, and a supportive crafting community.
Have any questions? Feel free to reach out—I’d love to help!Shop & Connect

Thank you for crafting with me—I can’t wait to see what you create! Don’t forget to leave a comment below and follow this blog for more inspiration.


Hand Stamped Sentiments 458: Sketch Challenge with Birthday Celebration Bundle

This week at Hand Stamped Sentiments, we’re excited to bring you a sketch challenge! Challenge #458 is all about creativity and interpretation, and I’m using the Birthday Celebration Bundle along with the Wildflower Birthday Designer Series Paper (DSP) to bring this sketch to life.

Here’s the Sketch for This Week’s Challenge:

Here’s the card I created:

A Closer Look at My Card Design

For this festive birthday card, I followed the sketch layout and added my own creative twist using the Birthday Celebration Bundle and Wildflower Birthday DSP. Here are the details:

Card Base: I started with a Blueberry Bushel cardstock base, which complements the floral tones in the DSP beautifully.

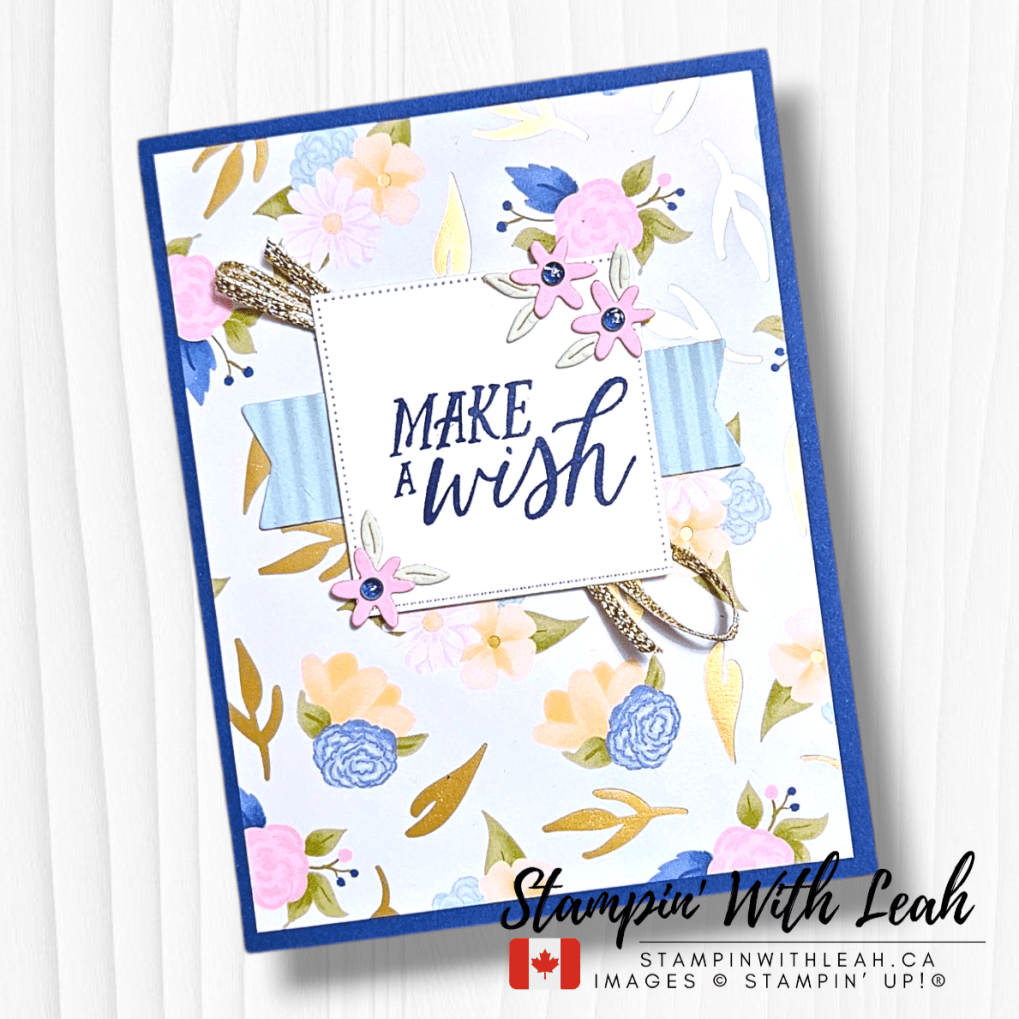
Layered Elements: The background is a vibrant piece of Wildflower Birthday DSP, with a Pool Party banner added horizontally across the card and Pretty In Pink die cut flowers on the sentiment label.

Banner Detail: The banner was textured using the brand-new Online Exclusive Corrugated 3D Embossing Folder, adding beautiful dimension to the design.

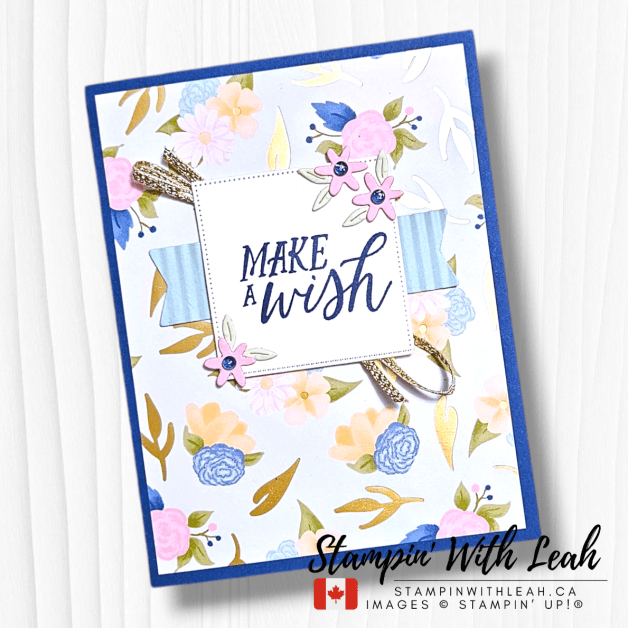
Focal Point: The “Make a Wish” sentiment from the Birthday Celebration stamp set is stamped in Blueberry Bushel ink on a stitched square die-cut. The square was created by double cutting the large banner from the Birthday Celebration dies.

Embellishments: Behind the sentiment, I added a bow made with Gold Trim, giving the card an elegant touch. To complete the look, I accented the card with Blueberry Bushel gems from the Tinsel Gem 4-Pack for extra sparkle.

I hope this inspires you to get crafty and play along with this week’s Hand Stamped Sentiments Sketch Challenge. Let me know in the comments – how will you interpret this sketch? 😊🎉

Here is a full list of the supplies I used:


Join the Challenge!

Now it’s your turn! Use this week’s sketch as inspiration, create your own project, and share it with us at Hand Stamped Sentiments. Don’t forget to check out the amazing designs from the rest of the team!

Birthday Celebration Card Class – Register by Wednesday!

Want to make even more birthday cards? Join my Birthday Celebration Card Class, where we’ll craft six gorgeous birthday designs using the Birthday Celebration Bundle and Wildflower Birthday DSP.

📅 Class Date: March 29, 2025
⏳ Registration Deadline: Wednesday!
🎨 Includes: Pre-cut supplies, embellishments, and step-by-step instructions
📍 Location: Virtual – on a private FB page

👉 Spots are limited! Register today to secure your kit.

Special Offers and Upcoming Events

When you use my host code (6HQ62V46) this month, I’ll send you a link to an exclusive 30+ Project Tutorial Bundle as a thank-you!

Upcoming Card Classes

Looking for more crafting fun? Join my March Card Class or April Card Class to learn new techniques and create beautiful projects. Spots are limited, so reserve yours today!

Looking for more ways to enjoy stamping? Join my Stampin’ Up! Ink Pad Pals team!

  • Save 20%+ on your orders.
  • Get free access to my monthly card class tutorials.
  • Enjoy our monthly team meetings with stamping fun and collaboration.
Contact me to find out more or see the details on my website.

Join now!

Stay Connected

Want to stay in the loop for all upcoming events, sales, and inspiration?


Birthday Fun for #GDP486 – A Sweet Sketch Challenge!

This week’s Global Design Project (#GDP486) is a sketch challenge, and I couldn’t wait to play along! 🎉 Sketch challenges are one of my favorite ways to spark creativity because they provide a great starting point while still allowing for endless design possibilities.

For this card, I used the Birthday Celebrations Bundle to create a fun, festive birthday card with soft pastel tones, delicate details, and a touch of shimmer. Let’s take a closer look!

Here’s the card I created:

Card Details & Design Inspiration

I started by die-cutting a Basic White circle using the Stylish Shapes Dies as my focal point. To add a fun, dimensional element, I placed a ready-to-use die-cut cupcake with a birthday candle from the Wildflower Birthday DSP pack right in the center. The circle was attached with Stampin’ Dimensionals for extra depth.

For the background, I layered a piece of Coastal Cabana cardstock, a soft striped pattern from the Wildflower Birthday DSP, and a strip of Gold Foil to bring in some shimmer.

The “Happy Birthday” sentiment was created using 2nd generation Blueberry Bushel Ink, giving it a soft yet balanced look while keeping the design festive! 🎂💖

To complete the card, I added a few Pretty in Pink die-cut flowers with Iridescent Foil Gem centers, along with a gold heat-embossed banner, creating the perfect blend of playfulness and elegance. This layout is so versatile—you could easily switch up the colors and stamps for different occasions!

Here is a full list of the supplies I used:


Versamark Pad
$13.00
Paper Snips
$16.50

Join My Birthday Celebrations Card Class! 🎈

Want to make more beautiful birthday cards like this? Join my upcoming Birthday Celebrations Card Class on March 29th! Whether you’re a seasoned crafter or just starting out, this class will teach you fun techniques while you create handmade birthday cards perfect for any celebration!

📅 Date: March 29, 2025
📍 Location: Online
🎟️ Register by: March 5th

✨ Sign up today and let’s craft together! https://form.jotform.com/leahdixon41/birthday-celebration-card-class

Play Along with GDP486!

If you love sketch challenges, I encourage you to play along with this week’s Global Design Project! Get creative, share your design, and most importantly—have fun crafting!

👇 Would you send this card to someone special? How would you use this sketch? Let me know in the comments!

Special Offers and Upcoming Events

When you place an order and use my host code (6HQ62V46) this month, I’ll send you a link to an exclusive 30+ Project Tutorial Bundle as a thank-you!

Upcoming Card Classes

Looking for more crafting fun? Join my March Card Class or April Card Class to learn new techniques and create beautiful projects. Spots are limited, so reserve yours today!

Looking for more ways to enjoy stamping? Join my Stampin’ Up! Ink Pad Pals team!

  • Save 20%+ on your orders.
  • Get free access to my monthly card class tutorials.
  • Enjoy our monthly team meetings with stamping fun and collaboration.
Contact me to find out more or see the details on my website.
Join now!

Stay Connected

Want to stay in the loop for all upcoming events, sales, and inspiration?

Live in Canada and don’t have a demonstrator? Contact me to get a catalog and find out why now is the perfect time to join my team!

Leave a comment below and don’t forget to subscribe to this blog for more crafty inspiration!

Happy crafting, and I can’t wait to see your creations! 💕

Click here to shop my online store.
Click here to access & view the current catalogs.
Click here to subscribe to those fun Paper Pumpkin kits of creativity!
Click here for more information about joining my Online Monthly Technique Club. Earn even more goodies by joining a club!
Click here to learn more about joining my Ink Pad Pals Team. Get the MOST rewards including a discount on future products!
Follow me on social media! I share regularly on Pinterest, YouTube, and Facebook!
Please subscribe to my newsletter, too! Click here and enter your email. When you include your birthday you will even be added to my birthday card mailing list 🙂