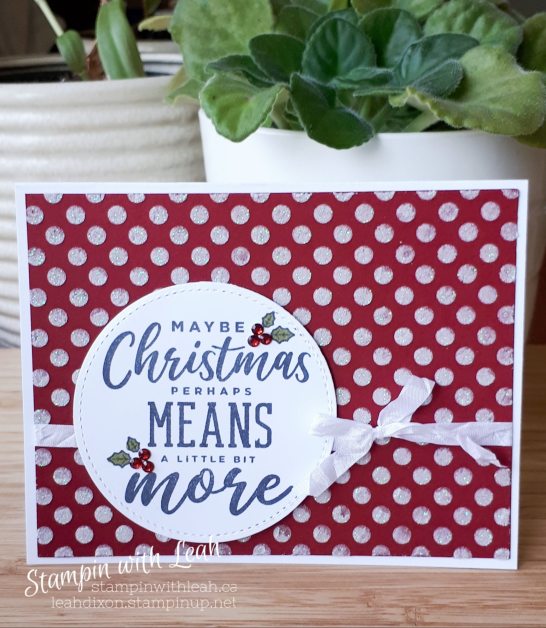
This festive card was created for the West Coast Creators Blog Hop ~ August! I used Shimmery Embossing Paste to create a gorgeous textured background and then let the sentiment from the Christmas Means More stamp set speak for itself.
I actually created most of this card live on FB while waiting for the paste on another card to dry. You can check it out on my FB page or on You Tube.
To keep moving through the blog hop – click the link below.
If you live in Canada, please consider subscribing to my newsletter (sign up form is on my Welcome page so you can keep up to date on all Stampin’ Up! promotions and all of my virtual card classes.
Hi! Thanks for hopping by. My name is Leah Dixon and I am an Independent Demonstrator for Stampin’ Up! I am a mom, teacher, and avid crafter. I’m so excited to be a part of the WCC Last Chance Blog Hop!
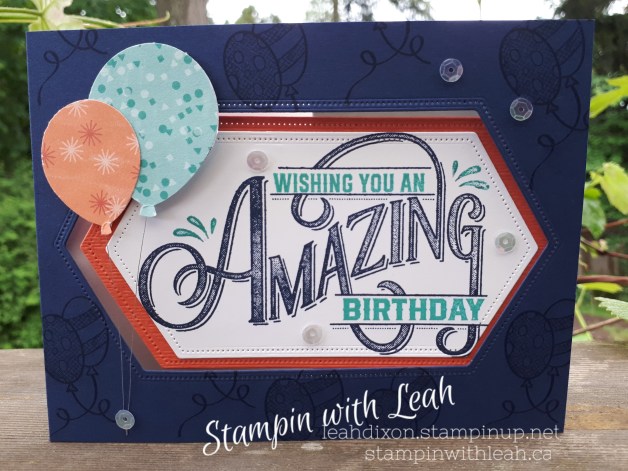
I chose to create a Pop-out card using one of my favourite stamp sets – Everything Amazing. It is great for birthdays, friendship, graduation and other achievements.
To achieve the pop-out look you can follow these instructions:
1. Card Base: I started with a regular card base 11” x4-¼” and score at the 5-½” mark. 2. Then I cut a window in the front of the card base using Stitched Nested Label dies. 3. Inside Fold: I started with a 10-½” x 4” piece of cardstock. On the 10-½” side, I scored at the 5-¼” and 7-7/8” marks. Then I folded the piece into a Z fold. 4. I stamped a balloon image on the largest section of the inside fold and adhered the Z fold to the inside of the card leaving 1/8” space around all the edges. 5. I stamped the Amazing image and extra words onto a piece of Whisper White cardstock and cut it out with the next smallest Stitched Nested Label die. I then cut another Stitched Nested die using Calypso Coral CS ( in the same size as the origianl die cut and glued my stamped image to this piece. 6. Then I closed the card with the Z fold tucked inside. 7. I put Tear and Tape through the window on the right side and adhered the shape in the window and pressed down on the right side. When the card opens the shape should be adhered to the Z fold.
To decorate the remainder of the card, I stamped the balloon image using Night of Navy on the front of the card, Punched out Balloon Punches using Bonanza Buddies DSP ( I punched two of each balloon so I could have the same DSP deisgn showing inside and outside of the card) and silver thread and embellished with Self-Adhesive Sequins.
This card was created using the following retiring products. If you want to grab these items before they are gone you can click the links below or head to my shop.