Christmas card making is in full swing, and I had so much fun creating these three cards during my latest Facebook LIVE!Christmas crafting and hot foiling — such a pretty combination!
This week I featured the Hope Joy Love Bundle from Stampin’ Up!®, along with a little hot foiling to add some extra sparkle. We created three very different Christmas cards using the same bundle, and I love how they turned out!
If you missed the LIVE, no worries! You can catch the replay below and craft along whenever it works for you.
For this class, I created three cards, each featuring a different technique.
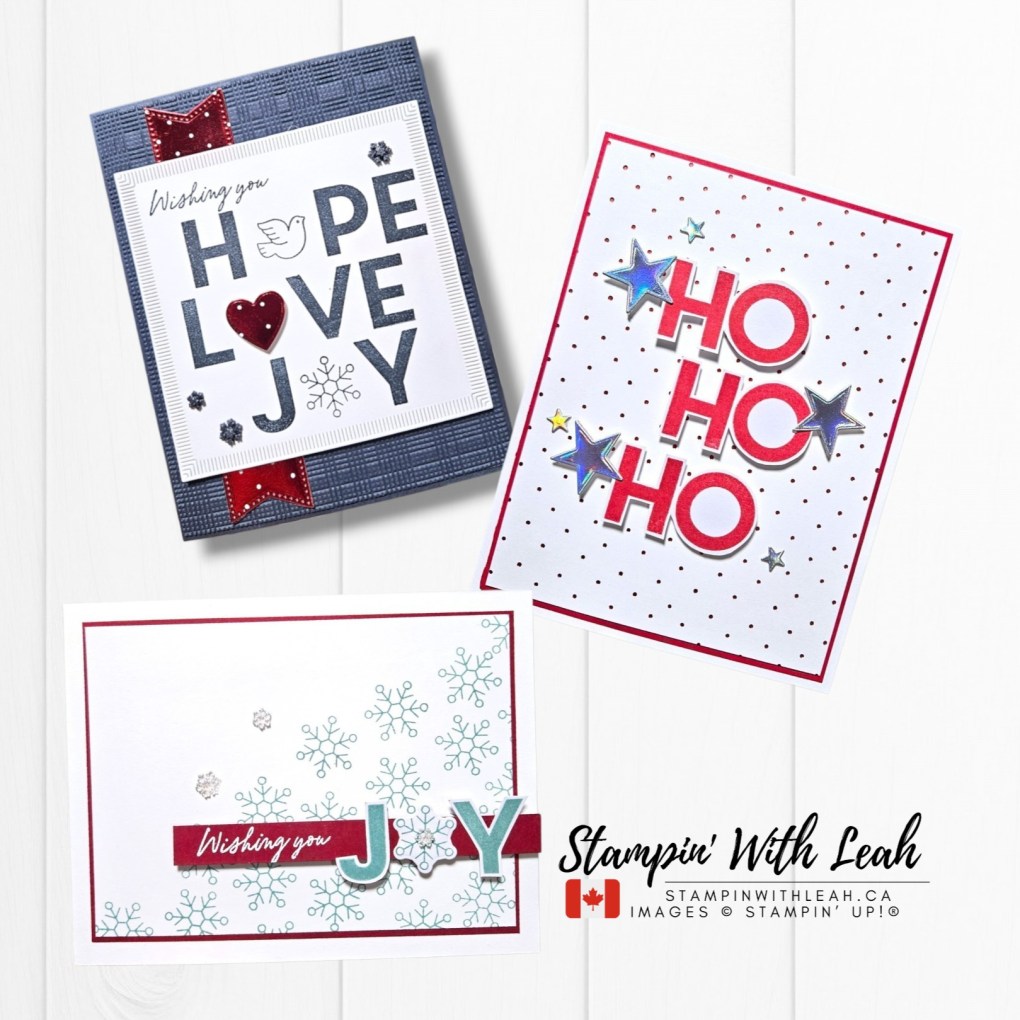
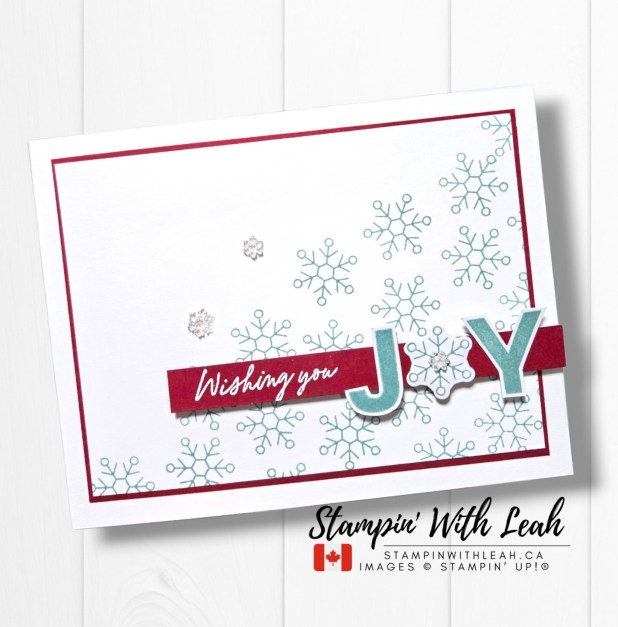
Card 1 – Wishing You Joy
This card features Lost Lagoon snowflakes, Cherry Cobbler cardstock and a little white heat embossing. I love the clean and simple look, with the JOY greeting taking centre stage!
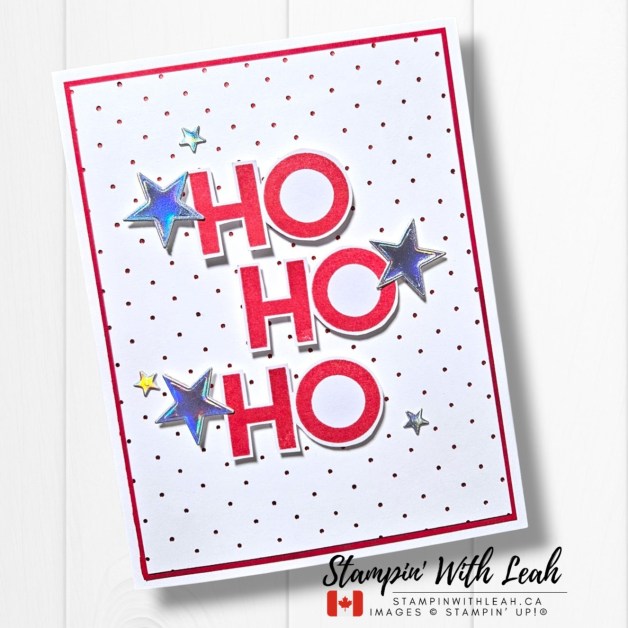
Card 2 – HO HO HO
For this card, I used the Swiss Dots Hot Foil Die with red foil to create the background. The HO HO HO greeting was stamped in Real Red, and those gorgeous holographic stars add just the right amount of sparkle!
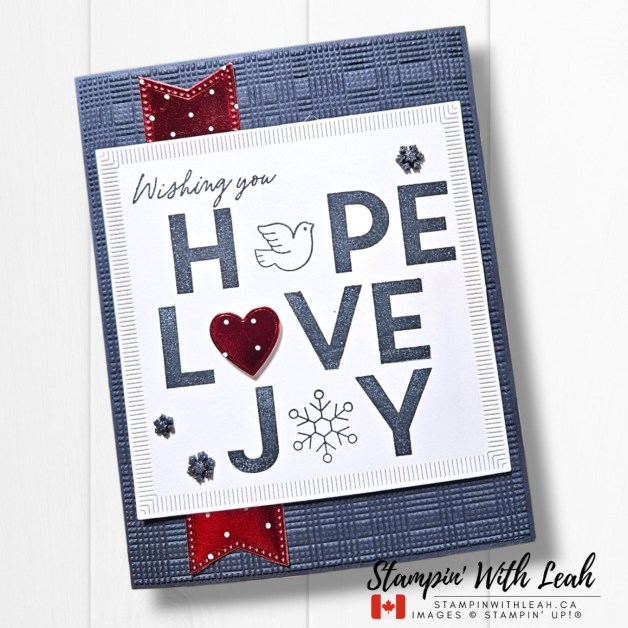
Card 3 – Hope Love Joy
This one combines the Softly Woven 3D Embossing Folder with Secret Sea ink and cardstock. I also used the leftover red foil from our second card with the Reverse Hot Foil Plate to create the banner and heart. I love being able to use up that beautiful foil!
Want to make these three cards yourself? I’d love to send you the supplies!
Place a $75 CAD or more order with me by Sunday, October 11, 2026 at midnight Pacific, and I’ll send you the Make & Take packet for all three cards FREE!
Your packet will include the precut cardstock and specialty pieces needed for the projects. I’ll even do the hot foiling for you! You’ll receive the red and white hot-foiled pieces, along with holographic-foiled cardstock ready for you to die cut your stars.
Please note: You will need to own the Hope Joy Love Bundle to complete these cards, along with your own inks, adhesives and basic crafting supplies. Stamped images are not included.
Your qualifying order must be $75 or more before tax and shipping, and after any Stampin’ Rewards have been applied.
Make sure you’re shopping with me! You should see Leah Dixon at the top of the Stampin’ Up! shopping page. If not, simply click Find a Demonstrator and select me.
Here is a full list of supplies used to create these cards.
![Basic White 8 1/2" X 11" Thick Cardstock [ 159229 ]](https://assets1.tamsnetwork.com/images/EC042017NF/159229s.jpg "Basic White 8 1/2\" X 11\" Thick Cardstock [ 159229 ]")
![Basic White 8 1/2" X 11" Cardstock [ 166780 ]](https://assets1.tamsnetwork.com/images/EC042017NF/166780s.jpg "Basic White 8 1/2\" X 11\" Cardstock [ 166780 ]")
![Cherry Cobbler 8-1/2" X 11" Cardstock [ 119685 ]](https://assets1.tamsnetwork.com/images/EC042017NF/119685s.jpg "Cherry Cobbler 8-1/2\" X 11\" Cardstock [ 119685 ]")
![Real Red 8-1/2" X 11" Cardstock [ 102482 ]](https://assets1.tamsnetwork.com/images/EC042017NF/102482s.jpg "Real Red 8-1/2\" X 11\" Cardstock [ 102482 ]")
![Secret Sea 8 1/2" X 11" Cardstock [ 165624 ]](https://assets1.tamsnetwork.com/images/EC042017NF/165624s.jpg "Secret Sea 8 1/2\" X 11\" Cardstock [ 165624 ]")
![Hope Love & Joy Bundle (English) [ 166858 ]](https://assets1.tamsnetwork.com/images/EC042017NF/166858s.jpg "Hope Love & Joy Bundle (English) [ 166858 ]")
![Versamark Pad [ 102283 ]](https://assets1.tamsnetwork.com/images/EC042017NF/102283s.jpg "Versamark Pad [ 102283 ]")
![Lost Lagoon Classic Stampin' Pad [ 161678 ]](https://assets1.tamsnetwork.com/images/EC042017NF/161678s.jpg "Lost Lagoon Classic Stampin' Pad [ 161678 ]")
![Real Red Classic Stampin' Pad [ 147084 ]](https://assets1.tamsnetwork.com/images/EC042017NF/147084s.jpg "Real Red Classic Stampin' Pad [ 147084 ]")
![Secret Sea Classic Stampin' Pad [ 165285 ]](https://assets1.tamsnetwork.com/images/EC042017NF/165285s.jpg "Secret Sea Classic Stampin' Pad [ 165285 ]")
![Heat Tool (Us And Canada) [ 129053 ]](https://assets1.tamsnetwork.com/images/EC042017NF/129053s.jpg "Heat Tool (Us And Canada) [ 129053 ]")
![Basics Wow! Embossing Powder [ 165679 ]](https://assets1.tamsnetwork.com/images/EC042017NF/165679s.jpg "Basics Wow! Embossing Powder [ 165679 ]")
![Embossing Additions Tool Kit [ 159971 ]](https://assets1.tamsnetwork.com/images/EC042017NF/159971s.jpg "Embossing Additions Tool Kit [ 159971 ]")
![Silver Opal Stampin' Hot Foil Rolls [ 170554 ]](https://assets1.tamsnetwork.com/images/EC042017NF/170554s.jpg "Silver Opal Stampin' Hot Foil Rolls [ 170554 ]")
![Red Stampin' Hot Foil Rolls [ 170552 ]](https://assets1.tamsnetwork.com/images/EC042017NF/170552s.jpg "Red Stampin' Hot Foil Rolls [ 170552 ]")
![Swiss Dots Hot Foil Die [ 170075 ]](https://assets1.tamsnetwork.com/images/EC042017NF/170075s.jpg "Swiss Dots Hot Foil Die [ 170075 ]")
![Reverse Hot Foil Die [ 170043 ]](https://assets1.tamsnetwork.com/images/EC042017NF/170043s.jpg "Reverse Hot Foil Die [ 170043 ]")
![Stampin' Hot Foil System Na & Craft Class [ 170009 ]](https://assets1.tamsnetwork.com/images/EC042017NF/170009s.jpg "Stampin' Hot Foil System Na & Craft Class [ 170009 ]")
![Tile Garden Dies [ 168573 ]](https://assets1.tamsnetwork.com/images/EC042017NF/168573s.jpg "Tile Garden Dies [ 168573 ]")
![Stylish Shapes Dies [ 159183 ]](https://assets1.tamsnetwork.com/images/EC042017NF/159183s.jpg "Stylish Shapes Dies [ 159183 ]")
![Adhesive Backed Snowflakes [ 168316 ]](https://assets1.tamsnetwork.com/images/EC042017NF/168316s.jpg "Adhesive Backed Snowflakes [ 168316 ]")
![Softly Woven 3 D Embossing Folder [ 168466 ]](https://assets1.tamsnetwork.com/images/EC042017NF/168466s.jpg "Softly Woven 3 D Embossing Folder [ 168466 ]")
![Stampin' Cut & Emboss Machine [ 149653 ]](https://assets1.tamsnetwork.com/images/EC042017NF/149653s.jpg "Stampin' Cut & Emboss Machine [ 149653 ]")
![Basic White Medium Envelopes [ 159236 ]](https://assets1.tamsnetwork.com/images/EC042017NF/159236s.jpg "Basic White Medium Envelopes [ 159236 ]")
![Detail Scissors [ 170902 ]](https://assets1.tamsnetwork.com/images/EC042017NF/170902s.jpg "Detail Scissors [ 170902 ]")
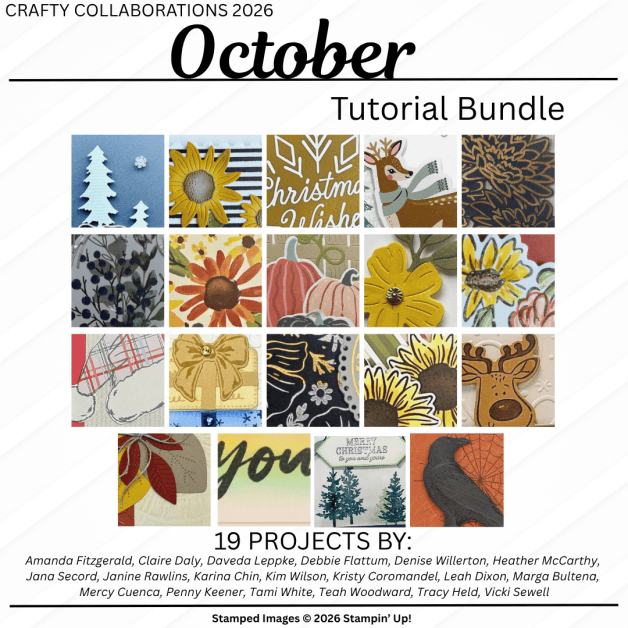
And don’t forget, you’ll also receive the Crafty Collaborations Tutorial Bundle with your qualifying order!
Physical Class To Go packets are available to Canadian customers only.
Not in Canada? You Can Still Make These Cards!
I haven’t forgotten about my crafty friends outside Canada!
The Hope Joy Love 3-Card Tutorial is available in my Payhip Shop for just $10.
The tutorial includes the measurements, supply lists and step-by-step instructions for all three cards. You’ll use your own supplies to recreate the projects.
The tutorial-only option is digital, so there’s no shipping, and it’s available to crafters anywhere!
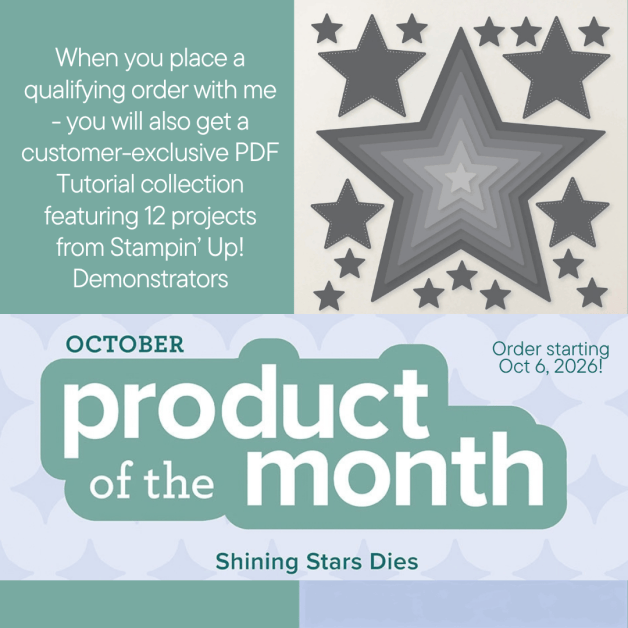
October Product of the Month – Shining Stars Dies
There’s another great reason to shop this month!
When you place a $100 CAD order, you can also add the gorgeous Shining Stars Dies—our October Product of the Month—for just $7 CAD!
These dies are perfect for Christmas cards, birthday cards and so much more.
Remember, your $100 qualifying purchase is calculated before tax and shipping and after any Stampin’ Rewards are applied.
Join Me Every Wednesday!
I’m so happy to be back to crafting regularly, and I’ve settled on Wednesday evenings at 7 PM Pacific for my weekly Facebook LIVE!
I’m hoping to offer more of these free-with-purchase classes throughout the month, so be sure to join me to see what we’re creating next.
Thinking About Joining? October Is a GREAT Month!
The October Starter Kit special is also underway, and this is a particularly good time to join Stampin’ Up!
When you join during October ( for $135 CAD) , you’ll receive a $170 CAD coupon code PLUS $70 CAD in Stampin’ Rewards to use toward products you choose.
If the Hot Foil System has caught your eye after watching my Lives, this could be a great way to add it — and some of the supplies you’ve seen me using — to your craft room while taking advantage of the joining offer.
And remember, joining my Ink Pad Pals doesn’t mean you have to start a business. You can simply enjoy the demonstrator discount, early access to products and all the fun of being part of our crafty community.
- Receive a beautiful Welcom Box
- Save 15%+ on your orders.
- Get free access to my monthly card class tutorials.
- Enjoy our monthly team meetings with stamping fun and collaboration.
Contact me to find out more or see the details on my website.

Thanks so much for crafting with me! I hope these three cards have inspired you to pull out your supplies and get started on your Christmas cards.

Click here to shop my online store.
Click here to access & view the current catalogs.
Click here to subscribe to those fun Paper Pumpkin kits of creativity!
Click here for more information about joining my Online Monthly Technique Club. Earn even more goodies by joining a club!
Click here to learn more about joining my Ink Pad Pals Team. Get the MOST rewards including a discount on future products!
Follow me on social media! I share regularly on Pinterest, YouTube, and Facebook!
Please subscribe to my newsletter, too! Click here and enter your email. When you include your birthday you will even be added to my birthday card mailing list 🙂


![Basic White 12" X 12" (30.5 X 30.5 Cm) Thick Cardstock [ 166782 ]](https://assets1.tamsnetwork.com/images/EC042017NF/166782s.jpg "Basic White 12\" X 12\" (30.5 X 30.5 Cm) Thick Cardstock [ 166782 ]")
![Hydrangea Hue 8 1/2" X 11" Cardstock [ 167687 ]](https://assets1.tamsnetwork.com/images/EC042017NF/167687s.jpg "Hydrangea Hue 8 1/2\" X 11\" Cardstock [ 167687 ]")
![Whispering Woods 12" X 12" (30.5 X 30.5 Cm) Designer Series Paper [ 168368 ]](https://assets1.tamsnetwork.com/images/EC042017NF/168368s.jpg "Whispering Woods 12\" X 12\" (30.5 X 30.5 Cm) Designer Series Paper [ 168368 ]")
![Pretty Peacock 8-1/2" X 11" Cardstock [ 150880 ]](https://assets1.tamsnetwork.com/images/EC042017NF/150880s.jpg "Pretty Peacock 8-1/2\" X 11\" Cardstock [ 150880 ]")
![Holly Jolly Branches Bundle (English) [ 168280 ]](https://assets1.tamsnetwork.com/images/EC042017NF/168280s.jpg "Holly Jolly Branches Bundle (English) [ 168280 ]")
![Pretty Peacock Classic Stampin’ Pad [ 150083 ]](https://assets1.tamsnetwork.com/images/EC042017NF/150083s.jpg "Pretty Peacock Classic Stampin’ Pad [ 150083 ]")
![Cloud Cover 5/8" (1.6 Cm) Textured Ribbon [ 167182 ]](https://assets1.tamsnetwork.com/images/EC042017NF/167182s.jpg "Cloud Cover 5/8\" (1.6 Cm) Textured Ribbon [ 167182 ]")
![Multipurpose Liquid Glue [ 110755 ]](https://assets1.tamsnetwork.com/images/EC042017NF/110755s.jpg "Multipurpose Liquid Glue [ 110755 ]")
![Stampin' Dimensionals [ 104430 ]](https://assets1.tamsnetwork.com/images/EC042017NF/104430s.jpg "Stampin' Dimensionals [ 104430 ]")
![Tear & Tape Adhesive [ 154031 ]](https://assets1.tamsnetwork.com/images/EC042017NF/154031s.jpg "Tear & Tape Adhesive [ 154031 ]")

![Shaded Spruce 8-1/2" X 11" Cardstock [ 146981 ]](https://assets1.tamsnetwork.com/images/EC042017NF/146981s.jpg "Shaded Spruce 8-1/2\" X 11\" Cardstock [ 146981 ]")
![White Willow 12" X 12" (30.5 X 30.5 Cm) Cardstock [ 166703 ]](https://assets1.tamsnetwork.com/images/EC042017NF/166703s.jpg "White Willow 12\" X 12\" (30.5 X 30.5 Cm) Cardstock [ 166703 ]")
![Winter Dreams 12" X 12" (30.5 X 30.5 Cm) Specialty Designer Series Paper [ 168315 ]](https://assets1.tamsnetwork.com/images/EC042017NF/168315s.jpg "Winter Dreams 12\" X 12\" (30.5 X 30.5 Cm) Specialty Designer Series Paper [ 168315 ]")
![Magical Christmas Hot Foil Dies (English) [ 170592 ]](https://assets1.tamsnetwork.com/images/EC042017NF/170592s.jpg "Magical Christmas Hot Foil Dies (English) [ 170592 ]")
![Graceful Evergreen Deer Bundle [ 170567 ]](https://assets1.tamsnetwork.com/images/EC042017NF/170567s.jpg "Graceful Evergreen Deer Bundle [ 170567 ]")
![Shaded Spruce Classic Stampin' Pad [ 147088 ]](https://assets1.tamsnetwork.com/images/EC042017NF/147088s.jpg "Shaded Spruce Classic Stampin' Pad [ 147088 ]")
![Everyday Arches Dies [ 164629 ]](https://assets1.tamsnetwork.com/images/EC042017NF/164629s.jpg "Everyday Arches Dies [ 164629 ]")
![Mini Stampin' Dimensionals [ 144108 ]](https://assets1.tamsnetwork.com/images/EC042017NF/144108s.jpg "Mini Stampin' Dimensionals [ 144108 ]")
![Paper Trimmer [ 152392 ]](https://assets1.tamsnetwork.com/images/EC042017NF/152392s.jpg "Paper Trimmer [ 152392 ]")
![Gold Stampin' Hot Foil Rolls [ 170066 ]](https://assets1.tamsnetwork.com/images/EC042017NF/170066s.jpg "Gold Stampin' Hot Foil Rolls [ 170066 ]")
![Green Stampin' Hot Foil Rolls [ 170555 ]](https://assets1.tamsnetwork.com/images/EC042017NF/170555s.jpg "Green Stampin' Hot Foil Rolls [ 170555 ]")

![A Christmas Wish Hot Foil Dies [ 170591 ]](https://assets1.tamsnetwork.com/images/EC042017NF/170591s.jpg "A Christmas Wish Hot Foil Dies [ 170591 ]")
![Holly Jolly Branches Photopolymer Stamp Set (English) [ 168273 ]](https://assets1.tamsnetwork.com/images/EC042017NF/168273s.jpg "Holly Jolly Branches Photopolymer Stamp Set (English) [ 168273 ]")
![Metallics Wow! Embossing Powder [ 165678 ]](https://assets1.tamsnetwork.com/images/EC042017NF/165678s.jpg "Metallics Wow! Embossing Powder [ 165678 ]")
![Gold Striped 3/8" (1 Cm) Mesh Ribbon [ 165599 ]](https://assets1.tamsnetwork.com/images/EC042017NF/165599s.jpg "Gold Striped 3/8\" (1 Cm) Mesh Ribbon [ 165599 ]")
![Gold Adhesive Backed Dots [ 168467 ]](https://assets1.tamsnetwork.com/images/EC042017NF/168467s.jpg "Gold Adhesive Backed Dots [ 168467 ]")
![Swirls Of Magic Embossing Folder [ 168179 ]](https://assets1.tamsnetwork.com/images/EC042017NF/168179s.jpg "Swirls Of Magic Embossing Folder [ 168179 ]")
![Pool Party 8-1/2" X 11" Cardstock [ 122924 ]](https://assets1.tamsnetwork.com/images/EC042017NF/122924s.jpg "Pool Party 8-1/2\" X 11\" Cardstock [ 122924 ]")
![Crumb Cake 8-1/2" X 11" Cardstock [ 120953 ]](https://assets1.tamsnetwork.com/images/EC042017NF/120953s.jpg "Crumb Cake 8-1/2\" X 11\" Cardstock [ 120953 ]")
![Vellum 12" X 12" (30.5 X 30.5 Cm) Specialty Paper [ 167099 ]](https://assets1.tamsnetwork.com/images/EC042017NF/167099s.jpg "Vellum 12\" X 12\" (30.5 X 30.5 Cm) Specialty Paper [ 167099 ]")
![A Stitched Season 12" X 12" (30.5 X 30.5 Cm) Designer Series Paper [ 168223 ]](https://assets1.tamsnetwork.com/images/EC042017NF/168223s.jpg "A Stitched Season 12\" X 12\" (30.5 X 30.5 Cm) Designer Series Paper [ 168223 ]")
![Peaceful Pine Classic Stampin Pad [ 167679 ]](https://assets1.tamsnetwork.com/images/EC042017NF/167679s.jpg "Peaceful Pine Classic Stampin Pad [ 167679 ]")
![Crumb Cake Classic Stampin' Pad [ 147116 ]](https://assets1.tamsnetwork.com/images/EC042017NF/147116s.jpg "Crumb Cake Classic Stampin' Pad [ 147116 ]")
![Pool Party Classic Stampin' Pad [ 147107 ]](https://assets1.tamsnetwork.com/images/EC042017NF/147107s.jpg "Pool Party Classic Stampin' Pad [ 147107 ]")
![Adhesive Backed Sparkle Sequins [ 168488 ]](https://assets1.tamsnetwork.com/images/EC042017NF/168488s.jpg "Adhesive Backed Sparkle Sequins [ 168488 ]")
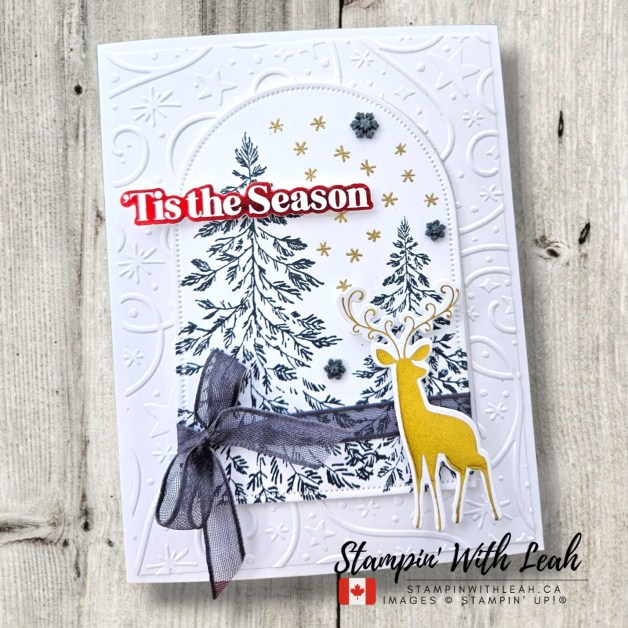
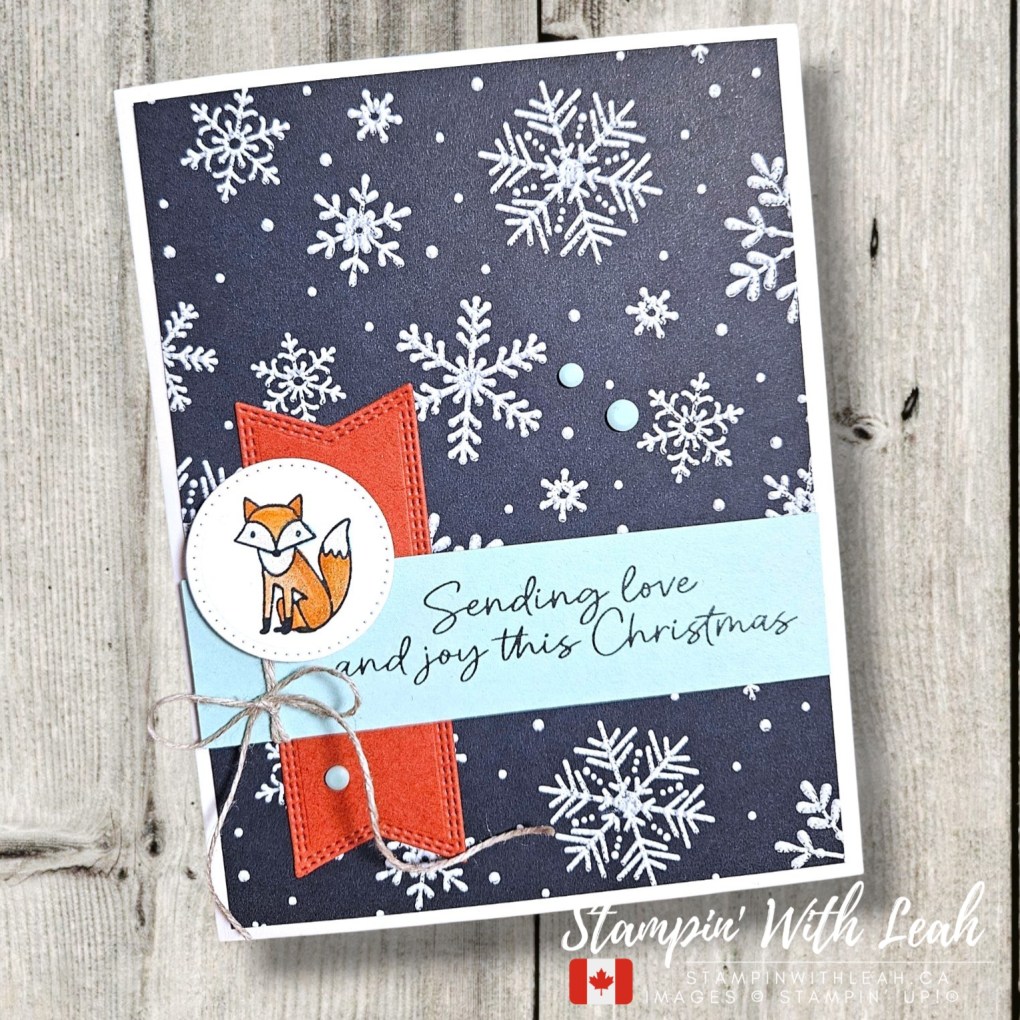
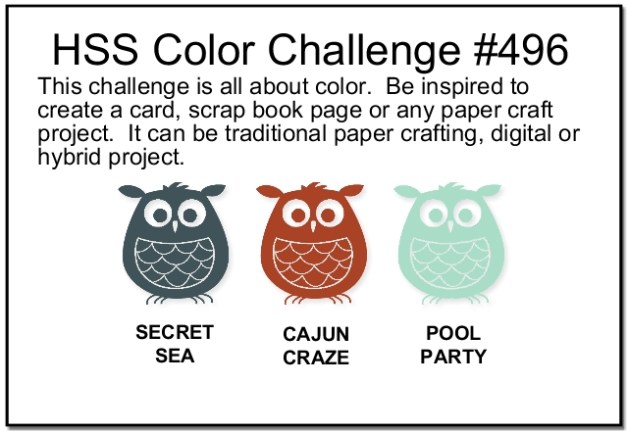
![Cajun Craze 8-1/2" X 11" Cardstock [ 119684 ]](https://assets1.tamsnetwork.com/images/EC042017NF/119684s.jpg "Cajun Craze 8-1/2\" X 11\" Cardstock [ 119684 ]")
![Woodland Wishes Photopolymer Stamp Set (English) [ 168243 ]](https://assets1.tamsnetwork.com/images/EC042017NF/168243s.jpg "Woodland Wishes Photopolymer Stamp Set (English) [ 168243 ]")
![Cajun Craze Classic Stampin' Pad [ 147085 ]](https://assets1.tamsnetwork.com/images/EC042017NF/147085s.jpg "Cajun Craze Classic Stampin' Pad [ 147085 ]")
![Clear Wink Of Stella Glitter Brush [ 141897 ]](https://assets1.tamsnetwork.com/images/EC042017NF/141897s.jpg "Clear Wink Of Stella Glitter Brush [ 141897 ]")
![Linen Thread [ 104199 ]](https://assets1.tamsnetwork.com/images/EC042017NF/104199s.jpg "Linen Thread [ 104199 ]")
![Painted Patch Adhesive Backed Dots [ 168443 ]](https://assets1.tamsnetwork.com/images/EC042017NF/168443s.jpg "Painted Patch Adhesive Backed Dots [ 168443 ]")
![Nested Essentials Dies [ 161597 ]](https://assets1.tamsnetwork.com/images/EC042017NF/161597s.jpg "Nested Essentials Dies [ 161597 ]")
![Mini Stampin' Cut & Emboss Machine [ 150673 ]](https://assets1.tamsnetwork.com/images/EC042017NF/150673s.jpg "Mini Stampin' Cut & Emboss Machine [ 150673 ]")