Festive Friday Week 5 – Quick & Simple with the Christmas Labels Stamp Set

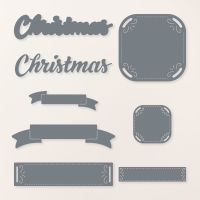
Welcome back to Festive Friday! This week’s card is a special one—it’s my first card post-surgery, and I’m so happy to be back crafting! Since I needed something easy and stress-free, I created a quick and simple Christmas card featuring the Christmas Labels Stamp Set & Dies. This bundle is currently on the Last Chance List, so if you love it, now is the time to grab it before it’s gone! ⏳

Let’s take a closer look at this week’s design! 🎄✨
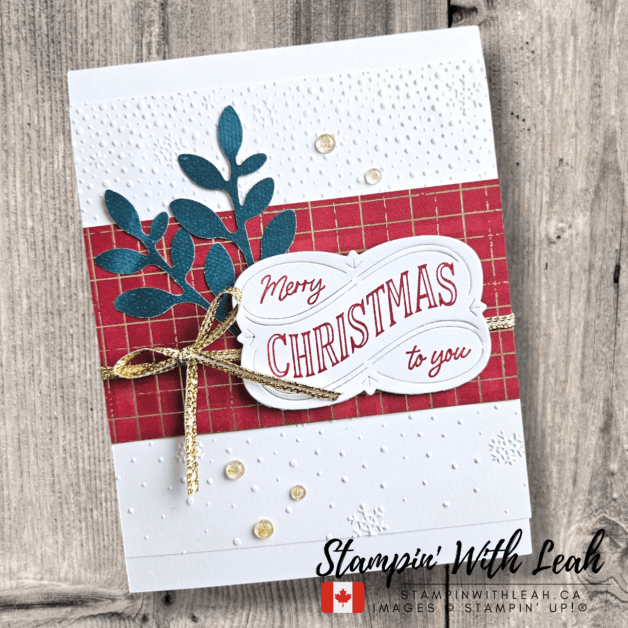

The Card Design

For this week’s layout, I kept things clean and simple, focusing on the gorgeous label die and festive stamped elements. This design is perfect for mass-producing if you’re getting a head start on holiday cards for Christmas 2025!

Card Highlights:

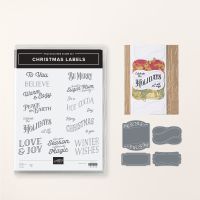
  • Stamp Set & Dies: Christmas Labels Stamp Set & Dies (Last Chance List!)
  • Quick & Simple Layout: A great go-to design when you need an easy yet beautiful card.
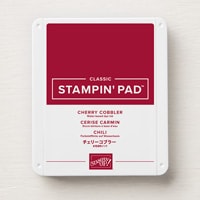
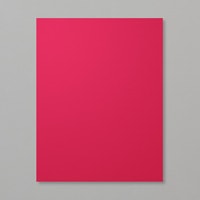
  • Festive Color Palette: A rich combination of Cherry Cobbler, Basic White, and Pretty Peacock for a classic holiday feel.
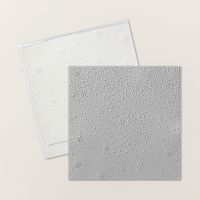
  • Elegant Texture: The embossed background adds a soft snowfall effect, making the design extra special.
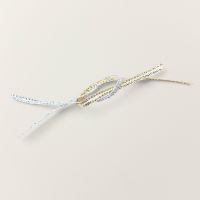
  • Metallic Accents: A gold trim bow and subtle embellishments bring warmth and shimmer to the card.

Supplies Used

Here’s what I used to create this card:

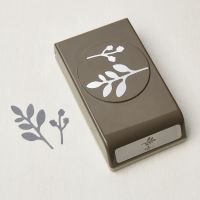
Bough Punch
[157711]
$33.00
Paper Snips
[103579]
$16.50

Step-by-Step Instructions

  1. Prepare the Card Base: Cut a piece of Thick Basic White cardstock to 4-1/4” x 11”, scored at 5-1/2”.
  2. Emboss the 2nd layer: Use the Snowflake Sky 3D embossing folder to add a soft snowfall texture to a 4-1/4” x 4-3/4” piece of Basic White cardstock.
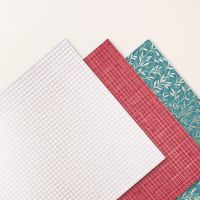
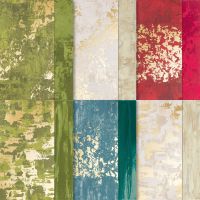
  3. Add Designer Series Paper: Cut a 4-1/4″ X 2-1/4″strip of Regal Distressed Pattern DSP (Cherry Cobbler and gold grid) and adhere it across the center of the embossed layer.
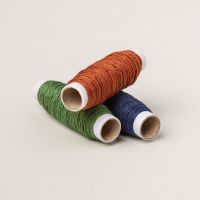
  4. Add Ribbon: Wrap a piece of gold trim and make a bow on the left side for a touch of elegance and then secure the whole layer to the card base.
  5. Die-Cut the Label: Using the Christmas Labels Dies, cut a decorative label from Basic White cardstock.
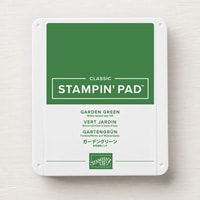
  6. Stamp the Sentiment: In Cherry Cobbler ink, stamp a holiday sentiment from the Christmas Labels Stamp Set onto the label. Attach this label to the right side of the card front using Dimenisonals.
  7. Create the Foliage Accent: Use the Bough Punch to create the Pretty Peacock foliage from the Season of Elegance DSP and tuck them behind the sentiment label, hold in place with Mini Glue Dots.
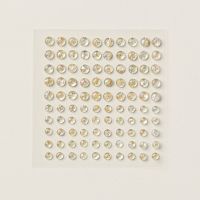
  8. Add Finishing Touches: Scatter a few Iridescent Foil Gems for subtle sparkle.

Why I Love This Design

Sometimes, simple is best! 💕 This layout is fast, elegant, and easy to replicate, making it a great choice for mass-producing holiday cards. Whether you’re crafting after a break (like me!) or just need a quick holiday project, this design is perfect.

If you love this Christmas Labels Stamp Set & Dies, don’t wait—it’s on the Last Chance List and won’t be around for long! 🎁 Shop now to grab yours before it retires!

Don’t forget to pin this post for inspiration and share with your crafty friends!

Happy stamping, and see you next week for another Festive Friday creation!

A perk to ordering with me in the month of February is that with any order over $75cdn, you will receive a FREE SAB item and I am emailing out an amazing 37 project Tutorial Bundle. Just use the host code below. As a member of my team you get free access to this Tutorial Bundle.

Let’s Craft Together!

I’d love for you to join one of my in-person card classes:

These classes are perfect for all skill levels and are a great way to learn new techniques, try out Stampin’ Up! products, and connect with other cardmakers. Spots fill up quickly, so be sure to register early!

Also, don’t forget to sign up for my Stampin’ With Leah Newsletter to get all the details on upcoming events, promotions, and creative tips. You won’t want to miss out!

Live in Canada, don’t have a demonstrator? Contact me to get a catalogue or find out why right now is a great time to join my team.

You can see all the benefits of joining my team (the Ink Pad Pals) by clicking the image below. Right now there are even more perks to joining during Sale-a-bration!

Click here to shop my online store.
Click here to access & view the current catalogs.
Click here to subscribe to Thanks for hopping by! Make sure to pin this post for future reference and share it with your crafty friends.those fun Paper Pumpkin kits of creativity!
Click here for more information about joining my Online Monthly Technique Club. Earn even more goodies by joining a club!
Click here to learn more about joining my Ink Pad Pals Team. Get the MOST rewards including a discount on future products!
Follow me on social media! I share regularly on Pinterest, YouTube, and Facebook!
Please subscribe to my newsletter, too! Click here and enter your email. When you include your birthday you will even be added to my birthday card mailing list 🙂


Festive Friday Week 4 – Spotlight on the One of a Kind Stamp Set!

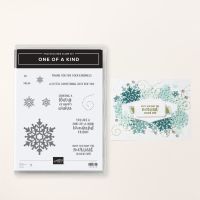
Happy Friday, friends! Welcome to Week 4 of my Festive Friday series. This project is part of my 2025 crafting goals to create one Christmas card every week, and I’m so excited to share this week’s creation with you. Keeping up with this challenge has been so inspiring, and I hope it’s bringing you some holiday cheer as well!

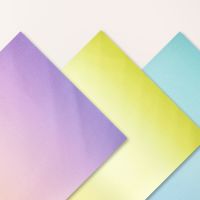
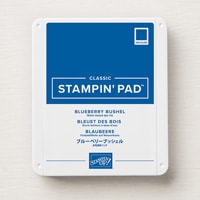
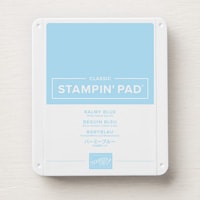
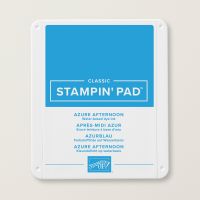
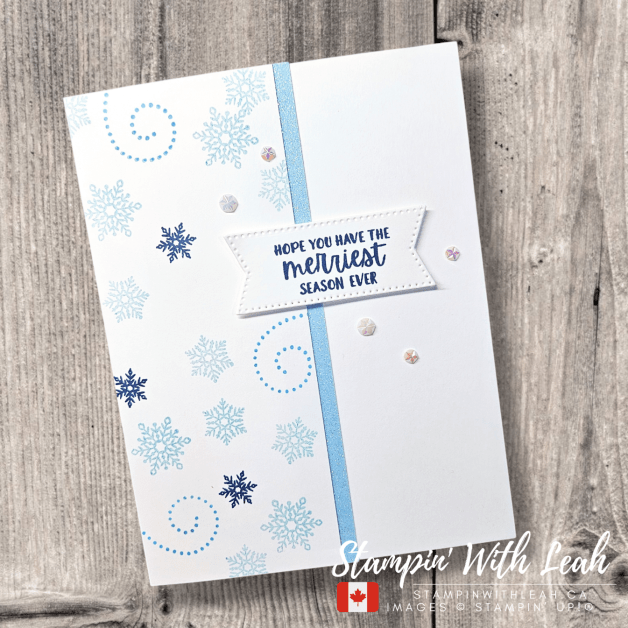
This week’s card features the One of a Kind Stamp Set and a gorgeous color palette of Blueberry Bushel, Balmy Blue, and Azure Afternoon. With the addition of Pastel Ombre Glimmer Specialty Paper and Iridescent Faceted Gems, this card sparkles in all the right ways. Let’s take a closer look at the details!


The Card Design

For this week’s design, I wanted to focus on simplicity with a touch of elegance. The One of a Kind Stamp Set provides beautiful imagery that shines on its own, while the glimmer paper and gems add the perfect festive sparkle.

Here are some highlights of the card:

  • Color Palette: The combination of Blueberry Bushel, Balmy Blue, and Azure Afternoon creates a wintery vibe that’s fresh and modern.
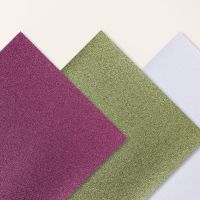
  • Specialty Paper: A strip of Pastel Ombre Glimmer Specialty Paper adds shimmer and visual interest without overpowering the stamped details.
  • Embellishments: Iridescent Faceted Gems provide the perfect finishing touch, adding dimension and sparkle.

This card is perfect for mass production or as a special one-off design for someone who loves a touch of holiday glamour.

Supplies Used

Here’s what I used to create this card:


Why I Love the One of a Kind Stamp Set

This stamp set is perfect for clean and simple designs that still feel special. The images are so versatile, allowing you to create everything from minimalist cards to more elaborate designs. Paired with a touch of sparkle from the Glimmer Specialty Paper and gems, it’s a winning combination for holiday crafting.

Are you ready to add the One of a Kind Stamp Set to your collection? It’s the perfect choice for creating elegant holiday cards with ease. Visit my online store to shop your favorite supplies today and join me in crafting all year long!

Don’t forget to subscribe to my blog and follow me on social media for weekly Festive Friday inspiration. Let me know in the comments: What’s your favorite way to add sparkle to your cards?

Happy stamping, and I’ll see you next Friday for another Festive Friday creation!

A perk to ordering with me in the month of January or February is that with any order over $75cdn, you will receive a FREE SAB item and I am emailing out an amazing 30+ project Tutorial Bundle. Just use the host code below. As a member of my team you get free access to this Tutorial Bundle.

Let’s Craft Together!

I’d love for you to join one of my in-person card classes:

These classes are perfect for all skill levels and are a great way to learn new techniques, try out Stampin’ Up! products, and connect with other cardmakers. Spots fill up quickly, so be sure to register early!

Also, don’t forget to sign up for my Stampin’ With Leah Newsletter to get all the details on upcoming events, promotions, and creative tips. You won’t want to miss out!

Live in Canada, don’t have a demonstrator? Contact me to get a catalogue or find out why right now is a great time to join my team.

You can see all the benefits of joining my team (the Ink Pad Pals) by clicking the image below. Right now there are even more perks to joining during Sale-a-bration!

Click here to shop my online store.
Click here to access & view the current catalogs.
Click here to subscribe to Thanks for hopping by! Make sure to pin this post for future reference and share it with your crafty friends.those fun Paper Pumpkin kits of creativity!
Click here for more information about joining my Online Monthly Technique Club. Earn even more goodies by joining a club!
Click here to learn more about joining my Ink Pad Pals Team. Get the MOST rewards including a discount on future products!
Follow me on social media! I share regularly on Pinterest, YouTube, and Facebook!
Please subscribe to my newsletter, too! Click here and enter your email. When you include your birthday you will even be added to my birthday card mailing list 🙂


Festive Friday Week 3 – Spotlight on the Take a Bow DSP

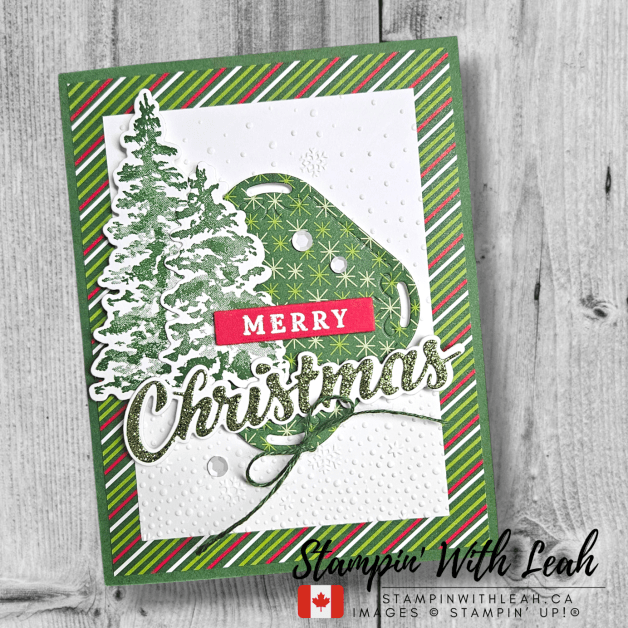
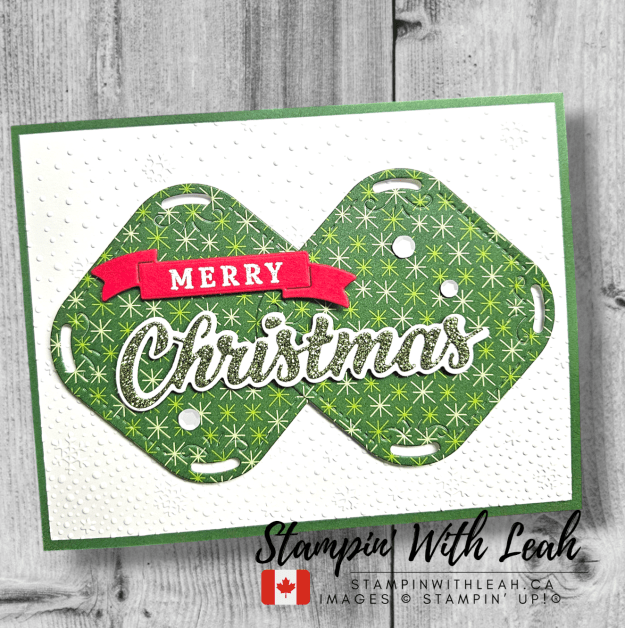
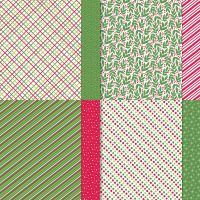
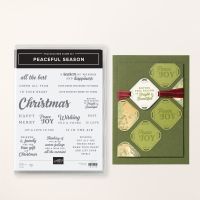
Happy Friday, stamping friends! Welcome back to Festive Friday, where I share holiday card inspiration to keep your Christmas crafting on track all year long. This week, I’ve paired the versatile Take a Bow Designer Series Paper (DSP) with the Peaceful Season Stamp Set and Dies. These products create a stunning mix of festive textures and classic holiday charm.

The bold patterns of the DSP shine as a focal point, while subtle embossed backgrounds add texture and depth to the designs. I kept the color palette traditional with shades of green, red, and white, adding pops of sparkle and dimension with glimmer paper accents, linen thread, and sequins.

Whether you’re drawn to elegant sentiments like “Peace & Joy” or bold greetings like “Merry Christmas,” these cards are simple yet impactful, perfect for spreading holiday cheer.

Why You’ll Love These Products:

  • Take a Bow DSP: The festive patterns and rich colors make it a versatile choice for holiday projects.
  • Peaceful Season Stamp Set and Dies: With timeless holiday greetings and elegant coordinating dies, this set is a must-have for Christmas crafting.

Sale-A-Bration & Last Chance Reminder:

  • The Peaceful Season Stamp Set and Dies are on the Last Chance List—grab them before they’re gone!
  • Don’t forget, every $75 CAD purchase during Sale-A-Bration earns you a free reward, making it the perfect time to stock up on your crafting essentials.

Supplies Used

Here’s what I used to create this card:


A perk to ordering with me in the month of January is that with any order over $75cdn, you will receive a FREE SAB item and I am emailing out an amazing 38 project Tutorial Bundle. Just use the host code below. As a member of my team you get free access to this Tutorial Bundle.

Let’s Craft Together!

I’d love for you to join one of my in-person card classes:

These classes are perfect for all skill levels and are a great way to learn new techniques, try out Stampin’ Up! products, and connect with other cardmakers. Spots fill up quickly, so be sure to register early!

Also, don’t forget to sign up for my Stampin’ With Leah Newsletter to get all the details on upcoming events, promotions, and creative tips. You won’t want to miss out!

Live in Canada, don’t have a demonstrator? Contact me to get a catalogue or find out why right now is a great time to join my team.

You can see all the benefits of joining my team (the Ink Pad Pals) by clicking the image below. Right now there are even more perks to joining during Sale-a-bration!

These cards were such a joy to create, and I hope they inspire you to make your own holiday projects. I’d love to hear which products you’re excited to craft with—let me know in the comments below!

Click here to shop my online store.
Click here to access & view the current catalogs.
Click here to subscribe to Thanks for hopping by! Make sure to pin this post for future reference and share it with your crafty friends.those fun Paper Pumpkin kits of creativity!
Click here for more information about joining my Online Monthly Technique Club. Earn even more goodies by joining a club!
Click here to learn more about joining my Ink Pad Pals Team. Get the MOST rewards including a discount on future products!
Follow me on social media! I share regularly on Pinterest, YouTube, and Facebook!
Please subscribe to my newsletter, too! Click here and enter your email. When you include your birthday you will even be added to my birthday card mailing list 🙂

Festive Friday Week 2 – Featuring the Iconic Imagery Bundle!

Happy Friday, friends! I’m so excited to share my second Festive Friday creation with you. This series is part of my crafting goals for 2025: to create one Christmas card every week and keep the holiday spirit alive year-round. It’s been such a joy to embrace this challenge and spark inspiration for Christmas crafting early in the year.

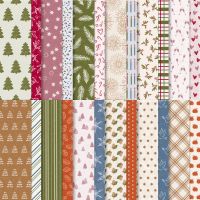
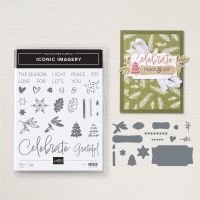
This week’s card spotlights the Iconic Imagery Stamp Set and Dies Bundle, and the Iconic Celebrations Designer Series Paper (DSP). These products are a dream for creating timeless designs with a touch of elegance. Let’s dive into the details of this project!

The Card Design

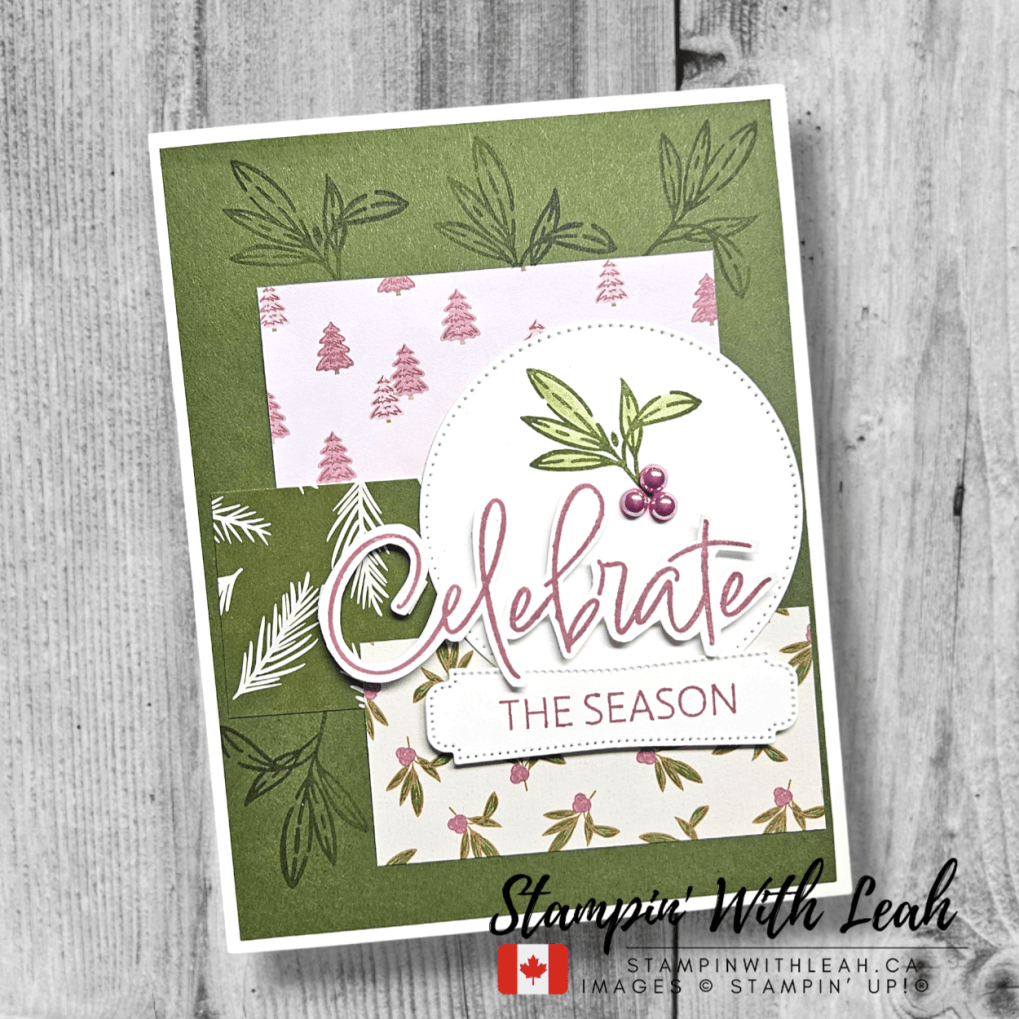
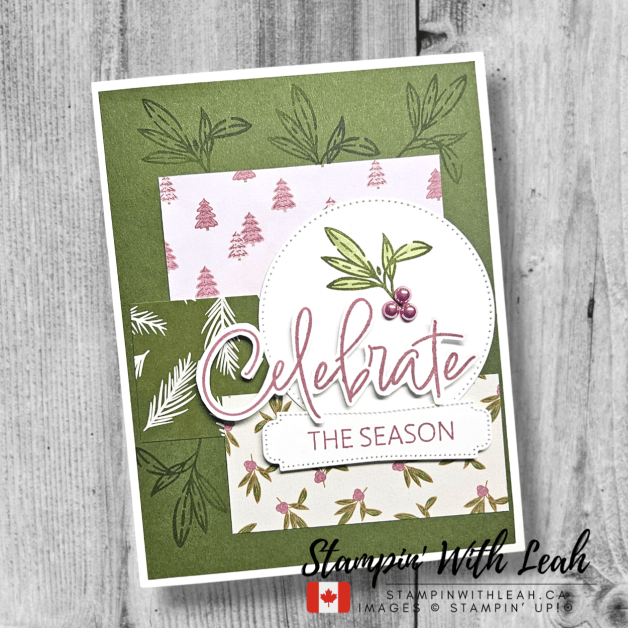
For this card, I wanted to showcase the versatility of the Iconic Imagery Bundle. The layered DSP creates depth and adds a beautiful contrast between the soft pinks and vibrant greens. The stamped images are simple yet striking, perfectly complementing the patterns in the DSP.

Here are some of the key features of this card:

  • Background Stamping: I used the foliage stamps from the Iconic Imagery set to add subtle details to the green card base, creating a cohesive look.
  • Layered DSP: The Designer Series Paper adds so much interest with its mix of classic Christmas motifs. The pink tree pattern is one of my favorites, offering a fresh take on holiday colors.
  • Focal Point: The “Celebrate the Season” sentiment is fussy-cut and layered on a stitched circle, accented with stamped greenery and Adhesive-backed Pearl Trio “berries” for a polished finish.

This design is perfect for mass-producing Christmas cards or as a one-of-a-kind creation for someone special!

Supplies Used

Here’s what I used to create this card:


Paper Snips
[103579]
$16.50

Step-by-Step Instructions

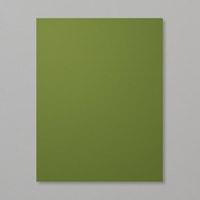
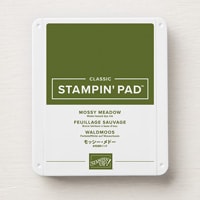
  1. Prepare Your Base: Start with a Thick Basic White card base. Cut it to 8-1/2” x 5-1/2” and score at 4-1/4”. Stamp the foliage images randomly across the background in Mossy Meadows ink.
  2. Layer the DSP: Cut pieces of the Iconic Imagery DSP to 3” x 4” and 2” x 4”. Layer them on the card base, slightly offset for added dimension.
  3. Create the Sentiment: Stamp “Celebrate the Season” in Rich Razzleberry ink on Basic White cardstock. Die-cut the sentiment and a stitched circle using the Iconic Imagery Dies. Stamp greenery and berries on the circle for a decorative touch.
  4. Assemble the Card: Adhere the stitched circle and sentiment to the card using Stampin’ Dimensionals. Add a few adhesive-backed pearls to the berries for added detail.
  5. Finishing Touches: Double-check your card for balance and alignment, and it’s ready to go!

Why I Love the Iconic Imagery Bundle

This bundle is perfect for crafters who love timeless designs and versatile products. Whether you’re creating cards, tags, or scrapbook layouts, the stamps and dies in this set are endlessly inspiring. Plus, the DSP’s mix of traditional and modern patterns makes it a must-have for holiday crafting.


Shop and Earn Free Products!

Ready to start your Christmas crafting goals? The Iconic Imagery Stamp Set, Bundle, and DSP are available now, but don’t wait too long – these products are flying off the shelves! Visit my online store to shop your favorites and join me in making 2025 a year full of festive creativity. Now is a great time to shop as well since for every $75 you spend, you earn a FREE Sale-a-bration item.

Don’t forget to subscribe to my blog and follow me on social media for weekly Festive Friday inspiration! Let me know in the comments: What colors or designs are inspiring your Christmas crafting this year?

Happy stamping, and I’ll see you next Friday for another Festive Friday creation!

A perk to ordering with me in the month of January is that with any order over $75cdn, you will receive a FREE SAB item and I am emailing out an amazing 38 project Tutorial Bundle. Just use the host code below. As a member of my team you get free access to this Tutorial Bundle.

To make sure you learn about all my upcoming events and don’t miss any sales join my newsletter or check out everything at linktr.ee/stampinwithleah.

Live in Canada, don’t have a demonstrator? Contact me to get a catalogue or find out why right now is a great time to join my team.

You can see all the benefits of joining my team (the Ink Pad Pals) by clicking the image below. Right now there are even more perks to joining during Sale-a-bration!

Thanks for hopping by! Make sure to pin this post for future reference and share it with your crafty friends.

Click here to shop my online store.
Click here to access & view the current catalogs.
Click here to subscribe to Thanks for hopping by! Make sure to pin this post for future reference and share it with your crafty friends.those fun Paper Pumpkin kits of creativity!
Click here for more information about joining my Online Monthly Technique Club. Earn even more goodies by joining a club!
Click here to learn more about joining my Ink Pad Pals Team. Get the MOST rewards including a discount on future products!
Follow me on social media! I share regularly on Pinterest, YouTube, and Facebook!
Please subscribe to my newsletter, too! Click here and enter your email. When you include your birthday you will even be added to my birthday card mailing list 🙂