This week I’m reaching into my stash to spotlight the retired Slim Sayings stamp set, used here for a bold and joyful “Congrats to the Graduate”. Graduation season is upon us, and I’m loving how this layout blends nostalgia with sparkle using both retired and current Stampin’ Up! products.
🖤 Design Details:
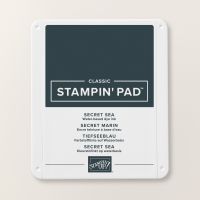
Sentiment from Slim Sayings stamped in Secret Sea Ink
Graduation cap from the School Days Online Exclusive set
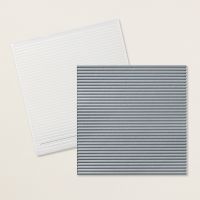
Background embossed using the Mini Corrugated 3D Embossing Folder
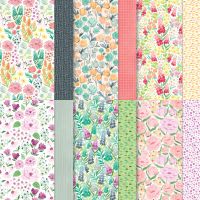
Patterned layer is from the Florals in Bloom 12×12 DSP
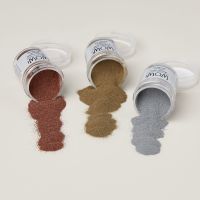
Secret Sea panel with gold heat-embossed stars
Both panels framed in Summer Splash cardstock
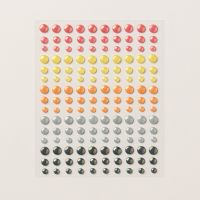
Embellished with In Color Flat Pearls (Summer Splash)
💡 Pro Tip: The Mini Corrugated folder shrinks your paper. To achieve a finished panel of 5¼” x 4″, start with a 5½” x 4″ piece, emboss it, and trim the excess. This keeps your layout crisp and even.
✨ A touch of gold embossing on the tassel adds a celebratory feel, while Summer Splash pearls echo the card’s soft colour palette. This design would work beautifully for high school, college, or kindergarten grads alike!
Do you have a go-to retired stamp for milestone celebrations? I love revisiting old favourites like Slim Sayings for bold sentiments that still shine.
🛍️ Ready to craft your own graduation cards?
🛒 Shop the current supplies used in this project here:
Starting June 3, all available suites and suite products from the 2025–2026 Annual Catalog and Online Exclusives are buy one, get one 50% off! If you’ve had your eye on a new suite from the annual catalog or you really like the look of a stamp set from an Online Exclusives suite, you don’t have to choose—you can get both!
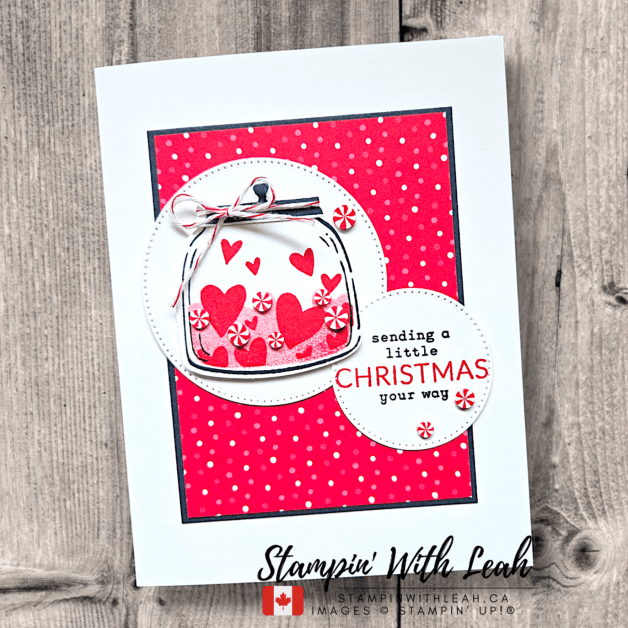
Today’s project is bursting with charm and sweetness thanks to the Sweet Jar bundle, one of my new favourites. I filled the stamped jar with Real Red hearts and peppermint candies and layered it over a bold print from the Take a Bow 6×6 Designer Series Paper—which is retiring soon, so grab it before it’s gone!
To give the layout some balance and polish, I used the Stylish Shapes Dies to create crisp stitched circles behind the jar and sentiment. The sentiment comes from mixing the a sentiment from the Sweet Jar stamp set with the classic Greetings of the Season stamp set.
But the real magic? That Secret Sea ink and thin trim of cardstock—just enough to cool down all that red and make everything pop. It’s my new go-to neutral and I’m obsessed!
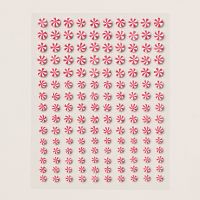
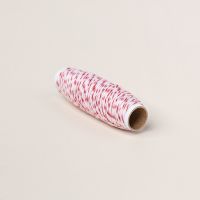
The Adhesive-Backed Peppermint Dots and a simple bow of Real Red & White Baker’s Twine complete the look with a playful, candy-cane twist.
🛒 Want to make this card?
Everything you need is available in my online store: 👉 Shop Now
Looking for even more ways to enjoy stamping? Join my Stampin’ Up! Ink Pad Pals team! Now is a great time to join with our fabulous Starter Kit deal. This deal expires May 31!! Act FAST!
Save 20%+ on your orders.
Get free access to my monthly card class tutorials.
Enjoy our monthly team meetings with stamping fun and collaboration.
Contact me to find out more or see the details on my website.
Thanks for stopping by! I hope this card inspires your next holiday creation. Don’t forget to follow for more weekly inspiration and holiday cheer.
Click here to shop my online store. Click here to access & view the current catalogs. Click here to subscribe to those fun Paper Pumpkin kits of creativity! Click here for more information about joining my Online Monthly Technique Club. Earn even more goodies by joining a club! Click here to learn more about joining my Ink Pad Pals Team. Get the MOST rewards including a discount on future products! Follow me on social media! I share regularly on Pinterest, YouTube, and Facebook! Please subscribe to my newsletter, too!Click here and enter your email. When you include your birthday you will even be added to my birthday card mailing list 🙂
In this week’s Live, I played along with the Global Design Project #498 sketch challenge to create a vibrant birthday card featuring the Sweet Jar Bundle—a playful sneak peek at the bundle I am featuring in my upcoming Sweet Jar Virtual Card Class!
Later in the day, I was inspired by the same sketch to create a second project—a gift card holder using the Online Exclusive Poppin’ By Bundle. This bold and fun card is perfect for movie lovers and teens!
🎈 Sweet Jar Birthday Card (Live Video) I used the Bright & Beautiful DSP (a Last Chance item!) and jar of stamped candles to make a fun, bright birthday card. The iridescent gems finish it off with a little shimmer! This layout is part of GDP498 and shows how you can quickly mix paper and dies for a playful, professional look.
🎬 Poppin’ By Gift Card Holder (Bonus Project) Later in the day, I kept the creative energy going by using the same sketch to make a gift card holder with the Poppin’ By Bundle. I love the bold red and white stripes, stitched banner sentiment, and popcorn puff details. It’s such a fun card to give!
📌 Be sure to visit Global Design Project page to see the full challenge and more stunning inspiration from creators around the world.
🧁 Don’t Miss out on the Sweet Jar Bundle? Join My Upcoming Class! I’m thrilled to announce an upcoming Virtual Card Class featuring this exact bundle! You’ll get everything you need to make some super sweet projects—and yes, we’ll be using those darling jars.
🚨 Note shipping: In the event of a postal strike, we will work out alternate shipping or pick-up options. This may incur additional costs depending on your location.
Time’s running out to join my Stampin’ Up! Ink Pad Pals team!
Save 20%+ on your orders.
Get free access to my monthly card class tutorials.
Enjoy our monthly team meetings with stamping fun and collaboration.
Contact me to find out more or see the details on my website.
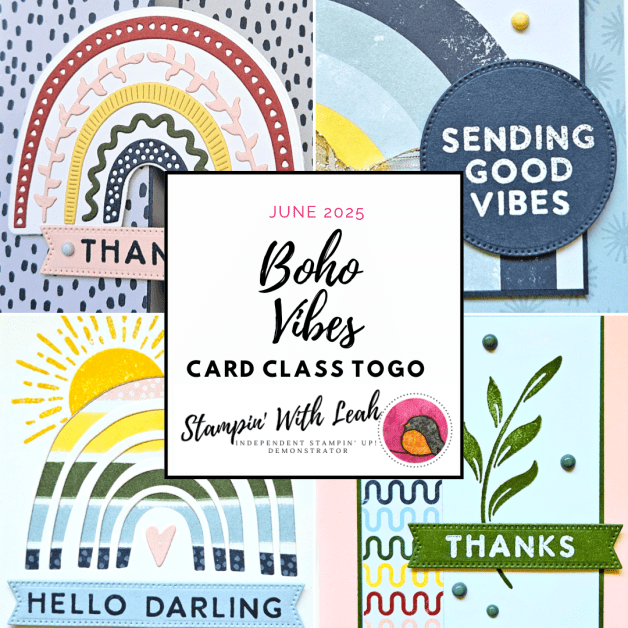
Looking for more crafting fun? Join myJune Card Class to learn new techniques and create beautiful projects. Spots are limited, so reserve yours today!
The three colours in this challenge are part of the new In Colors for 2025-2027. Below is great way to collect them all and get some great inspiration.
✨ Thanks so much for stopping by my creative corner! I hope you’ll give this sketch a try and maybe even join in on this week’s #GDP498 challenge.
Click here to shop my online store. Click here to access & view the current catalogs. Click here to subscribe to those fun Paper Pumpkin kits of creativity! Click here for more information about joining my Online Monthly Technique Club. Earn even more goodies by joining a club! Click here to learn more about joining my Ink Pad Pals Team. Get the MOST rewards including a discount on future products! Follow me on social media! I share regularly on Pinterest, YouTube, and Facebook! Please subscribe to my newsletter, too!Click here and enter your email. When you include your birthday you will even be added to my birthday card mailing list 🙂
This week’s Hand Stamped Sentiments Challenge is a sketch challenge (HSS464) and I’m excited to share my interpretation using some of the newest and sweetest products from Stampin’ Up!
I’ve used the Sweet Jar bundle along with the Florals in Bloom 12×12 Designer Series Paper to create a playful birthday card full of charm—and hearts!
Here’s my design for the challenge:
🌸 Project Details:
Card base: Secret Sea cardstock (8½” x 5½”, scored at 4¼”)
DSP strips: I layered two coordinating pieces from the Florals in Bloom DSP—one vertical strip with a bold Strawberry Slush cross pattern and a shorter Cloud Cover stripe across the jar for visual balance.
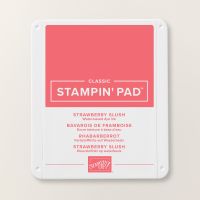
Jar & hearts: I stamped the jar outline in Secret Sea and filled it with layered heart stamps in Strawberry Slush full strength and 2nd generation inks. The lid was also stamped in Sweet Sorbet. Both parts were punched out using the coordinating punch.
Sentiment: “Happy Birthday” is stamped in Secret Sea on a stitched banner die-cut (from the Stylish Shapes dies).
Embellishments: I finished the card with three Strawberry Slush 2025–2027 In Color Flat Pearls, adding the perfect pop of coordinating colour.
The circle, banner and jar are mounted with Stampin’ Dimensionals to give that fun layered look that really makes the jar pop!
Although this specific card design is not part of the class, I’ll be featuring the same Sweet Jar bundle and Florals in Bloom DSP in my upcoming virtual card class this July. The class includes pre-cut kits, a PDF tutorial, and video guidance to help you make several beautiful cards using these products.
Looking for more crafting fun? Join myJune Card Class to learn new techniques and create beautiful projects. Spots are limited, so reserve yours today!
I hope this card inspires you to play along with the HSS464 Sketch Challenge! Be sure to visit the Hand Stamped Sentiments blog to see more amazing inspiration from the design team.
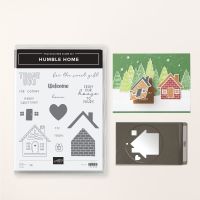
This week’s handmade Christmas card is all about sweet details and versatile layouts. I used the Humble Home stamp set and punch to create the cutest gingerbread house focal point, accented with Adhesive-Backed Peppermint Dots for a fun holiday pop.
The Take a Bow 6×6 Designer Series Paper—a retiring favourite on the Last Chance List—adds a joyful mix of stripes and polka dots. I tied everything together with a bow of White 1/4″ Ribbon for that finishing touch.
✅ This layout is a repeat of yesterday’s Throwback Thursday—because when a design works, I say use it again! ✅ Great for batch card-making during the holidays.
🛒 Want to make this card?
Everything you need is available in my online store: 👉 Shop Now
Stampin’ Up!’s NEW Stampin’ Rewards program is here! • Earn points on orders of $25 CAD or more • Redeem points for FREE product • Be sure to opt in under your customer account to start earning
🎁 A little extra joy with every order!
Looking for more ways to stamp with me? Make sure to watch my You Tube live each Wednesday and if you are local – join my card class!
Thanks for stopping by! I hope this card inspires your next holiday creation. Don’t forget to follow for more weekly inspiration and holiday cheer.
Click here to shop my online store. Click here to access & view the current catalogs. Click here to subscribe to those fun Paper Pumpkin kits of creativity! Click here for more information about joining my Online Monthly Technique Club. Earn even more goodies by joining a club! Click here to learn more about joining my Ink Pad Pals Team. Get the MOST rewards including a discount on future products! Follow me on social media! I share regularly on Pinterest, YouTube, and Facebook! Please subscribe to my newsletter, too!Click here and enter your email. When you include your birthday you will even be added to my birthday card mailing list 🙂
I’m excited to be back with another entry for the Global Design Project, and this week is a colour challenge—one of my favourites! The combo of Strawberry Slush, Secret Sea, and Darling Duckling is such a cheerful, fresh palette that practically screams birthday fun! 🎉
For this week’s card, I reached for the adorable Sweet Jar Bundle. I love how versatile this set is—you can fill the jar with so many fun elements! This time I used birthday candles to create a playful birthday card that’s both bold and sweet. I placed the jar inside a die-cut circle on a Secret Sea panel, layered over a soft Strawberry Slush tones DSP piece. A few embellishments in coordinating colours and a stitched sentiment banner finish the card perfectly.
Here’s the card I created:
💖 What I Love About This Card:
The candles inside the jar feel so festive and unique—like a mini birthday celebration!
The bold contrast between the soft background and the crisp Secret Sea die-cut window really makes the jar pop
The punch makes assembly quick and simple—perfect for beginners or batch-making
This design works for birthdays of all ages
🛠️ Tips for Creating This Card:
Stamp the jar and candles first, then punch them out for crisp, clean edges
Pop up the punched jar with Stampin’ Dimensionals for added dimension
Switch up what you “fill” the jar with for seasonal or themed cards—so versatile!
📌 Be sure to visit Global Design Project’s site to see the full challenge and more stunning inspiration from creators around the world.
🧁 Want to Create with the Sweet Jar Bundle? Join My Upcoming Class! I’m thrilled to announce an upcoming Virtual Card Class featuring this exact bundle! You’ll get everything you need to make some super sweet projects—and yes, we’ll be using those darling jars.
🚨 Note shipping: In the event of a postal strike, we will work out alternate shipping or pick-up options. This may incur additional costs depending on your location.
Join my Stampin’ Up! Ink Pad Pals team!
Save 20%+ on your orders.
Get free access to my monthly card class tutorials.
Enjoy our monthly team meetings with stamping fun and collaboration.
Contact me to find out more or see the details on my website.
Looking for more crafting fun? Join myJune Card Class to learn new techniques and create beautiful projects. Spots are limited, so reserve yours today!
The three colours in this challenge are part of the new In Colors for 2025-2027. Below is great way to collect them all and get some great inspiration.
✨ Thanks so much for stopping by my creative corner! I hope you’ll give this colour combo a try and maybe even join in on this week’s #GDP497 challenge.
Click here to shop my online store. Click here to access & view the current catalogs. Click here to subscribe to those fun Paper Pumpkin kits of creativity! Click here for more information about joining my Online Monthly Technique Club. Earn even more goodies by joining a club! Click here to learn more about joining my Ink Pad Pals Team. Get the MOST rewards including a discount on future products! Follow me on social media! I share regularly on Pinterest, YouTube, and Facebook! Please subscribe to my newsletter, too!Click here and enter your email. When you include your birthday you will even be added to my birthday card mailing list 🙂
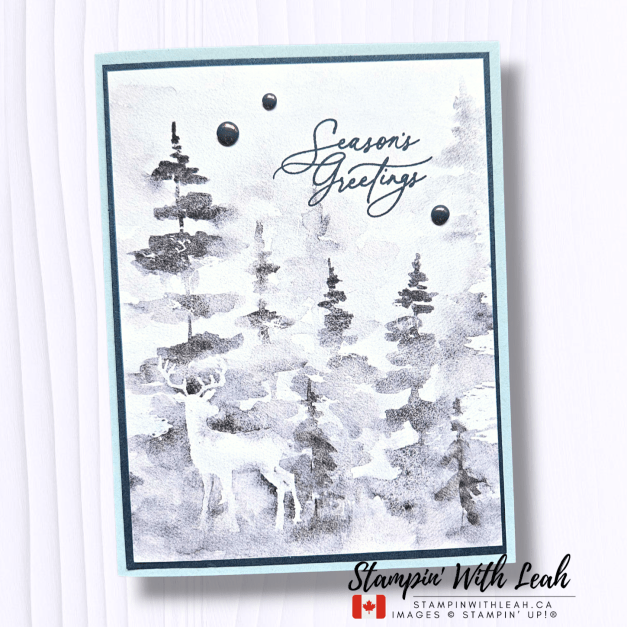
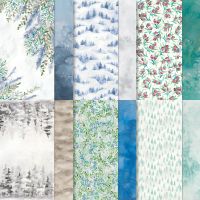
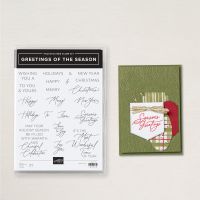
For this week’s Festive Friday, I’m spotlighting the stunning Winter Meadows 12″ x 12″ Designer Series Paper along with the elegant Greetings of the Season stamp set. These cards came together effortlessly thanks to this beautifully illustrated paper—perfect for creating serene winter scenes without needing a lot of stamping.
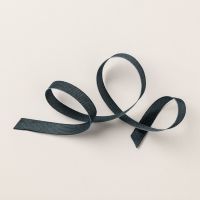
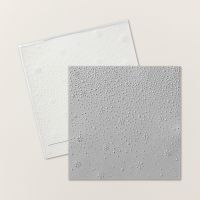
I chose two of the new 2025 In Colors—Secret Sea and Cloud Cover—to complement the soft, cool tones in the paper. One card keeps it simple with a single stamped sentiment and a peaceful forest scene, while the other adds layers, dry embossing, and a sweet bow for added texture and charm.
Why I Love This Paper
The Winter Meadows DSP makes cardmaking quick and satisfying. The imagery is detailed enough to stand on its own, meaning you can let the paper shine and still end up with a beautiful result. It’s ideal for making multiples during the busy holiday season!
If you’re looking to get a head start on your Christmas cards, give this combo a try! You’ll love how quickly your designs come together—and your recipients will love the cozy winter feel. ❄️🦌
Stampin’ Up! just launched an updated Stampin’ Rewards program—and it’s better than ever!
• Earn rewards on every order of $25 CAD or more • Redeem your points for free products • You must opt in to start earning—so be sure to sign up through your account
Now you can be rewarded for every crafty order, big or small!
Looking for more ways to stamp with me? Make sure to watch my You Tube live each Wednesday and if you are local – join my card class!
👉 Let me know which style you prefer: clean and simple or layered and textured?
Click here to shop my online store. Click here to access & view the current catalogs. Click here to subscribe to those fun Paper Pumpkin kits of creativity! Click here for more information about joining my Online Monthly Technique Club. Earn even more goodies by joining a club! Click here to learn more about joining my Ink Pad Pals Team. Get the MOST rewards including a discount on future products! Follow me on social media! I share regularly on Pinterest, YouTube, and Facebook! Please subscribe to my newsletter, too!Click here and enter your email. When you include your birthday you will even be added to my birthday card mailing list 🙂
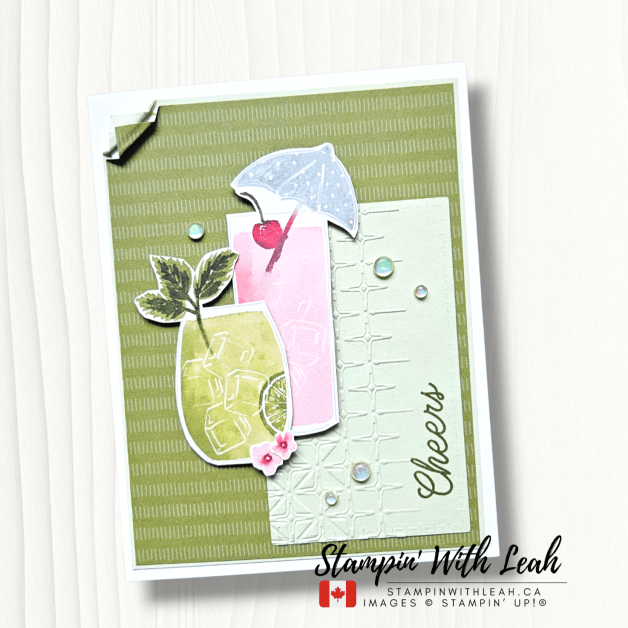
This week, I took on the Global Design Project Challenge #GDP496 by CASE-ing the designer with a fun twist: using one layout to create three unique cards – each with a different stamp set, but all showcasing the Celebratory Sips DSP and Holographic Foil Resin Dots!
This kind of layout challenge is my favourite way to spark creativity. It keeps design decisions simple while allowing for endless variation. Here’s a closer look at each card:
🍹 Cheers & Sips Card
Bright, summery, and refreshing! I paired cocktail images from the Cheers & Sips bundle with Soft Sea Foam cardstock and Old Olive DSP. The embossed panel adds just the right texture.
🐷 Party Piggy Card
How fun is this little pig?! The Party Piggy stamp set brings such whimsy to the same layout. I swapped in a cheerful orange stripe for a party-perfect look.
🦋 Beautiful Butterflies Card
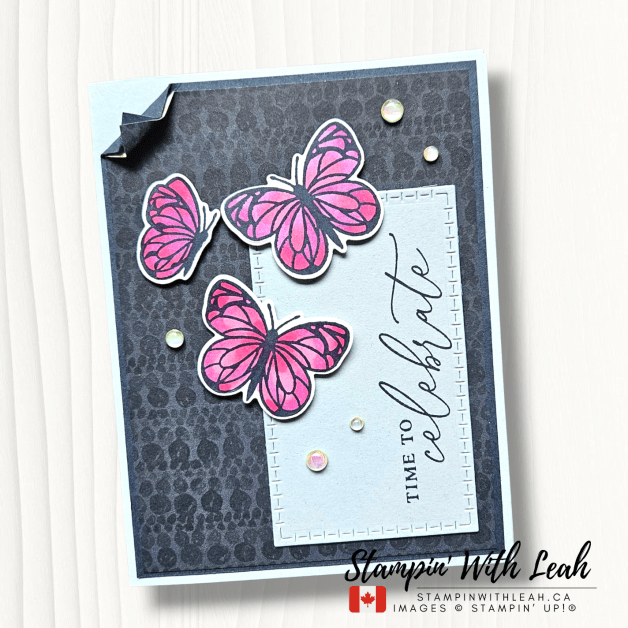
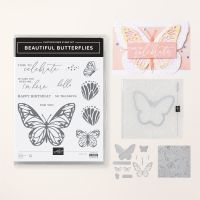
This third card has a completely different vibe – rich Secret Sea and sweet Strawberry Slush and Petunia Pop butterflies from Beautiful Butterflies make this one elegant and eye-catching. Same layout, totally different feel!
All three cards use the same: ✔️ Celebratory Sips DSP ✔️ Holographic Foil Resin Dots ✔️ Layout from GDP496
Let patterned paper guide your colours – it makes mixing sets easy!
Pick one layout and play with different stamps for quick cardmaking.
Use dimensional layers to make simple layouts pop.
Repeat your embellishments for a cohesive collection of cards.
Don’t Miss These:
🎨 Celebratory Sips Stamp Camp Create even more with this gorgeous DSP! This is the paper featured on today’s cards, and it’s part of my Celebratory Sips Mega Stamp Camp! Join now. You’ll get a fun-filled day of tutorials, project kits, and inspiration using this suite. 👉 Check out the details and sign up here!
Which card is your favourite? Let me know in the comments! And don’t forget to subscribe on YouTube so you never miss a project.
Click here to shop my online store. Click here to access & view the current catalogs. Click here to subscribe to those fun Paper Pumpkin kits of creativity! Click here for more information about joining my Online Monthly Technique Club. Earn even more goodies by joining a club! Click here to learn more about joining my Ink Pad Pals Team. Get the MOST rewards including a discount on future products! Follow me on social media! I share regularly on Pinterest, YouTube, and Facebook! Please subscribe to my newsletter, too!Click here and enter your email. When you include your birthday you will even be added to my birthday card mailing list 🙂
Welcome back to the Coast to Coast Creators Blog Hop! This month, our creative team is thrilled to introduce the brand new 2025–2027 In Colors from Stampin’ Up! These fresh and vibrant hues are perfect for spring and beyond. Whether you love bold brights or softer shades, this new lineup offers something for every style:
Strawberry Slush – a bright, happy pink
Timid Tiger – a soft, orangey-coral
Darling Duckling – a warm, sunny yellow
Cloud Cover – a dreamy, misty blue
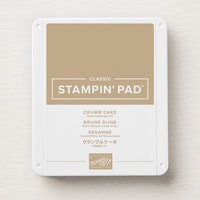
Secret Sea – a deep, mysterious navy
Many of the creators in our hop were inspired by a sketch this month… and while I may have missed including the sketch, I didn’t miss the chance to play with these gorgeous new colours!
My Card Set – Textured Notes + In Color Elegance
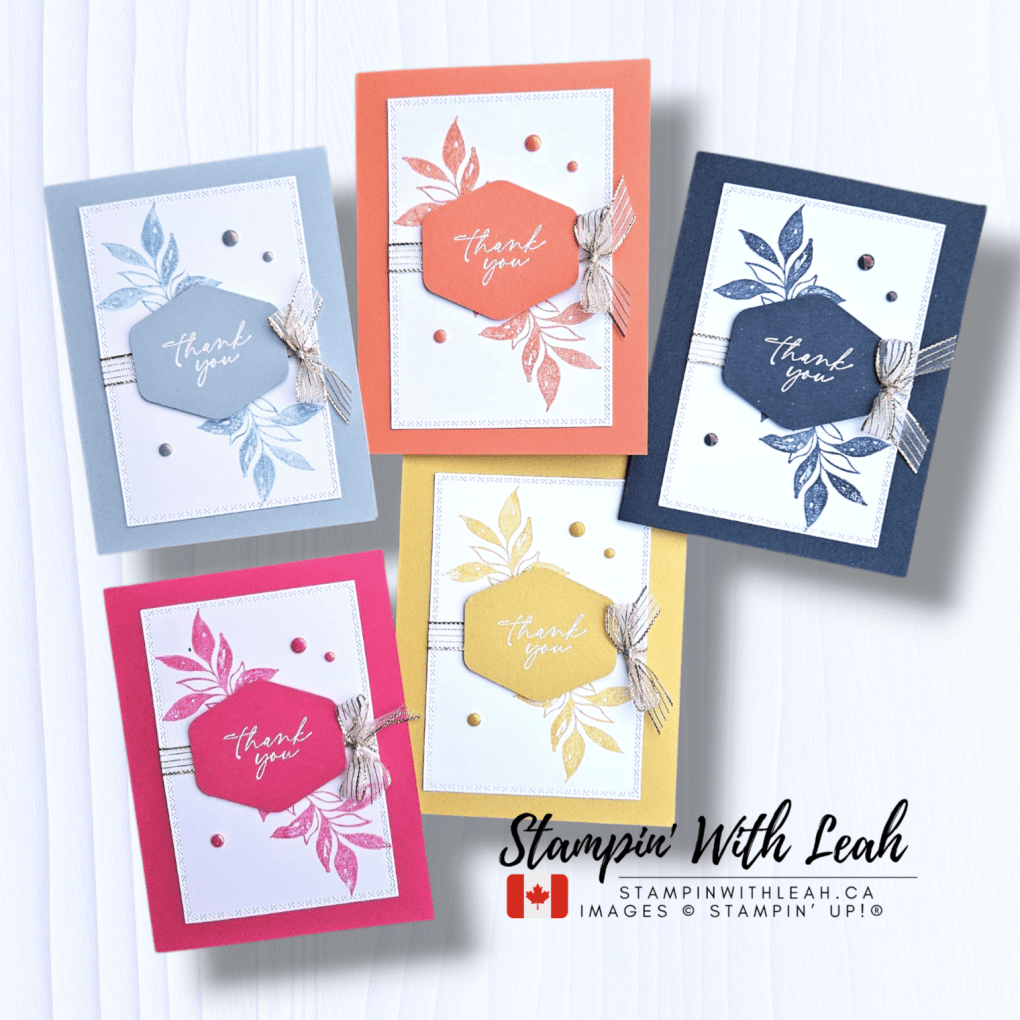
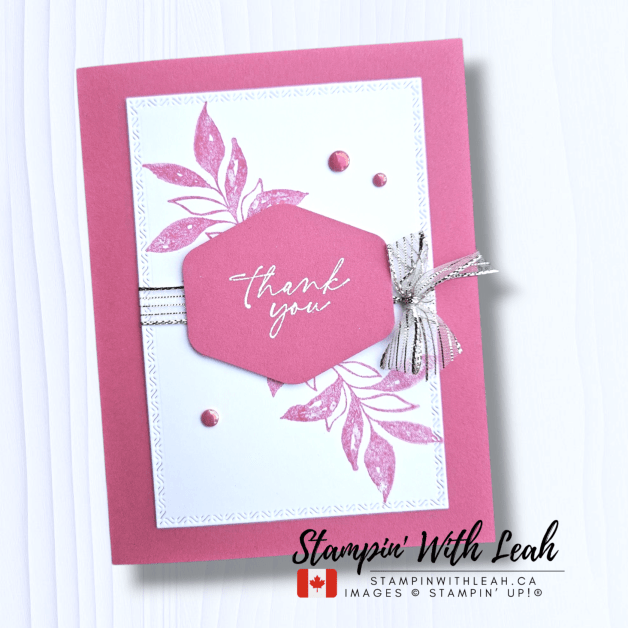
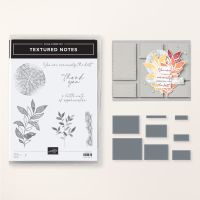
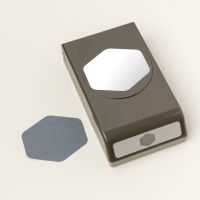
For my projects, I created a set of thank you cards using the new Textured Notes Bundle paired with the Heartfelt Hexagon Punch. I love how the leafy image fills the space without overpowering the sentiment — it makes for a simple, elegant focal point.
Each card features one of the new In Colors as the card base, coordinating stamped foliage, and a bold punched sentiment layer. I embellished each one with:
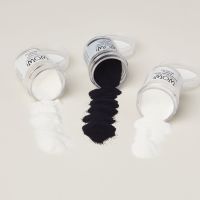
✨ Gold Striped Trim – adds a beautiful bit of shine ✨ 2025–2027 In Color Flat Pearls – the perfect subtle accent
I kept the layout clean and repeated the design to let the colors shine. This is a great way to create a coordinated set of cards or even prep a bunch to have on hand for gifts!
💙 Hop Along With Us!
You won’t want to miss what the rest of the Coast to Coast Creators have made this month! These demonstrators are so creative and bring a wide range of styles and techniques to inspire you:
👉 Click the link below to visit each blog and leave a little love 💕
Tips for Using Cloud Cover Ink
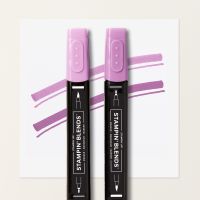
If you noticed that my Cloud Cover card looks just as soft and dreamy as the other colours—thank the Stampin’ Write Marker! Since a full-sized Cloud Cover Classic Ink Pad isn’t available due to a unique chemical reaction with the firm foam, I used my Stampin’ Write Marker to ink up the stamp directly. This works beautifully, especially with cling stamps like those in the Textured Notes set.
Why no ink pad for Cloud Cover? Stampin’ Up! discovered that when Cloud Cover ink meets the foam in our classic pads, it causes the colour to shift unpredictably. While they can’t reverse this reaction, there are still great options to enjoy this lovely hue:
Use the Cloud Cover Stampin’ Write Marker (available in the 2025–2027 Marker Pack – 165292)
Pair the Cloud Cover Classic Ink Refill l (165279) with Uninked Stampin’ Spots (141822) for consistent results
Look for the Stampin’ Spot Assortment Pack (166716), which includes a felt-based Cloud Cover spot!
While the 5-colour Classic Ink Pad Bundle won’t be available this year, you can still purchase Strawberry Slush, Timid Tiger, Darling Duckling, and Secret Sea ink pads individually. And trust me, Cloud Cover is still just as usable—you’ll simply reach for it a little differently.
Have you been thinking about joining Stampin’ Up!? Now is the perfect time. In May, you can choose $220 worth of products (including new In Color goodies!) and pay only $135 CAD — and there’s no shipping cost!
Whether you’re looking to save on your own orders or start a small business, the Starter Kit is completely customizable and there’s no obligation to sell. Plus, you’ll be part of my friendly and creative team! In Color productsin my online store here — and don’t forget, orders of $75+ qualify for my customer rewards!
Love the new In Colors but want to collect them gradually? My In Color Club is a fun and affordable way to build your collection over 4 months. Each month, you’ll receive a selection of products in all of the In Colors. See the details and register here: https://form.jotform.com/leahdixon41/in-colour-club-2025
✨ Let’s Stay Connected!
💌 Join my email list for early access to card classes, Stampin’ Up! promotions, and exclusive tutorials 📱 Follow me on Facebook and Instagram 🎥 Watch weekly Facebook Lives every Wednesday!
Thanks for stopping by my blog today! Be sure to hop along and check out what the rest of the Coast to Coast Creators have made with these fabulous new colors — you’re sure to be inspired.
Click here to shop my online store. Click here to access & view the current catalogs. Click here to subscribe to Thanks for hopping by! Make sure to pin this post for future reference and share it with your crafty friends.those fun Paper Pumpkin kits of creativity! Click here for more information about joining my Online Monthly Technique Club. Earn even more goodies by joining a club! Click here to learn more about joining my Ink Pad Pals Team. Get the MOST rewards including a discount on future products! Follow me on social media! I share regularly on Pinterest, YouTube, and Facebook! Please subscribe to my newsletter, too!Click here and enter your email. When you include your birthday you will even be added to my birthday card mailing list 🙂
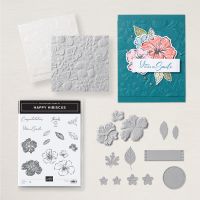
It’s time for a fresh new colour challenge over at Hand Stamped Sentiments, and this one has me dreaming of tropical blooms and sunny skies! For HSS Challenge #463, we’re playing with a gorgeous palette of Fresh Freesia, Summer Splash, and Soft Sea Foam — and I couldn’t resist pulling out the Happy Hibiscus Bundle for this one. 💜💦💚
Here’s my design for the challenge:
I started with a bold Summer Splash card base to make those florals pop, then added a panel of white cardstock cut with the Textured Notes Dies for that subtle stitched border. The hibiscus flowers are stamped in Fresh Freesia and layered with coordinating die cuts for added dimension.
I used Soft Sea Foam for the die-cut leaves — they give the card a nice balance without overpowering the blooms. And how sweet are those little white accent flowers with Holographic Resin Dots for some sparkle? They’re the perfect finishing touch!
This card came together so easily thanks to the Happy Hibiscus stamp set and dies — it’s quickly becoming one of my favourites for summer crafting. The mix of bold florals and delicate details is just right for cards that celebrate life’s special moments.
We’d love to see your take on this challenge! Head over to Hand Stamped Sentiments to get all the details and link up your project. Whether you’re a seasoned cardmaker or just starting out, our colour challenges are a great way to stretch your creativity!
🛍️ Great News! Stampin’ Rewards Now Start at $25+
Stampin’ Up! has made it even easier to earn free product! You can now earn Stampin’ Rewards on orders starting at just $25 (before tax and shipping) — no more waiting to hit a $200 threshold!
This new earning structure applies to all orders, whether you’re shopping for a few essentials or stocking up on a big wishlist. It’s a great way to enjoy a little extra every time you place an order.
Upcoming Card Classes
Looking for more crafting fun? Join myJune Card Class to learn new techniques and create beautiful projects. Spots are limited, so reserve yours today!
Thanks for stopping by! Let me know what you think of this week’s project, and if you’re creating with Fresh Freesia, Summer Splash, and Soft Sea Foam — I’d love to see what you come up with! Tag me on social @StampinWithLeah. 💬