
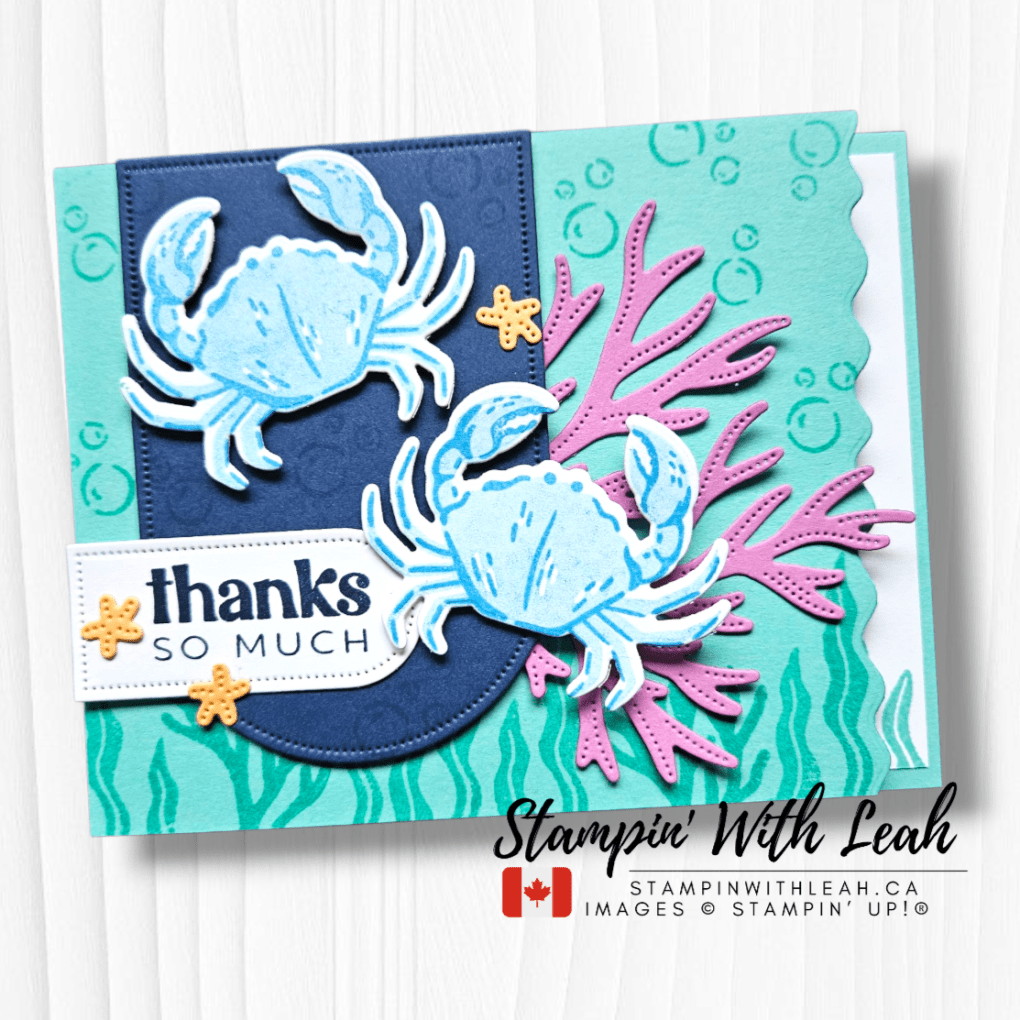
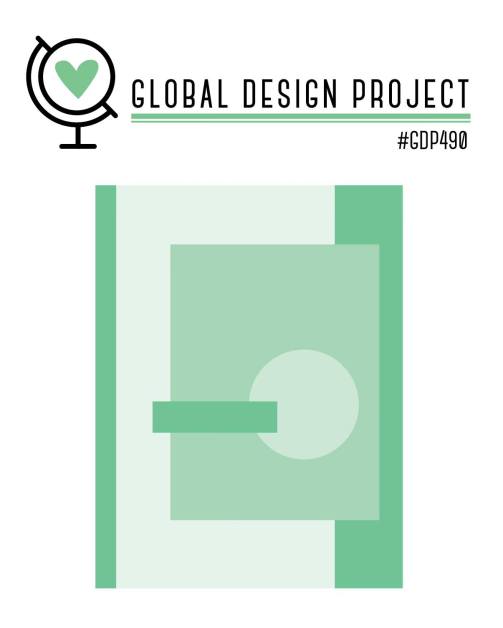
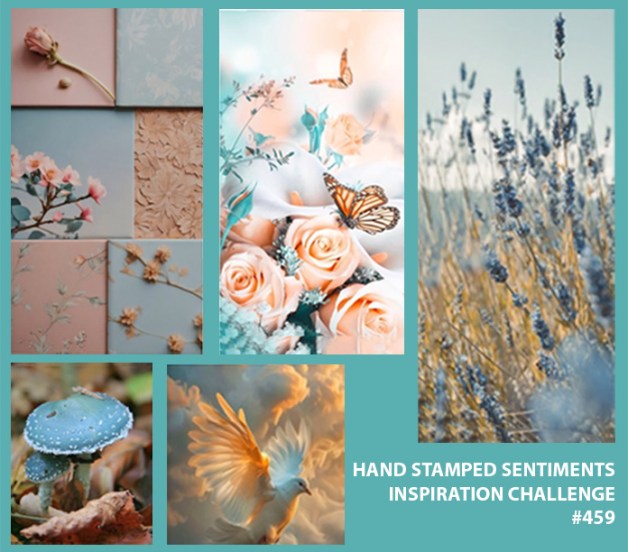
This week’s Facebook/You Tube Live was full of underwater charm as I featured the Last Chance Ocean Friends bundle in a fun thank-you card inspired by the Global Design Project Challenge #491 – the theme is Ocean! 🌊

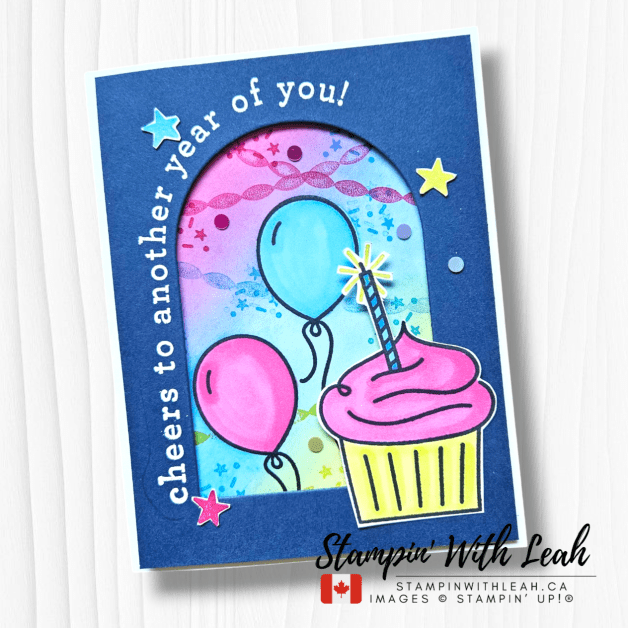
Here’s the card I created:

Watch the full replay here:
🌟 Card Details:
This bright and cheerful design combines 2024–2026 In Colors with a few old favourites to create a layered, sea-inspired look. Here’s what I used:
- Stamp Set & Dies: Ocean Friends Bundle (Retiring – Last Chance!)
- Colours:
- Card Base: Summer Splash
- Coral: Petunia Pop
- Crabs: Azure Afternoon (2-step stamping)
- Sea Stars: Peach Pie
- Background Arch: Night of Navy (leftover from a previous card – love when scraps come in handy!)
- Sentiment: “Thanks so much” stamped in Night of Navy
- Extra touches: Bubble stamps and seaweed add that fun ocean floor feel!
This card would be perfect to thank someone for a beach day, a seafood dinner invite, or just to brighten someone’s day with a smile.
🧼 Tip of the Day:
The 2-step stamping technique works beautifully with solid images like these crabs – it gives the critters more personality and dimension!
Here is a list of all the supplies I used:
![Summer Splash 8 1/2" X 11 Cardstock [ 163797 ]](https://assets1.tamsnetwork.com/images/EC042017NF/163797s.jpg "Summer Splash 8 1/2\" X 11 Cardstock [ 163797 ]") $15.75 | ![Night Of Navy 8-1/2" X 11" Cardstock [ 100867 ]](https://assets1.tamsnetwork.com/images/EC042017NF/100867s.jpg "Night Of Navy 8-1/2\" X 11\" Cardstock [ 100867 ]") $15.75 | ![Petunia Pop 8 1/2" X 11" Cardstock [ 163801 ]](https://assets1.tamsnetwork.com/images/EC042017NF/163801s.jpg "Petunia Pop 8 1/2\" X 11\" Cardstock [ 163801 ]") $15.75 | ![Peach Pie 8 1/2" X 11" Cardstock [ 163799 ]](https://assets1.tamsnetwork.com/images/EC042017NF/163799s.jpg "Peach Pie 8 1/2\" X 11\" Cardstock [ 163799 ]") $15.75 |  $18.00 | ![Ocean Friends Bundle (English) [ 164692 ]](https://assets1.tamsnetwork.com/images/EC042017NF/164692s.jpg "Ocean Friends Bundle (English) [ 164692 ]") $68.25 |
![Azure Afternoon Classic Stampin' Pad [ 161663 ]](https://assets1.tamsnetwork.com/images/EC042017NF/161663s.jpg "Azure Afternoon Classic Stampin' Pad [ 161663 ]") $12.25 | ![Summer Splash Classic Stampin Pad [ 163809 ]](https://assets1.tamsnetwork.com/images/EC042017NF/163809s.jpg "Summer Splash Classic Stampin Pad [ 163809 ]") $12.25 | ![Night Of Navy Classic Stampin' Pad [ 147110 ]](https://assets1.tamsnetwork.com/images/EC042017NF/147110s.jpg "Night Of Navy Classic Stampin' Pad [ 147110 ]") $12.25 | ![Petunia Pop Classic Stampin Pad [ 163811 ]](https://assets1.tamsnetwork.com/images/EC042017NF/163811s.jpg "Petunia Pop Classic Stampin Pad [ 163811 ]") $12.25 | ![Everyday Arches Dies [ 164629 ]](https://assets1.tamsnetwork.com/images/EC042017NF/164629s.jpg "Everyday Arches Dies [ 164629 ]") $40.00 | ![Textured Notes Dies [ 165555 ]](https://assets1.tamsnetwork.com/images/EC042017NF/165555s.jpg "Textured Notes Dies [ 165555 ]") $43.00 |
 $8.25 |  $6.00 |  $10.00 |  $177.00 |
🎬 Weekly Live Reminder:
I go LIVE every Wednesday at 9am Pacific over on Facebook, sharing new ideas, challenges, and techniques using current Stampin’ Up! products. Can’t join live?
👉 Subscribe to my YouTube channel so you never miss a replay!
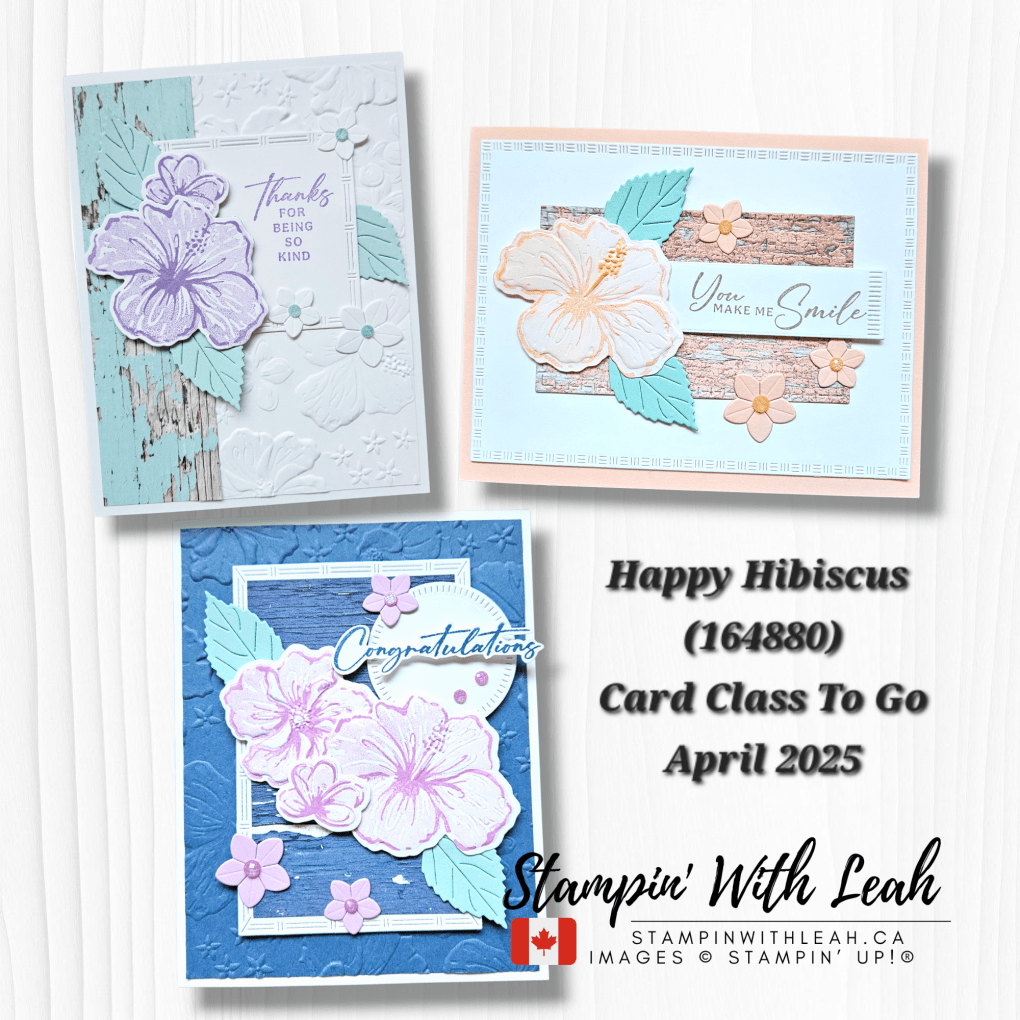
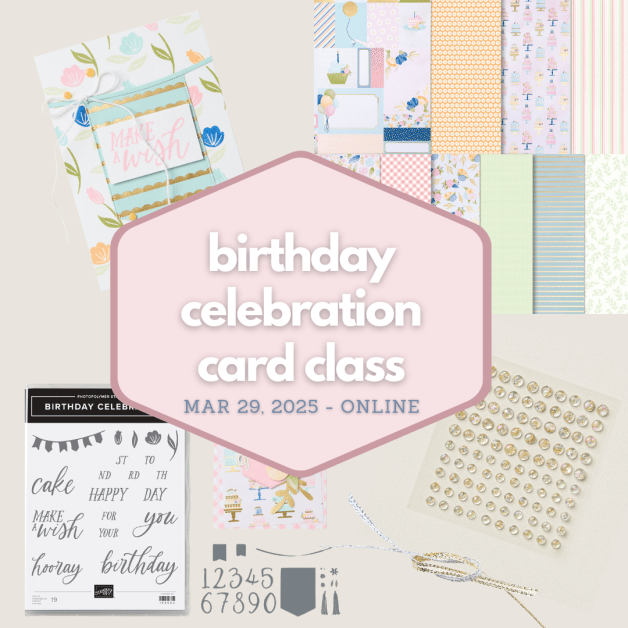
Upcoming Card Classes
Looking for more crafting fun? Join my April Card Class to learn new techniques and create beautiful projects. Spots are limited, so reserve yours today!


Looking for more ways to enjoy stamping? Join my Stampin’ Up! Ink Pad Pals team!
- Save 20%+ on your orders.
- Get free access to my monthly card class tutorials.
- Enjoy our monthly team meetings with stamping fun and collaboration.
Contact me to find out more or see the details on my website.

Thanks for visiting the blog today! Drop a comment if you loved this ocean-themed card, and don’t forget to pin it or share it with a crafty friend. Until next week –

Click here to shop my online store.
Click here to access & view the current catalogs.
Click here to subscribe to those fun Paper Pumpkin kits of creativity!
Click here for more information about joining my Online Monthly Technique Club. Earn even more goodies by joining a club!
Click here to learn more about joining my Ink Pad Pals Team. Get the MOST rewards including a discount on future products!
Follow me on social media! I share regularly on Pinterest, YouTube, and Facebook!
Please subscribe to my newsletter, too! Click here and enter your email. When you include your birthday you will even be added to my birthday card mailing list 🙂


 Designer Series Paper")
")


")


")
 Designer Series Paper")


")


 Sheer Ribbon")


")


")


 Specialty Designer Series Paper")
 Designer Series Paper")
")


 Designer Series Paper")
")


")


