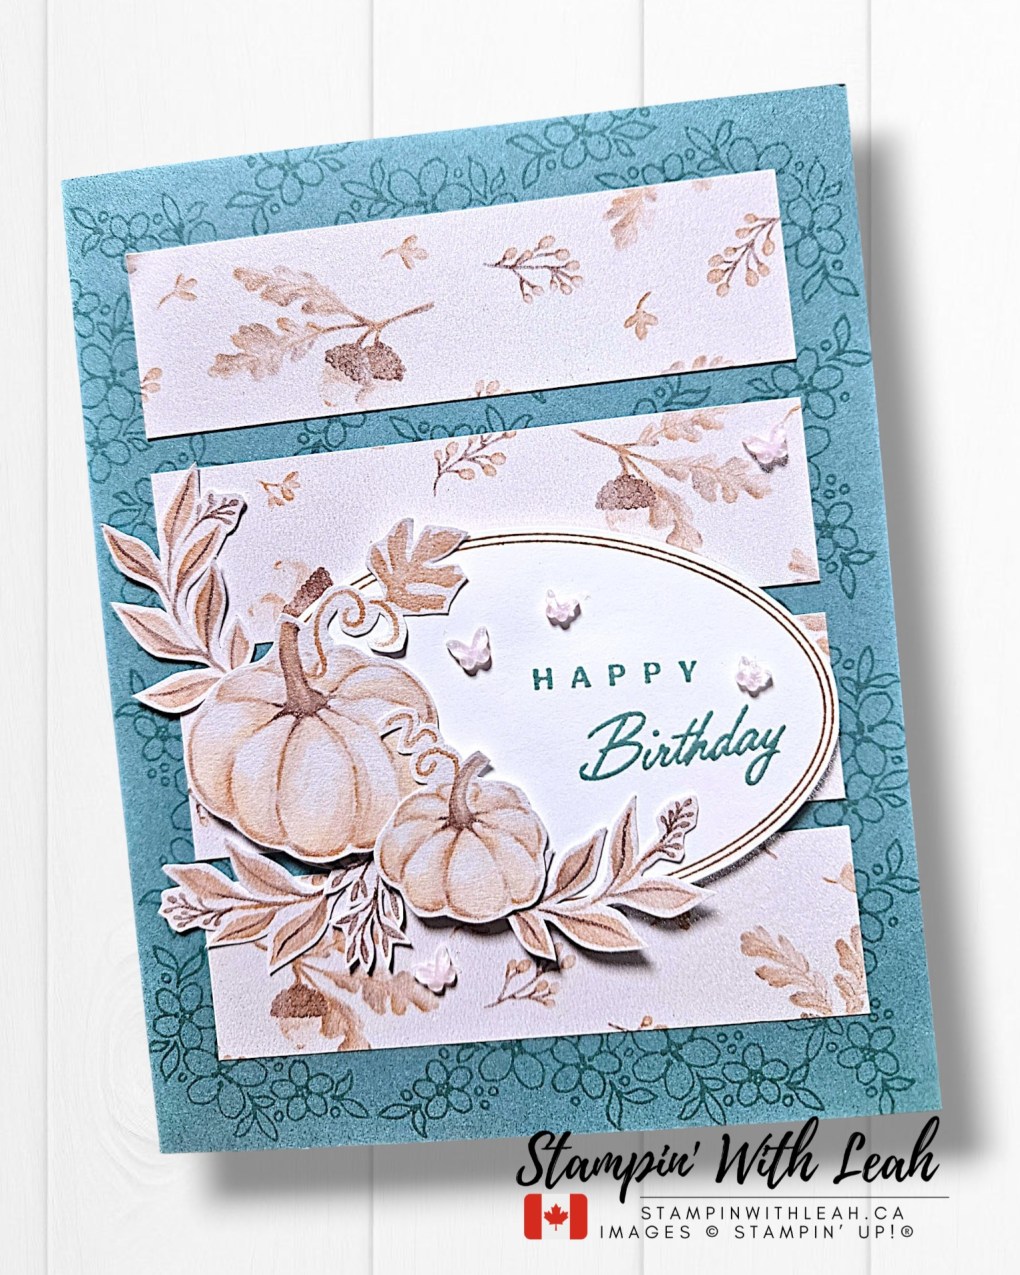
Sometimes the best cards come together when you have to work with what you’ve got!
This week’s Global Design Project #GDP563 challenge has a harvest and garden theme, which was perfect inspiration for a fall card. The only problem? Most of my stamps are still packed away while we renovate!
So I turned to one of my favourite resources for a quick and easy seasonal card: Designer Series Paper.
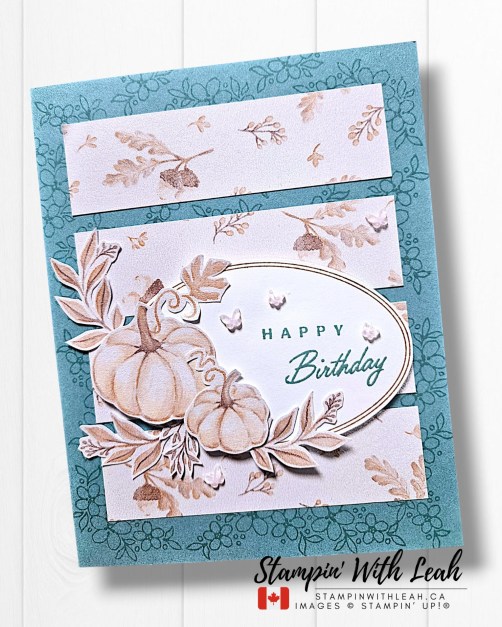
For this card, I used the August Product of the Month — Glow of Harvest 12″ x 12″ Specialty Designer Series Paper. The shimmer in this paper is absolutely gorgeous, and I knew those little pumpkins were just begging to be fussy cut!
I paired the pumpkins with the simple Addressed to You stamp set. I love the fun oval outline and that pretty scripty birthday sentiment. Sometimes you really don’t need a lot of stamping to create a card that has plenty of personality.
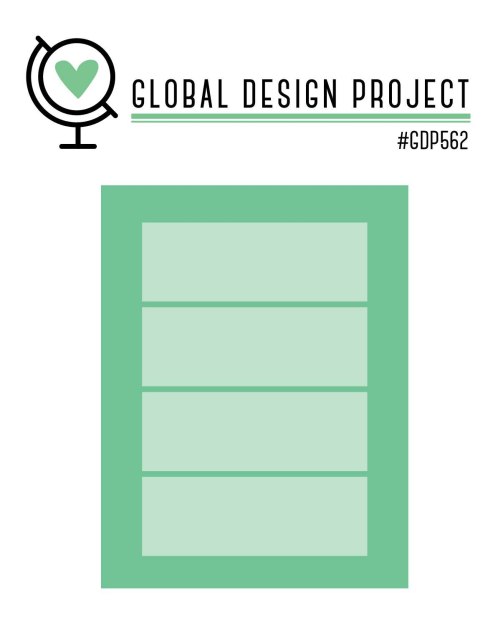
And because I loved last week’s GDP sketch so much, I couldn’t resist using that sketch again as the starting point for this card. I think the layout works perfectly with the pumpkins and lets that beautiful shimmer take centre stage.
I also added a few subtle stamped flowers in the background to give the card a little extra interest without taking away from the focal point.
I hope this harvest-inspired birthday card gives you a little inspiration to look at your Designer Series Paper in a new way — especially when your stamp collection happens to be packed in boxes! 😉
✂️Supplies Used:
![Lost Lagoon 8-1/2" X 11" Cardstock [ 133679 ]](https://assets1.tamsnetwork.com/images/EC042017NF/133679s.jpg "Lost Lagoon 8-1/2\" X 11\" Cardstock [ 133679 ]")
![Basic White 8 1/2" X 11" Cardstock [ 166780 ]](https://assets1.tamsnetwork.com/images/EC042017NF/166780s.jpg "Basic White 8 1/2\" X 11\" Cardstock [ 166780 ]")
![Glow Of Harvest 12" X 12" (30.5 X 30.5 Cm) Specialty Designer Series Paper [ 168598 ]](https://assets1.tamsnetwork.com/images/EC042017NF/168598s.jpg "Glow Of Harvest 12\" X 12\" (30.5 X 30.5 Cm) Specialty Designer Series Paper [ 168598 ]")
![Addressed To You Photopolymer Stamp Set (English) [ 167010 ]](https://assets1.tamsnetwork.com/images/EC042017NF/167010s.jpg "Addressed To You Photopolymer Stamp Set (English) [ 167010 ]")
![Pecan Pie Classic Stampin' Pad [ 161665 ]](https://assets1.tamsnetwork.com/images/EC042017NF/161665s.jpg "Pecan Pie Classic Stampin' Pad [ 161665 ]")
![Lost Lagoon Classic Stampin' Pad [ 161678 ]](https://assets1.tamsnetwork.com/images/EC042017NF/161678s.jpg "Lost Lagoon Classic Stampin' Pad [ 161678 ]")
![2026–2028 In Color™ Butterflies [ 167656 ]](https://assets1.tamsnetwork.com/images/EC042017NF/167656s.jpg "2026–2028 In Color™ Butterflies [ 167656 ]")
![Mini Glue Dots [ 103683 ]](https://assets1.tamsnetwork.com/images/EC042017NF/103683s.jpg "Mini Glue Dots [ 103683 ]")
![Multipurpose Liquid Glue [ 110755 ]](https://assets1.tamsnetwork.com/images/EC042017NF/110755s.jpg "Multipurpose Liquid Glue [ 110755 ]")
![Stampin' Dimensionals [ 104430 ]](https://assets1.tamsnetwork.com/images/EC042017NF/104430s.jpg "Stampin' Dimensionals [ 104430 ]")
![Detail Scissors [ 170902 ]](https://assets1.tamsnetwork.com/images/EC042017NF/170902s.jpg "Detail Scissors [ 170902 ]")
![Take Your Pick [ 144107 ]](https://assets1.tamsnetwork.com/images/EC042017NF/144107s.jpg "Take Your Pick [ 144107 ]")
![Paper Trimmer [ 152392 ]](https://assets1.tamsnetwork.com/images/EC042017NF/152392s.jpg "Paper Trimmer [ 152392 ]")
![Basic White Medium Envelopes [ 159236 ]](https://assets1.tamsnetwork.com/images/EC042017NF/159236s.jpg "Basic White Medium Envelopes [ 159236 ]")
Looking for even more inspiration and more ways to enjoy stamping? Join my Stampin’ Up! Ink Pad Pals team!
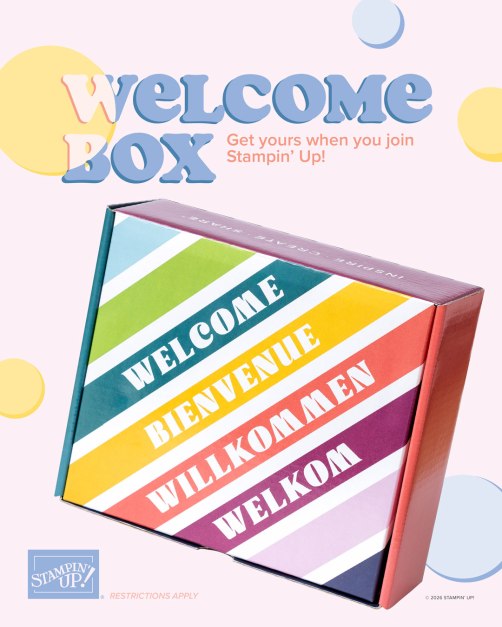
The join process has changed a bit (sign up for $135 and get a $170 coupon) and you now get a fantastic Welcome Box too. The perks once you’ve joined remain the same.
- Save 15%+ on your orders.
- Get free access to my monthly card class tutorials.
- Enjoy our monthly team meetings with stamping fun and collaboration.
Contact me to find out more or see the details on my website.

Thanks for stopping by, and don’t forget to check out the other Global Design Project #GDP563 creations for even more harvest and garden-inspired cardmaking ideas.


![Crumb Cake 8-1/2" X 11" Cardstock [ 120953 ]](https://assets1.tamsnetwork.com/images/EC042017NF/120953s.jpg "Crumb Cake 8-1/2\" X 11\" Cardstock [ 120953 ]")
![Golden Glow 8 1/2" X 11" Cardstock [ 167685 ]](https://assets1.tamsnetwork.com/images/EC042017NF/167685s.jpg "Golden Glow 8 1/2\" X 11\" Cardstock [ 167685 ]")
![Cutest Crew Bundle (English) [ 167149 ]](https://assets1.tamsnetwork.com/images/EC042017NF/167149s.jpg "Cutest Crew Bundle (English) [ 167149 ]")
![Crumb Cake Stampin' Blends Combo Pack [ 154882 ]](https://assets1.tamsnetwork.com/images/EC042017NF/154882s.jpg "Crumb Cake Stampin' Blends Combo Pack [ 154882 ]")
![Crisp Cantaloupe Stampin’ Blends Combo Pack [ 167669 ]](https://assets1.tamsnetwork.com/images/EC042017NF/167669s.jpg "Crisp Cantaloupe Stampin’ Blends Combo Pack [ 167669 ]")
![Golden Glow Stampin’ Blends Combo Pack [ 167682 ]](https://assets1.tamsnetwork.com/images/EC042017NF/167682s.jpg "Golden Glow Stampin’ Blends Combo Pack [ 167682 ]")
![Peaceful Pine Stampin’ Blends Combo Pack [ 167668 ]](https://assets1.tamsnetwork.com/images/EC042017NF/167668s.jpg "Peaceful Pine Stampin’ Blends Combo Pack [ 167668 ]")
![Basic Black Hybrid Stampin' Pad [ 166648 ]](https://assets1.tamsnetwork.com/images/EC042017NF/166648s.jpg "Basic Black Hybrid Stampin' Pad [ 166648 ]")
![Early Espresso Classic Stampin' Pad [ 147114 ]](https://assets1.tamsnetwork.com/images/EC042017NF/147114s.jpg "Early Espresso Classic Stampin' Pad [ 147114 ]")
![White Gel Pens [ 166642 ]](https://assets1.tamsnetwork.com/images/EC042017NF/166642s.jpg "White Gel Pens [ 166642 ]")
![Stylish Shapes Dies [ 159183 ]](https://assets1.tamsnetwork.com/images/EC042017NF/159183s.jpg "Stylish Shapes Dies [ 159183 ]")
![Sunflower 3 D Embossing Folder [ 166145 ]](https://assets1.tamsnetwork.com/images/EC042017NF/166145s.jpg "Sunflower 3 D Embossing Folder [ 166145 ]")
![Linen Thread [ 104199 ]](https://assets1.tamsnetwork.com/images/EC042017NF/104199s.jpg "Linen Thread [ 104199 ]")
![Stampin' Cut & Emboss Machine [ 149653 ]](https://assets1.tamsnetwork.com/images/EC042017NF/149653s.jpg "Stampin' Cut & Emboss Machine [ 149653 ]")
![Hydrangea Hue 8 1/2" X 11" Cardstock [ 167687 ]](https://assets1.tamsnetwork.com/images/EC042017NF/167687s.jpg "Hydrangea Hue 8 1/2\" X 11\" Cardstock [ 167687 ]")
![Soft Sea Foam 8-1/2" X 11" Cardstock [ 146988 ]](https://assets1.tamsnetwork.com/images/EC042017NF/146988s.jpg "Soft Sea Foam 8-1/2\" X 11\" Cardstock [ 146988 ]")
![Hope Love & Joy Bundle (English) [ 166858 ]](https://assets1.tamsnetwork.com/images/EC042017NF/166858s.jpg "Hope Love & Joy Bundle (English) [ 166858 ]")
![Peaceful Pine Classic Stampin Pad [ 167679 ]](https://assets1.tamsnetwork.com/images/EC042017NF/167679s.jpg "Peaceful Pine Classic Stampin Pad [ 167679 ]")
![Hydrangea Hue Classic Stampin' Pad [ 167677 ]](https://assets1.tamsnetwork.com/images/EC042017NF/167677s.jpg "Hydrangea Hue Classic Stampin' Pad [ 167677 ]")
![Peaceful Pine 3/8" (1 Cm) Bordered Ribbon [ 167551 ]](https://assets1.tamsnetwork.com/images/EC042017NF/167551s.jpg "Peaceful Pine 3/8\" (1 Cm) Bordered Ribbon [ 167551 ]")
![Mini Stampin' Dimensionals [ 144108 ]](https://assets1.tamsnetwork.com/images/EC042017NF/144108s.jpg "Mini Stampin' Dimensionals [ 144108 ]")
![Mini Stampin' Cut & Emboss Machine [ 150673 ]](https://assets1.tamsnetwork.com/images/EC042017NF/150673s.jpg "Mini Stampin' Cut & Emboss Machine [ 150673 ]")
![Barely Blush 8 1/2" X 11" Cardstock [ 167689 ]](https://assets1.tamsnetwork.com/images/EC042017NF/167689s.jpg "Barely Blush 8 1/2\" X 11\" Cardstock [ 167689 ]")
![Beautiful Ordinary Life 12" X 12" (30.5 X 30.5 Cm) Designer Series Paper [ 167553 ]](https://assets1.tamsnetwork.com/images/EC042017NF/167553s.jpg "Beautiful Ordinary Life 12\" X 12\" (30.5 X 30.5 Cm) Designer Series Paper [ 167553 ]")
![Caring Animals Photopolymer Stamp Set (English) [ 167804 ]](https://assets1.tamsnetwork.com/images/EC042017NF/167804s.jpg "Caring Animals Photopolymer Stamp Set (English) [ 167804 ]")
![Barely Blush Stampin’ Blends Combo Pack [ 167667 ]](https://assets1.tamsnetwork.com/images/EC042017NF/167667s.jpg "Barely Blush Stampin’ Blends Combo Pack [ 167667 ]")
![Lost Lagoon Stampin’ Blends Combo Pack [ 161680 ]](https://assets1.tamsnetwork.com/images/EC042017NF/161680s.jpg "Lost Lagoon Stampin’ Blends Combo Pack [ 161680 ]")
![Fern & Flora 3 D Embossing Folder [ 167744 ]](https://assets1.tamsnetwork.com/images/EC042017NF/167744s.jpg "Fern & Flora 3 D Embossing Folder [ 167744 ]")
![Spotlight On Nature Dies [ 163580 ]](https://assets1.tamsnetwork.com/images/EC042017NF/163580s.jpg "Spotlight On Nature Dies [ 163580 ]")
![2026–2028 In Color™ Dots [ 167546 ]](https://assets1.tamsnetwork.com/images/EC042017NF/167546s.jpg "2026–2028 In Color™ Dots [ 167546 ]")

![Real Red Classic Stampin' Pad [ 147084 ]](https://assets1.tamsnetwork.com/images/EC042017NF/147084s.jpg "Real Red Classic Stampin' Pad [ 147084 ]")
![Flirty Flamingo 8-1/2" X 11" Cardstock [ 141416 ]](https://assets1.tamsnetwork.com/images/EC042017NF/141416s.jpg "Flirty Flamingo 8-1/2\" X 11\" Cardstock [ 141416 ]")
![Strawberry Slush 8 1/2" X 11" Cardstock [ 165625 ]](https://assets1.tamsnetwork.com/images/EC042017NF/165625s.jpg "Strawberry Slush 8 1/2\" X 11\" Cardstock [ 165625 ]")
![Bubble Bath 8 1/2" X 11" Cardstock [ 161718 ]](https://assets1.tamsnetwork.com/images/EC042017NF/161718s.jpg "Bubble Bath 8 1/2\" X 11\" Cardstock [ 161718 ]")
![Poppy Parade 8-1/2" X 11" Cardstock [ 119793 ]](https://assets1.tamsnetwork.com/images/EC042017NF/119793s.jpg "Poppy Parade 8-1/2\" X 11\" Cardstock [ 119793 ]")
![2025–2027 In Color™ 6" X 6" (15.2 X 15.2 Cm) Designer Series Paper [ 165300 ]](https://assets1.tamsnetwork.com/images/EC042017NF/165300s.jpg "2025–2027 In Color™ 6\" X 6\" (15.2 X 15.2 Cm) Designer Series Paper [ 165300 ]")
![Hearts Of Love 3 D Embossing Folder [ 167071 ]](https://assets1.tamsnetwork.com/images/EC042017NF/167071s.jpg "Hearts Of Love 3 D Embossing Folder [ 167071 ]")
![Textured Notes Dies [ 165555 ]](https://assets1.tamsnetwork.com/images/EC042017NF/165555s.jpg "Textured Notes Dies [ 165555 ]")
![Strawberry Slush & Pretty In Pink Gems [ 165615 ]](https://assets1.tamsnetwork.com/images/EC042017NF/165615s.jpg "Strawberry Slush & Pretty In Pink Gems [ 165615 ]")



![Basic White 8 1/2" X 11" Thick Cardstock [ 159229 ]](https://assets1.tamsnetwork.com/images/EC042017NF/159229s.jpg "Basic White 8 1/2\" X 11\" Thick Cardstock [ 159229 ]")
![Calypso Coral 8-1/2" X 11" Cardstock [ 122925 ]](https://assets1.tamsnetwork.com/images/EC042017NF/122925s.jpg "Calypso Coral 8-1/2\" X 11\" Cardstock [ 122925 ]")
![Granny Apple Green 8-1/2" X 11" Cardstock [ 146990 ]](https://assets1.tamsnetwork.com/images/EC042017NF/146990s.jpg "Granny Apple Green 8-1/2\" X 11\" Cardstock [ 146990 ]")
![Beautiful Bokeh 6" X 6" (15.2 X 15.2 Cm) Designer Series Paper [ 164607 ]](https://assets1.tamsnetwork.com/images/EC042017NF/164607s.jpg "Beautiful Bokeh 6\" X 6\" (15.2 X 15.2 Cm) Designer Series Paper [ 164607 ]")
![Party Piggy Bundle (English) [ 165483 ]](https://assets1.tamsnetwork.com/images/EC042017NF/165483s.jpg "Party Piggy Bundle (English) [ 165483 ]")
![Petal Pink Classic Stampin' Pad [ 147108 ]](https://assets1.tamsnetwork.com/images/EC042017NF/147108s.jpg "Petal Pink Classic Stampin' Pad [ 147108 ]")
![Crumb Cake Classic Stampin' Pad [ 147116 ]](https://assets1.tamsnetwork.com/images/EC042017NF/147116s.jpg "Crumb Cake Classic Stampin' Pad [ 147116 ]")
![Versamark Pad [ 102283 ]](https://assets1.tamsnetwork.com/images/EC042017NF/102283s.jpg "Versamark Pad [ 102283 ]")
![Petal Pink Stampin' Blends Combo Pack [ 154893 ]](https://assets1.tamsnetwork.com/images/EC042017NF/154893s.jpg "Petal Pink Stampin' Blends Combo Pack [ 154893 ]")
![Granny Apple Green Stampin' Blends Combo Pack [ 154885 ]](https://assets1.tamsnetwork.com/images/EC042017NF/154885s.jpg "Granny Apple Green Stampin' Blends Combo Pack [ 154885 ]")
![Basic Black Stampin' Blends Combo Pack [ 154843 ]](https://assets1.tamsnetwork.com/images/EC042017NF/154843s.jpg "Basic Black Stampin' Blends Combo Pack [ 154843 ]")
![Basics Wow! Embossing Powder [ 165679 ]](https://assets1.tamsnetwork.com/images/EC042017NF/165679s.jpg "Basics Wow! Embossing Powder [ 165679 ]")
![Embossing Additions Tool Kit [ 159971 ]](https://assets1.tamsnetwork.com/images/EC042017NF/159971s.jpg "Embossing Additions Tool Kit [ 159971 ]")
![Heat Tool (Us And Canada) [ 129053 ]](https://assets1.tamsnetwork.com/images/EC042017NF/129053s.jpg "Heat Tool (Us And Canada) [ 129053 ]")
![Dotted Circles 3 D Embossing Folder [ 163789 ]](https://assets1.tamsnetwork.com/images/EC042017NF/163789s.jpg "Dotted Circles 3 D Embossing Folder [ 163789 ]")
![Traditional Sparkling Sequins [ 165875 ]](https://assets1.tamsnetwork.com/images/EC042017NF/165875s.jpg "Traditional Sparkling Sequins [ 165875 ]")
![Black & White & Gold Baker's Twine [ 166005 ]](https://assets1.tamsnetwork.com/images/EC042017NF/166005s.jpg "Black & White & Gold Baker's Twine [ 166005 ]")



![Gray Granite 8-1/2" X 11" Cardstock [ 146983 ]](https://assets1.tamsnetwork.com/images/EC042017NF/146983s.jpg "Gray Granite 8-1/2\" X 11\" Cardstock [ 146983 ]")
![Basic Beige 8 1/2" X 11" Cardstock [ 164511 ]](https://assets1.tamsnetwork.com/images/EC042017NF/164511s.jpg "Basic Beige 8 1/2\" X 11\" Cardstock [ 164511 ]")
![Petal Pink 8-1/2" X 11" Cardstock [ 146985 ]](https://assets1.tamsnetwork.com/images/EC042017NF/146985s.jpg "Petal Pink 8-1/2\" X 11\" Cardstock [ 146985 ]")
![Country Woods 12" X 12" (30.5 X 30.5 Cm) Designer Series Paper [ 163393 ]](https://assets1.tamsnetwork.com/images/EC042017NF/163393s.jpg "Country Woods 12\" X 12\" (30.5 X 30.5 Cm) Designer Series Paper [ 163393 ]")
![Terrific Toadstools Bundle (English) [ 164790 ]](https://assets1.tamsnetwork.com/images/EC042017NF/164790s.jpg "Terrific Toadstools Bundle (English) [ 164790 ]")
![Calypso Coral Classic Stampin' Pad [ 147101 ]](https://assets1.tamsnetwork.com/images/EC042017NF/147101s.jpg "Calypso Coral Classic Stampin' Pad [ 147101 ]")
![Gray Granite Classic Stampin' Pad [ 147118 ]](https://assets1.tamsnetwork.com/images/EC042017NF/147118s.jpg "Gray Granite Classic Stampin' Pad [ 147118 ]")
![Old Olive Classic Stampin' Pad [ 147090 ]](https://assets1.tamsnetwork.com/images/EC042017NF/147090s.jpg "Old Olive Classic Stampin' Pad [ 147090 ]")
![Tuxedo Black Memento Ink Pad [ 132708 ]](https://assets1.tamsnetwork.com/images/EC042017NF/132708s.jpg "Tuxedo Black Memento Ink Pad [ 132708 ]")
![Sponge Daubers [ 133773 ]](https://assets1.tamsnetwork.com/images/EC042017NF/133773s.jpg "Sponge Daubers [ 133773 ]")
![Muted Palette Dots [ 165155 ]](https://assets1.tamsnetwork.com/images/EC042017NF/165155s.jpg "Muted Palette Dots [ 165155 ]")


![Fresh Freesia 8 1/2" X 11" Cardstock [ 155613 ]](https://assets1.tamsnetwork.com/images/EC042017NF/155613s.jpg "Fresh Freesia 8 1/2\" X 11\" Cardstock [ 155613 ]")
![Blackberry Bliss 8-1/2" X 11" Cardstock [ 133675 ]](https://assets1.tamsnetwork.com/images/EC042017NF/133675s.jpg "Blackberry Bliss 8-1/2\" X 11\" Cardstock [ 133675 ]")
![Pool Party 8-1/2" X 11" Cardstock [ 122924 ]](https://assets1.tamsnetwork.com/images/EC042017NF/122924s.jpg "Pool Party 8-1/2\" X 11\" Cardstock [ 122924 ]")
![Celebratory Sips 12" X 12" (30.5 X 30.5 Cm) Designer Series Paper [ 165586 ]](https://assets1.tamsnetwork.com/images/EC042017NF/165586s.jpg "Celebratory Sips 12\" X 12\" (30.5 X 30.5 Cm) Designer Series Paper [ 165586 ]")
![Cheers & Sips Bundle (English) [ 165594 ]](https://assets1.tamsnetwork.com/images/EC042017NF/165594s.jpg "Cheers & Sips Bundle (English) [ 165594 ]")
![Blackberry Bliss Classic Stampin' Pad [ 147092 ]](https://assets1.tamsnetwork.com/images/EC042017NF/147092s.jpg "Blackberry Bliss Classic Stampin' Pad [ 147092 ]")
![Blender Pens [ 102845 ]](https://assets1.tamsnetwork.com/images/EC042017NF/102845s.jpg "Blender Pens [ 102845 ]")
![Beautiful Butterflies Hybrid Embossing Folder [ 164614 ]](https://assets1.tamsnetwork.com/images/EC042017NF/164614s.jpg "Beautiful Butterflies Hybrid Embossing Folder [ 164614 ]")
![Everyday Arches Dies [ 164629 ]](https://assets1.tamsnetwork.com/images/EC042017NF/164629s.jpg "Everyday Arches Dies [ 164629 ]")
![Glass & Gardens Embossing Folders [ 165597 ]](https://assets1.tamsnetwork.com/images/EC042017NF/165597s.jpg "Glass & Gardens Embossing Folders [ 165597 ]")
![Starburst Sequins [ 165539 ]](https://assets1.tamsnetwork.com/images/EC042017NF/165539s.jpg "Starburst Sequins [ 165539 ]")

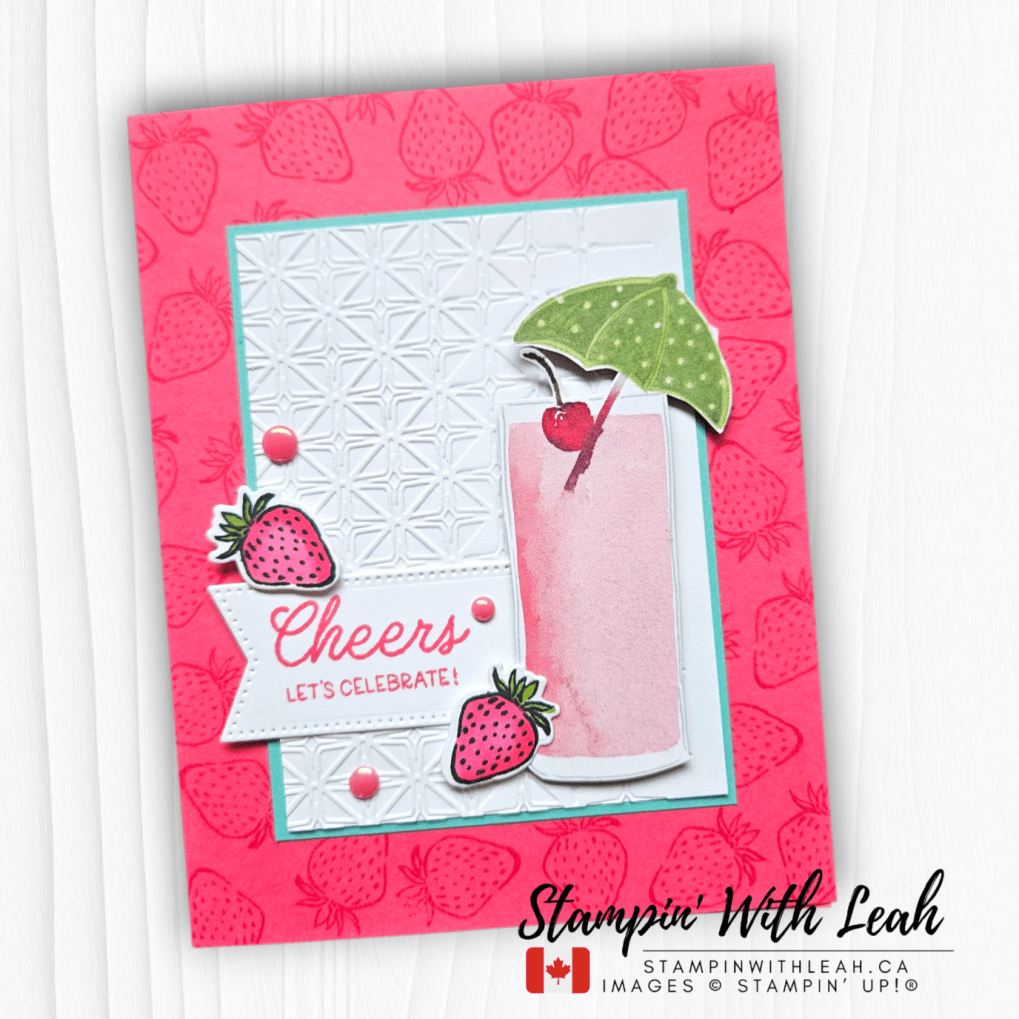

![Coastal Cabana 8-1/2" X 11" Cardstock [ 131297 ]](https://assets1.tamsnetwork.com/images/EC042017NF/131297s.jpg "Coastal Cabana 8-1/2\" X 11\" Cardstock [ 131297 ]")
![Strawberry Slush Classic Stampin' Pad [ 165286 ]](https://assets1.tamsnetwork.com/images/EC042017NF/165286s.jpg "Strawberry Slush Classic Stampin' Pad [ 165286 ]")
![Strawberry Slush Stampin’ Blends Combo Pack [ 165290 ]](https://assets1.tamsnetwork.com/images/EC042017NF/165290s.jpg "Strawberry Slush Stampin’ Blends Combo Pack [ 165290 ]")
![2025–2027 In Color™ Flat Pearls [ 165192 ]](https://assets1.tamsnetwork.com/images/EC042017NF/165192s.jpg "2025–2027 In Color™ Flat Pearls [ 165192 ]")
![Paper Snips [ 103579 ]](https://assets1.tamsnetwork.com/images/EC042017NF/103579s.jpg "Paper Snips [ 103579 ]")

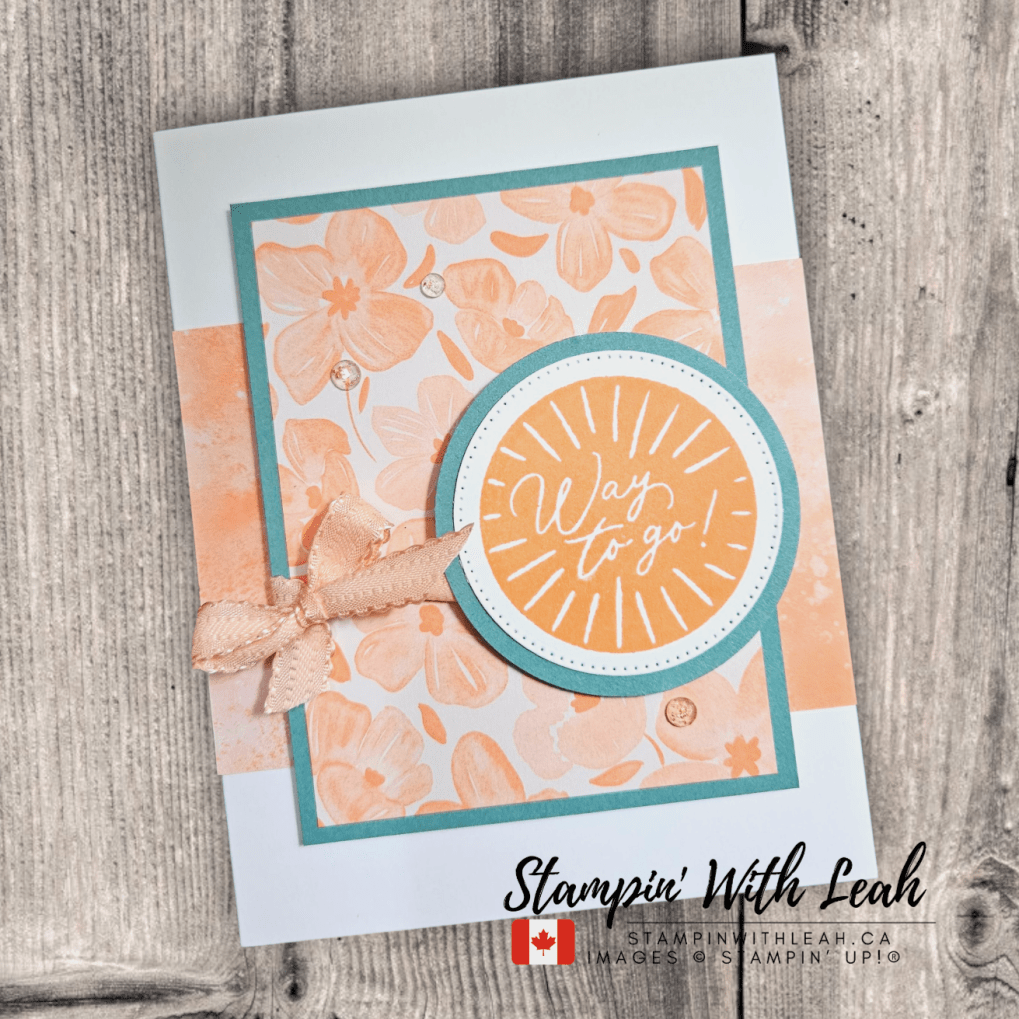

![Encircled With Love Photopolymer Stamp Set (English) [ 165338 ]](https://assets1.tamsnetwork.com/images/EC042017NF/165338s.jpg "Encircled With Love Photopolymer Stamp Set (English) [ 165338 ]")
![Timid Tiger Classic Stampin' Pad [ 165278 ]](https://assets1.tamsnetwork.com/images/EC042017NF/165278s.jpg "Timid Tiger Classic Stampin' Pad [ 165278 ]")
![Petal Pink 3/8” (1 Cm) Scalloped Ribbon [ 164680 ]](https://assets1.tamsnetwork.com/images/EC042017NF/164680s.jpg "Petal Pink 3/8” (1 Cm) Scalloped Ribbon [ 164680 ]")
![2 3/8" (6 Cm) Circle Punch [ 161354 ]](https://assets1.tamsnetwork.com/images/EC042017NF/161354s.jpg "2 3/8\" (6 Cm) Circle Punch [ 161354 ]")