

Hello, crafty friends!
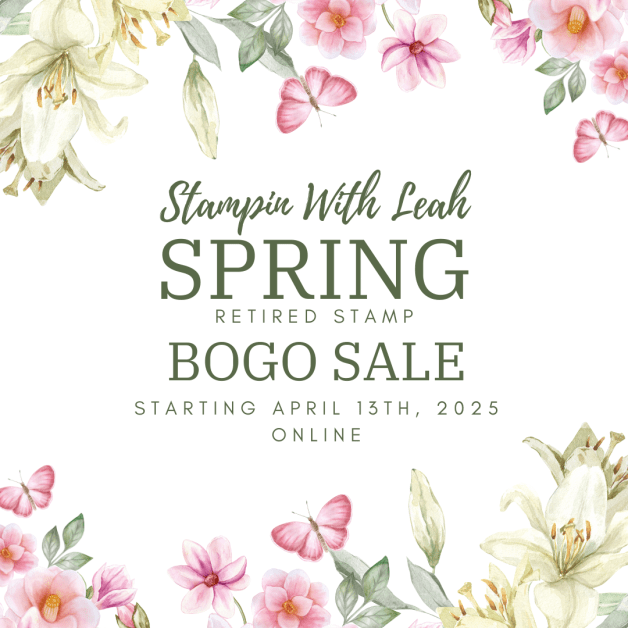
I’m thrilled to share all the details about my upcoming Spring Retired Stamp BOGO Sale! 🌸 This is your chance to grab some amazing retired Stampin’ Up! products for FREE while refreshing your crafting stash with new items.
What is a BOGO Sale?
BOGO stands for Buy One, Get One! Here’s how it works:
Get your retired items FREE—just cover the cost of shipping for the retired products (or arrange for pickup if you’re local).
Shop from my retired Stampin’ Up! collection and choose your favorite items.
Track the total value of your retired product selections.
Place an order of new products through my online Stampin’ Up! store for the same value (before shipping and tax).

Event Details
🌸 In-Person BOGO Sale
- 📍 Location: My home at 1252 Ellis Drive, Port Coquitlam, BC
- 📅 Date: Saturday, April 12th, 2025
- ⏰ Time: 1:30 PM – 3:30 PM (No early birds, please—I have a class that morning!)
🌸 Online BOGO Sale
- 📅 Date: Starts Sunday, April 13th, 2025, at 9:00 AM
- 🌎 Open to all Stampin’ Up! fans across Canada!
How to Participate in the Online Sale
Request to join my BOGO Facebook Group https://www.facebook.com/groups/springbogosale. While you can join the group now, new members will be approved starting at 9:00 AM on April 13th.
Shipping & Pickup Details
- All items will be shipped using prepaid boxes through Canada Post.
- Local customers can arrange to pick up their retired items in Port Coquitlam.
Why Join the BOGO Sale?
This is your opportunity to snag retired favorites you may have missed while stocking up on new products to inspire your next project. Whether you’re joining me in person or online, it’s a win-win deal!
Mark your calendar, gather your wish lists, and get ready for some amazing deals. If you have any questions, feel free to reach out—I’m here to help!

Click here to shop my online store.
Click here to access & view the current catalogs.
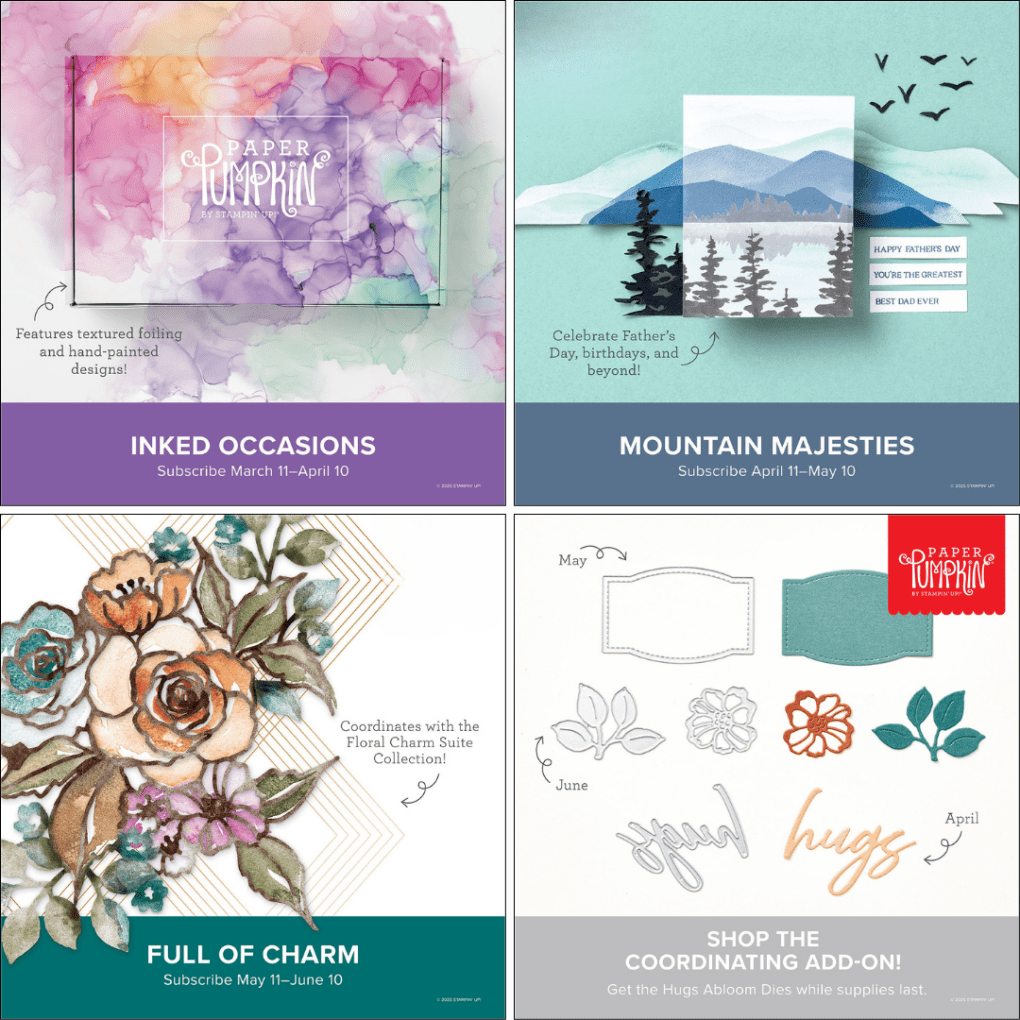
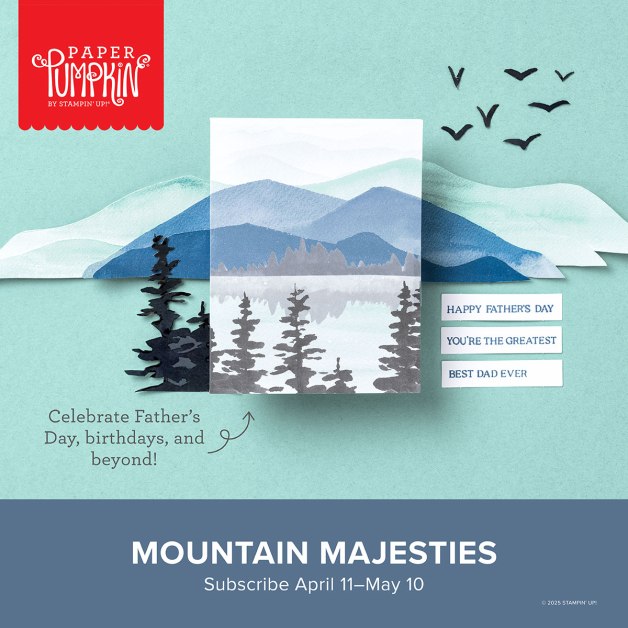
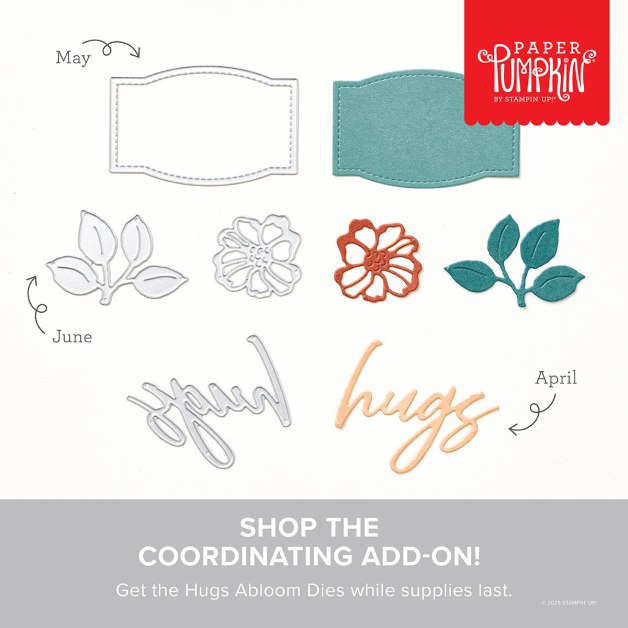
Click here to subscribe to Thanks for hopping by! Make sure to pin this post for future reference and share it with your crafty friends.those fun Paper Pumpkin kits of creativity!
Click here for more information about joining my Online Monthly Technique Club. Earn even more goodies by joining a club!
Click here to learn more about joining my Ink Pad Pals Team. Get the MOST rewards including a discount on future products!
Follow me on social media! I share regularly on Pinterest, YouTube, and Facebook!
Please subscribe to my newsletter, too! Click here and enter your email. When you include your birthday you will even be added to my birthday card mailing list 🙂


 Designer Series Paper")
")


 Designer Series Paper")
")


")


 Specialty Paper")


 Designer Series Paper")
 Specialty Designer Series Paper")

")
")
")


 Specialty Designer Series Paper")
 Designer Series Paper")
")


")
")


 Bordered Ribbon")
")


 Designer Series Paper")
")


