

Losing a beloved pet is never easy. Whether it’s a loyal dog who’s been by your side for years or a sweet cat who loved curling up in your lap, pets truly are family. When a friend or loved one experiences that kind of loss, a handmade card can be a thoughtful way to show you care.

This week’s Throwback Thursday project is a heartfelt pet sympathy card featuring a mix of brand-new and retired products. I love pulling out old favorites and giving them new life alongside fresh supplies! Let’s take a closer look at how I created these soft and comforting designs.
A Blend of New and Retired Favorites
For these cards, I started with a Thick Basic White card base with a Petal Pink layer—such a warm and soothing colour. The background features the not-yet-released Textured Note Dies, adding a subtle frame that elevates the whole design. The gorgeous rainbow arch? That’s the Everyday Arches Dies (an Online Exclusive!), layered in Flirty Flamingo, Gold Foil, and Basic White to create a warm yet elegant look.
I tucked in some fluffy clouds using the Adventurous Sky Dies, stamped a small but meaningful sentiment from the Keeping Tabs Stamp Set, and added a sprinkle of Petal Pink Foiled Gems for just a touch of shine.
But here’s where the throwback element comes in—I reached for my retired cat and dog punches to create the sweet silhouettes at the base of the card. While these punches are no longer available, they were the perfect finishing touch, and if you have them in your stash, this is a great way to use them!
A Handmade Card That Brings Comfort
There’s something truly special about a handmade card during difficult times. While it can’t take away the loss, it lets someone know they’re not alone. Whether you use the same supplies or swap in similar ones from your craft collection, I hope this design inspires you to create and share a little kindness.
Want to make your own? Many of the products I used are available now in my online store (with the exception of the upcoming Textured Note Dies and the retired dog and cat punches—stay tuned for those!). You can shop the Everyday Arches Dies, Adventurous Sky Dies, Keeping Tabs Stamp Set, and more to create your own version of this heartfelt card.
Here is a full list of the supplies I used:
 $7.00 | |||||
 $40.00 |  $45.00 |  $6.00 | |||
 $8.25 |  $177.00 |  $16.50 |  $39.00 |  $15.00 |


")


I’d love to hear—do you enjoy using a mix of old and new in your crafting? Let me know in the comments! And if you decide to make a pet sympathy card, tag me on social media so I can see your beautiful creations. 💕
Sale-A-Bration is Still On!
Did you know that Sale-A-Bration is happening now? You can earn free Stampin’ Up! products for every $75 CAD you spend until February 28th! It’s the perfect time to stock up on crafting essentials while getting amazing freebies. Don’t miss out on these exclusive rewards!

Special Offers and Upcoming Events
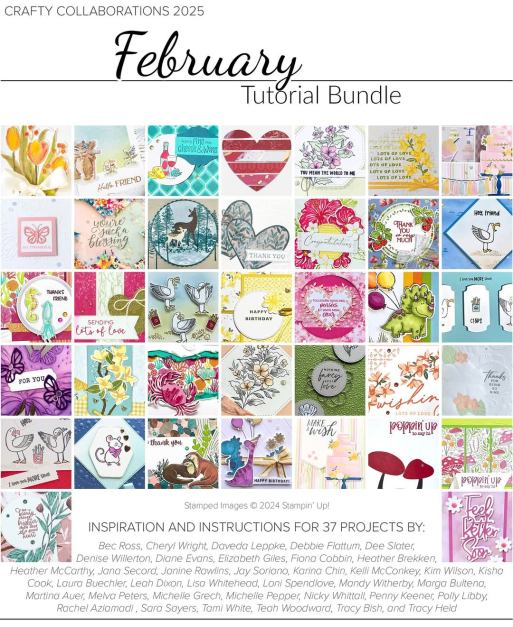
When you use my host code (NSTY47WP) this month, I’ll send you a link to an exclusive 37 Project Tutorial Bundle as a thank-you!

Upcoming Card Classes
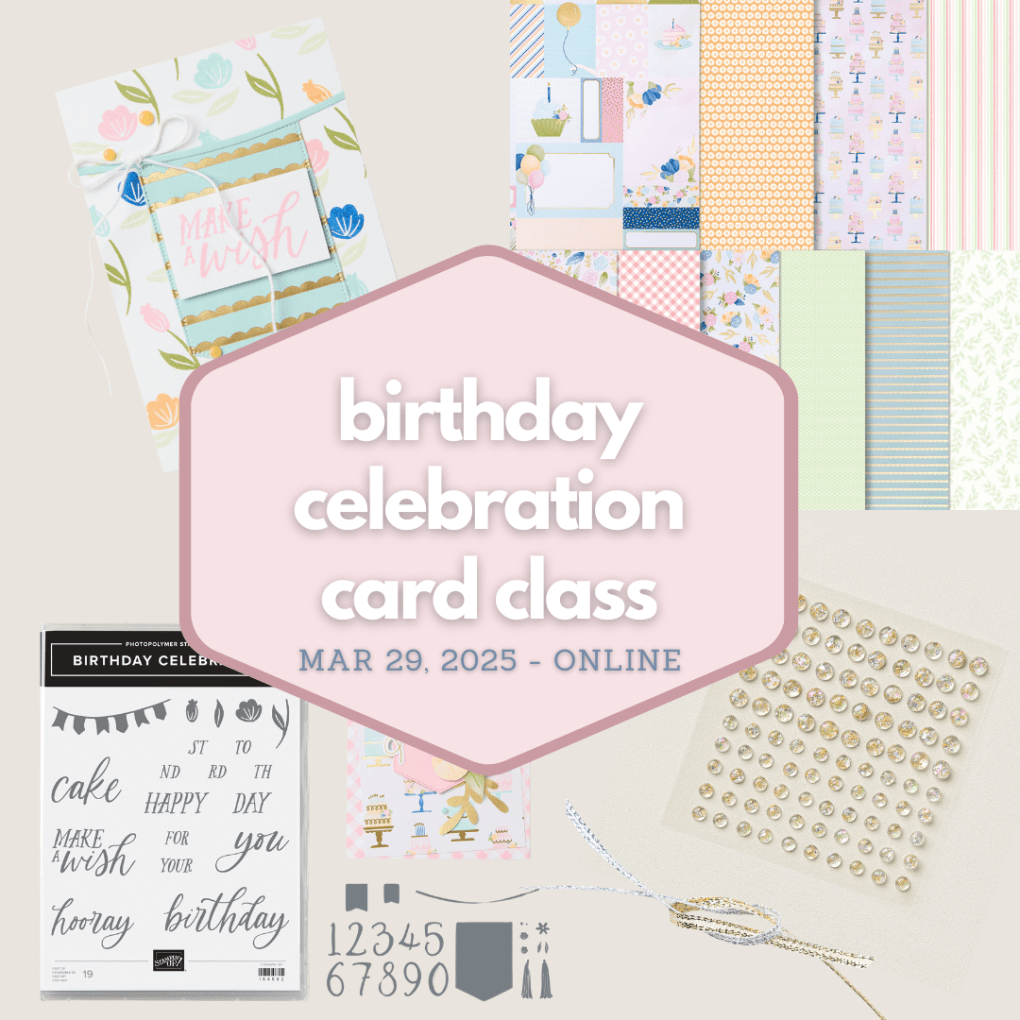
Looking for more crafting fun? Join my March Card Class or April Card Class to learn new techniques and create beautiful projects. Spots are limited, so reserve yours today!

Looking for more ways to enjoy stamping? Join my Stampin’ Up! Ink Pad Pals team!
- Save 20%+ on your orders.
- Get free access to my monthly card class tutorials.
- Enjoy our monthly team meetings with stamping fun and collaboration.
During Sale-a-bration there are even more perks to joining.
- Option 1 – Join our crafting community as a new demonstrator and you can get $165 CAD worth of products PLUS a choice of two Stampin’ Write Marker Assortments AND the Handmade Designs Cling Stamp Set, an exclusive stamp set designed to work with the markers. That’s a $294 CAD value all for just $135 CAD!
- Option 2 – Join Stampin’ Up! during Sale-A-Bration and get $165 CAD worth of product PLUS an additional $41 CAD worth of product of your choice when you join for $135 CAD. That’s a $206 CAD value!
Contact me to find out more or see the details on my website.


Stay Connected
Want to stay in the loop for all upcoming events, sales, and inspiration?
- Join my newsletter here.
- Follow me on social media: linktr.ee/stampinwithleah.
Live in Canada and don’t have a demonstrator? Contact me to get a catalog and find out why now is the perfect time to join my team!
Leave a comment below and don’t forget to subscribe to this blog for more crafty inspiration!
Happy crafting, and I can’t wait to see your creations! 💕

Click here to shop my online store.
Click here to access & view the current catalogs.
Click here to subscribe to those fun Paper Pumpkin kits of creativity!
Click here for more information about joining my Online Monthly Technique Club. Earn even more goodies by joining a club!
Click here to learn more about joining my Ink Pad Pals Team. Get the MOST rewards including a discount on future products!
Follow me on social media! I share regularly on Pinterest, YouTube, and Facebook!
Please subscribe to my newsletter, too! Click here and enter your email. When you include your birthday you will even be added to my birthday card mailing list 🙂


 Designer Series Paper")
 Designer Series Paper")
 Specialty Paper")
")
")
")


 Seam Binding Ribbon")


 Designer Series Paper")
")


")


")


 Designer Series Paper")
")


 Glittered Ribbon")

")


 Designer Series Paper")
")


