

This week’s Hand Stamped Sentiments challenge is an awesome Colour Challenge. Take a look at all the beautiful cards created by our design team and then join the challenge.

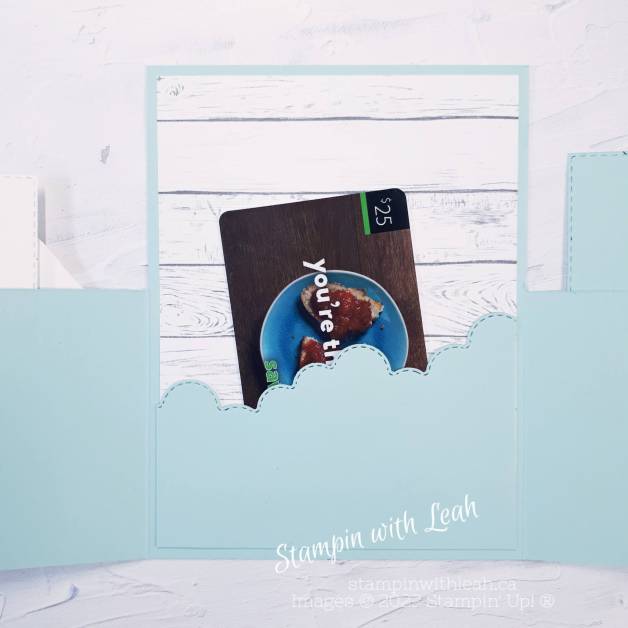
I used the Flowering Tulips Bundle and a great gift card holder design by Erica Cerwin.
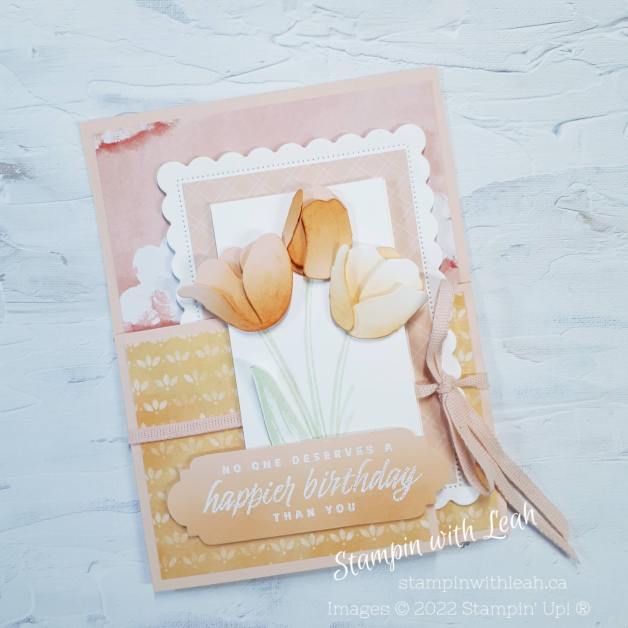
To create the basic card base I used Petal Pink Cardstock: 5-1/2″ X 11″, score the long side at 3-3/8″ from each end, then cut out the top corners leaving a 3″ tall door at the bottom.

Next I die cut the tulip petals out of Petal Pink and Basic White cardstock and used a Blending Brush to add Pumpkin Pie Ink to the flowers.

I put the tulip petal pieces together using Dimensionals and Mini Glue Dots. I stamped some stems using Soft Sea Foam on a 2″ X 3-1/4″ piece of Basic White cardstock and attached the tulips above them.
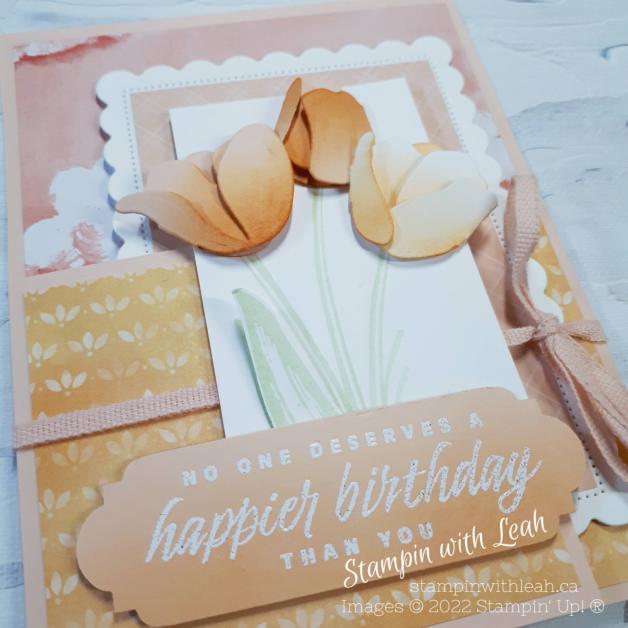
The tulips and the sentiment were attached to the front flap using Dimensionals. The Basic White rectangle, DSP layer and the blank cardstock to write on were attached with Tear and Tape afterwards so they could be lined up to create a border around the tulips.
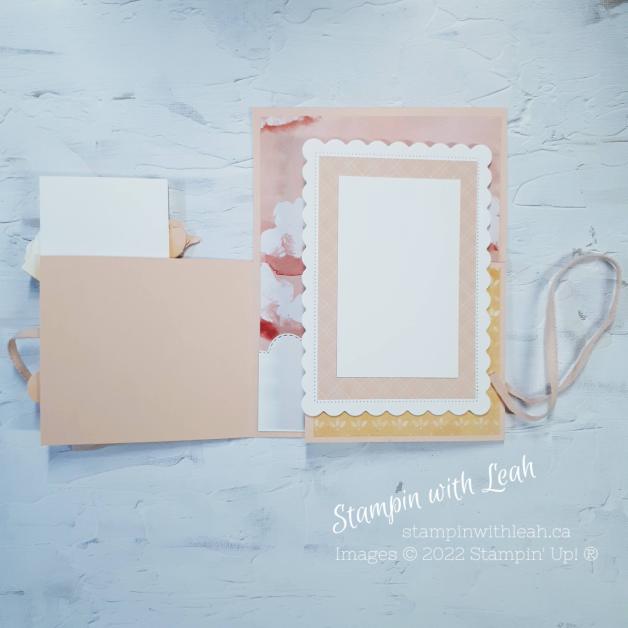

When I attached the cloud layer I used Tear and Tape around the edges only to create a pocket for a gift card.
The finished card fits nicely in a regular Medium Basic White Envelope and perfectly hides the gift card inside.
All of the supplies I used are listed below. You can place an order by contacting me directly or clicking on the image(s) below.
 $48.00 | ||||
 $39.00 |  $13.00 |  $24.00 | ||
") $41.00 |  $16.25 |  $5.50 |  $7.25 | |
 $5.50 |  $9.50 |  $34.00 |  $163.00 |


 Designer Series Paper")
")


 Cotton Ribbon Combo Pack")
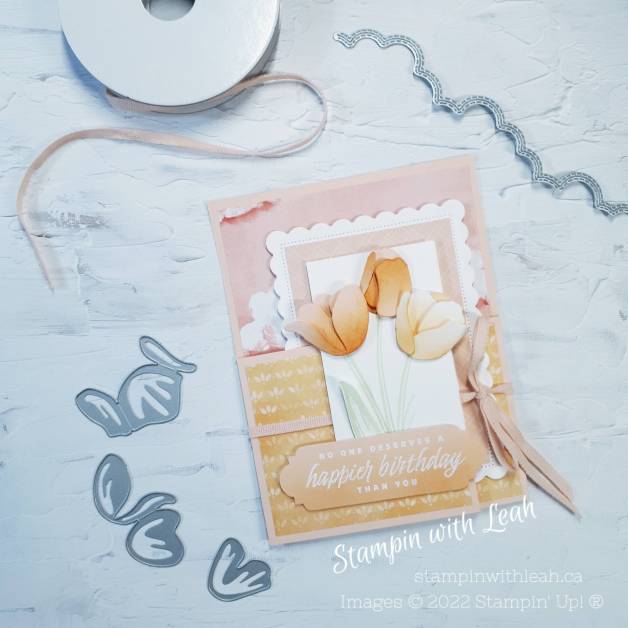
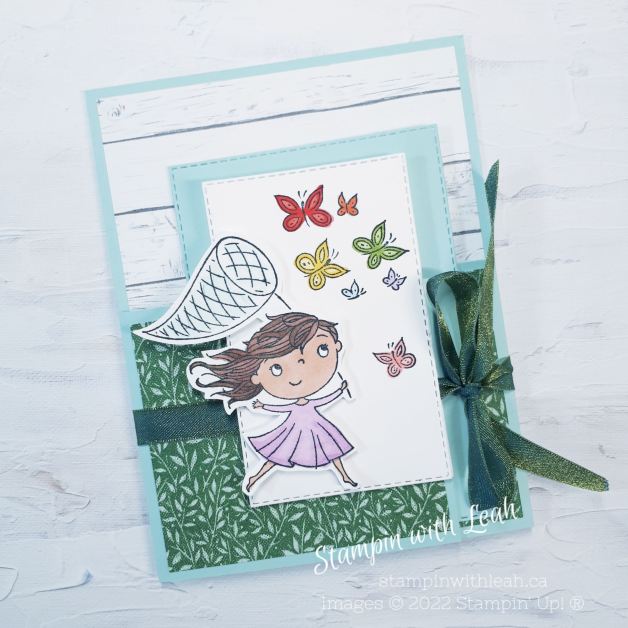
If you need a bit more of a visual about how to put this card together – you can check out my video of this butterfly card being created (it is a different stamp set, but the same layout).
Right now there are so many perks to ordering. You get SAB rewards (free items for every $60 or $120 cdn you spend), AND for any order over $65cdn I am also emailing out an amazing 28 card Tutorial Bundle. Just use the host code below.


If you loved all the products you saw in this card – consider joining my team ( the Ink Pad Pals). There is no better time than now!

Please leave a comment below and make sure to follow this blog for more great inspiration!

Click here to shop my online store.
Click here to access & view the current catalogs.
Click here to subscribe to those fun Paper Pumpkin kits of creativity!
Click here for more information about joining my Online Monthly Technique Club. Earn even more goodies by joining a club!
Click here to learn more about joining my Ink Pad Pals Team. Get the MOST rewards including a discount on future products!
Follow me on social media! I share regularly on Pinterest, YouTube, and Facebook!
Please subscribe to my newsletter, too! Click here and enter your email. When you include your birthday you will even be added to my birthday card mailing list 🙂


 Designer Series Paper")

")


 Reversible Ribbon")


 Designer Series Paper")


")
")


