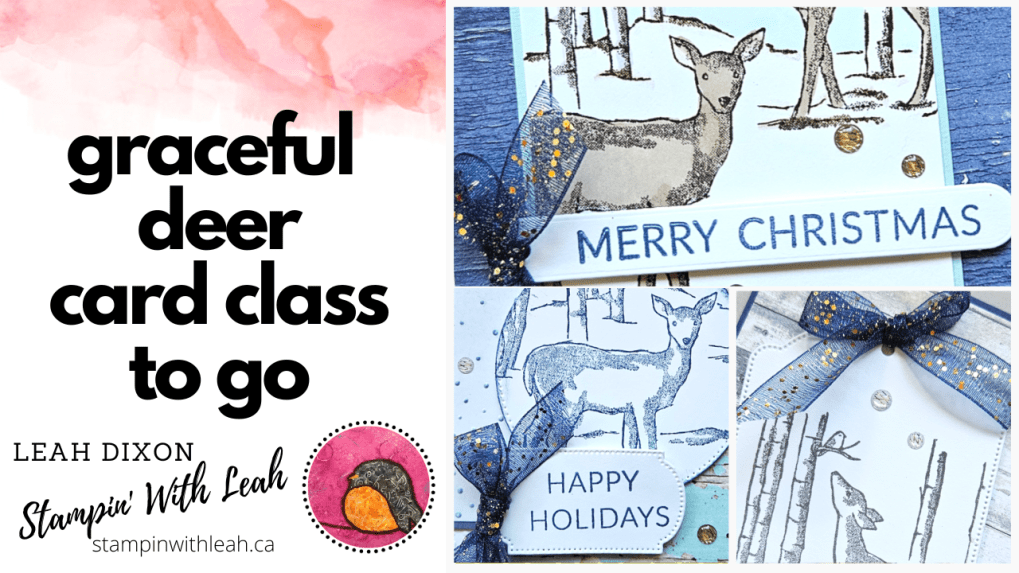
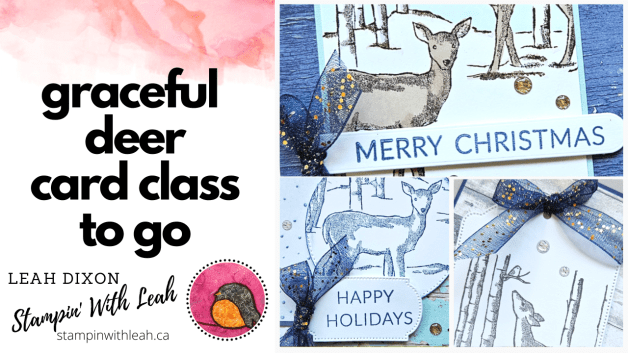
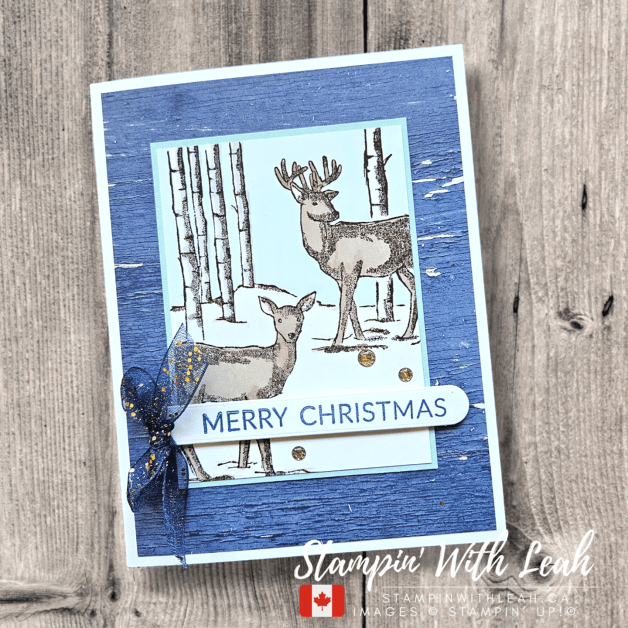
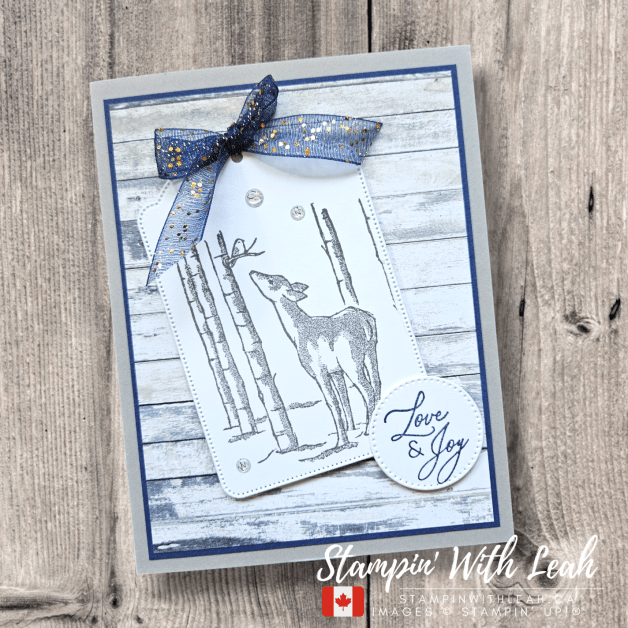
Happy Festive Friday, friends!
Today’s project is bursting with charm and sweetness thanks to the Sweet Jar bundle, one of my new favourites. I filled the stamped jar with Real Red hearts and peppermint candies and layered it over a bold print from the Take a Bow 6×6 Designer Series Paper—which is retiring soon, so grab it before it’s gone!
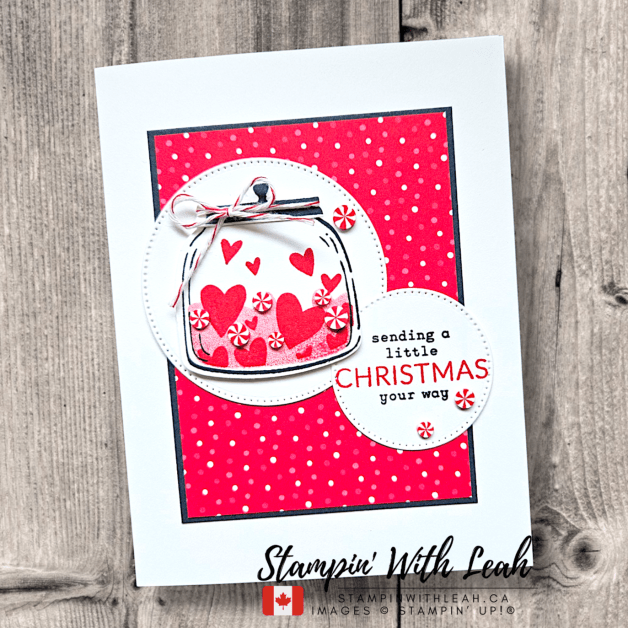
To give the layout some balance and polish, I used the Stylish Shapes Dies to create crisp stitched circles behind the jar and sentiment. The sentiment comes from mixing the a sentiment from the Sweet Jar stamp set with the classic Greetings of the Season stamp set.
But the real magic? That Secret Sea ink and thin trim of cardstock—just enough to cool down all that red and make everything pop. It’s my new go-to neutral and I’m obsessed!
The Adhesive-Backed Peppermint Dots and a simple bow of Real Red & White Baker’s Twine complete the look with a playful, candy-cane twist.
🛒 Want to make this card?
Everything you need is available in my online store:
👉 Shop Now
Product List:
![Basic White 8 1/2" X 11" Thick Cardstock [ 159229 ]](https://assets1.tamsnetwork.com/images/EC042017NF/159229s.jpg "Basic White 8 1/2\" X 11\" Thick Cardstock [ 159229 ]")
![Secret Sea 8 1/2" X 11" Cardstock [ 165624 ]](https://assets1.tamsnetwork.com/images/EC042017NF/165624s.jpg "Secret Sea 8 1/2\" X 11\" Cardstock [ 165624 ]")
![Basic White 8 1/2" X 11" Cardstock [ 166780 ]](https://assets1.tamsnetwork.com/images/EC042017NF/166780s.jpg "Basic White 8 1/2\" X 11\" Cardstock [ 166780 ]")
![Sweet Jar Bundle (English) [ 165507 ]](https://assets1.tamsnetwork.com/images/EC042017NF/165507s.jpg "Sweet Jar Bundle (English) [ 165507 ]")
![Secret Sea Classic Stampin' Pad [ 165285 ]](https://assets1.tamsnetwork.com/images/EC042017NF/165285s.jpg "Secret Sea Classic Stampin' Pad [ 165285 ]")
![Real Red Classic Stampin' Pad [ 147084 ]](https://assets1.tamsnetwork.com/images/EC042017NF/147084s.jpg "Real Red Classic Stampin' Pad [ 147084 ]")
![Stylish Shapes Dies [ 159183 ]](https://assets1.tamsnetwork.com/images/EC042017NF/159183s.jpg "Stylish Shapes Dies [ 159183 ]")
![Paper Trimmer [ 152392 ]](https://assets1.tamsnetwork.com/images/EC042017NF/152392s.jpg "Paper Trimmer [ 152392 ]")
![Real Red & White Adhesive Backed Peppermints [ 164050 ]](https://assets1.tamsnetwork.com/images/EC042017NF/164050s.jpg "Real Red & White Adhesive Backed Peppermints [ 164050 ]")
![Real Red & White Baker's Twine [ 164051 ]](https://assets1.tamsnetwork.com/images/EC042017NF/164051s.jpg "Real Red & White Baker's Twine [ 164051 ]")
![Multipurpose Liquid Glue [ 110755 ]](https://assets1.tamsnetwork.com/images/EC042017NF/110755s.jpg "Multipurpose Liquid Glue [ 110755 ]")
![Stampin' Dimensionals [ 104430 ]](https://assets1.tamsnetwork.com/images/EC042017NF/104430s.jpg "Stampin' Dimensionals [ 104430 ]")
✨ Don’t forget to opt in for Stampin’ Up!’s new rewards program—earn points on every order of $25 CAD+ and redeem them for free products!
👉 This card isn’t part of my upcoming Sweet Jar card class, but it gives you a taste (pun intended!) of the fun designs we’ll create.
Spots are open now! Register here: https://form.jotform.com/leahdixon41/sweet-jar-bundle-virtual-card-class

Looking for more ways to stamp with me? Make sure to watch my You Tube live each Wednesday and if you are local – join my card class!


Looking for even more ways to enjoy stamping? Join my Stampin’ Up! Ink Pad Pals team! Now is a great time to join with our fabulous Starter Kit deal. This deal expires May 31!! Act FAST!

- Save 20%+ on your orders.
- Get free access to my monthly card class tutorials.
- Enjoy our monthly team meetings with stamping fun and collaboration.
Contact me to find out more or see the details on my website.

Thanks for stopping by! I hope this card inspires your next holiday creation. Don’t forget to follow for more weekly inspiration and holiday cheer.

Click here to shop my online store.
Click here to access & view the current catalogs.
Click here to subscribe to those fun Paper Pumpkin kits of creativity!
Click here for more information about joining my Online Monthly Technique Club. Earn even more goodies by joining a club!
Click here to learn more about joining my Ink Pad Pals Team. Get the MOST rewards including a discount on future products!
Follow me on social media! I share regularly on Pinterest, YouTube, and Facebook!
Please subscribe to my newsletter, too! Click here and enter your email. When you include your birthday you will even be added to my birthday card mailing list 🙂


![Cloud Cover 8 1/2" X 11" Cardstock [ 165621 ]](https://assets1.tamsnetwork.com/images/EC042017NF/165621s.jpg "Cloud Cover 8 1/2\" X 11\" Cardstock [ 165621 ]")
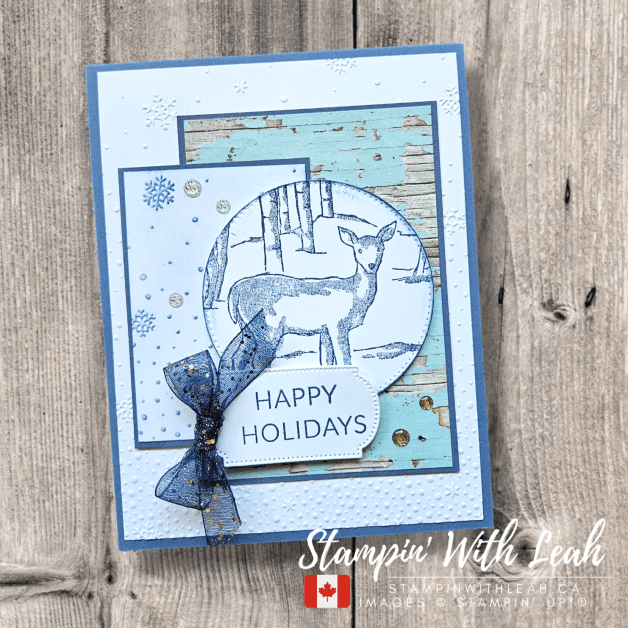
![Winter Meadow 12" X 12" (30.5 X 30.5 Cm) Designer Series Paper [ 162133 ]](https://assets1.tamsnetwork.com/images/EC042017NF/162133s.jpg "Winter Meadow 12\" X 12\" (30.5 X 30.5 Cm) Designer Series Paper [ 162133 ]")
![Greetings Of The Season Photopolymer Stamp Set (English) [ 164325 ]](https://assets1.tamsnetwork.com/images/EC042017NF/164325s.jpg "Greetings Of The Season Photopolymer Stamp Set (English) [ 164325 ]")
![2025–2027 In Color™ Flat Pearls [ 165192 ]](https://assets1.tamsnetwork.com/images/EC042017NF/165192s.jpg "2025–2027 In Color™ Flat Pearls [ 165192 ]")
![Secret Sea 3/8" (1 Cm) Faux Linen Ribbon [ 165273 ]](https://assets1.tamsnetwork.com/images/EC042017NF/165273s.jpg "Secret Sea 3/8\" (1 Cm) Faux Linen Ribbon [ 165273 ]")
![Snowflake Sky 3 D Embossing Folder [ 162026 ]](https://assets1.tamsnetwork.com/images/EC042017NF/162026s.jpg "Snowflake Sky 3 D Embossing Folder [ 162026 ]")
![Year Of Flowers Dies [ 165374 ]](https://assets1.tamsnetwork.com/images/EC042017NF/165374s.jpg "Year Of Flowers Dies [ 165374 ]")
![Paper Snips [ 103579 ]](https://assets1.tamsnetwork.com/images/EC042017NF/103579s.jpg "Paper Snips [ 103579 ]")


![Pretty Peacock 8-1/2" X 11" Cardstock [ 150880 ]](https://assets1.tamsnetwork.com/images/EC042017NF/150880s.jpg "Pretty Peacock 8-1/2\" X 11\" Cardstock [ 150880 ]")
![Very Vanilla 8 1/2" X 11" Cardstock [ 166784 ]](https://assets1.tamsnetwork.com/images/EC042017NF/166784s.jpg "Very Vanilla 8 1/2\" X 11\" Cardstock [ 166784 ]")
![Season Of Elegance 12" X 12" (30.5 X 30.5 Cm) Specialty Designer Series Paper [ 164144 ]](https://assets1.tamsnetwork.com/images/EC042017NF/164144s.jpg "Season Of Elegance 12\" X 12\" (30.5 X 30.5 Cm) Specialty Designer Series Paper [ 164144 ]")
![Pretty Peacock Classic Stampin’ Pad [ 150083 ]](https://assets1.tamsnetwork.com/images/EC042017NF/150083s.jpg "Pretty Peacock Classic Stampin’ Pad [ 150083 ]")
![Pretty Peacock & Gold 3/8" (1 Cm) Metallic Ribbon [ 162588 ]](https://assets1.tamsnetwork.com/images/EC042017NF/162588s.jpg "Pretty Peacock & Gold 3/8\" (1 Cm) Metallic Ribbon [ 162588 ]")
![Antique Pearls [ 164679 ]](https://assets1.tamsnetwork.com/images/EC042017NF/164679s.jpg "Antique Pearls [ 164679 ]")

![Basic Beige 8 1/2" X 11" Cardstock [ 164511 ]](https://assets1.tamsnetwork.com/images/EC042017NF/164511s.jpg "Basic Beige 8 1/2\" X 11\" Cardstock [ 164511 ]")
![Pool Party 8-1/2" X 11" Cardstock [ 122924 ]](https://assets1.tamsnetwork.com/images/EC042017NF/122924s.jpg "Pool Party 8-1/2\" X 11\" Cardstock [ 122924 ]")
![Fragrant Forest Cling Stamp Set (English) [ 162108 ]](https://assets1.tamsnetwork.com/images/EC042017NF/162108s.jpg "Fragrant Forest Cling Stamp Set (English) [ 162108 ]")
![Merriest Trees Dies [ 162047 ]](https://assets1.tamsnetwork.com/images/EC042017NF/162047s.jpg "Merriest Trees Dies [ 162047 ]")
![Petal Pink & Pretty Peacock Foiled Gems [ 162587 ]](https://assets1.tamsnetwork.com/images/EC042017NF/162587s.jpg "Petal Pink & Pretty Peacock Foiled Gems [ 162587 ]")
![Black & Very Vanilla 3/8" (1 Cm) Large Check Ribbon [ 161982 ]](https://assets1.tamsnetwork.com/images/EC042017NF/161982s.jpg "Black & Very Vanilla 3/8\" (1 Cm) Large Check Ribbon [ 161982 ]")


 Designer Series Paper")
")


")
 Bordered Ribbon")


")


 Designer Series Paper")


 Glittered Ribbon")


")