

Hello, crafty friends! I’m so excited to share my latest project for the Hand Stamped Sentiments Sketch Challenge #455. Sketch challenges are such a fun way to get creative and think outside the box, and this one is no exception. If you love playing with fun layouts, you’ll adore this challenge!
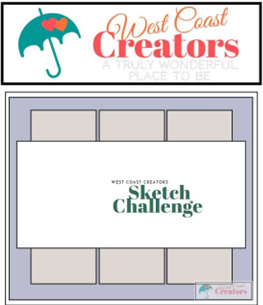
Here is the sketch that inspired my card:

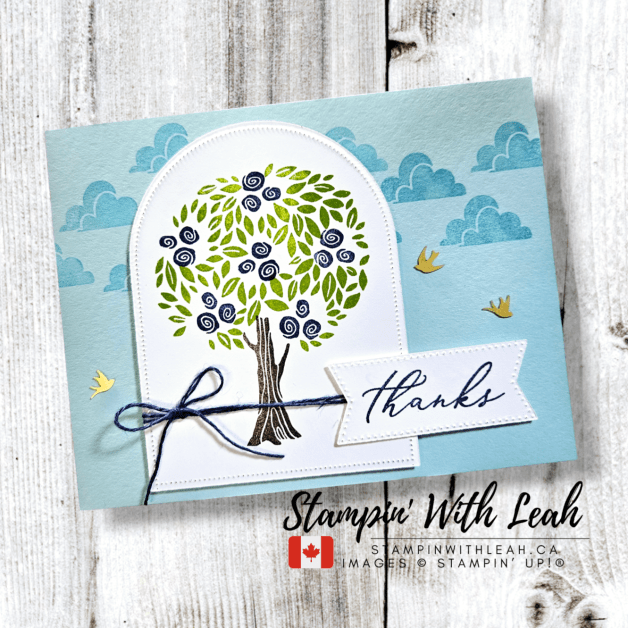
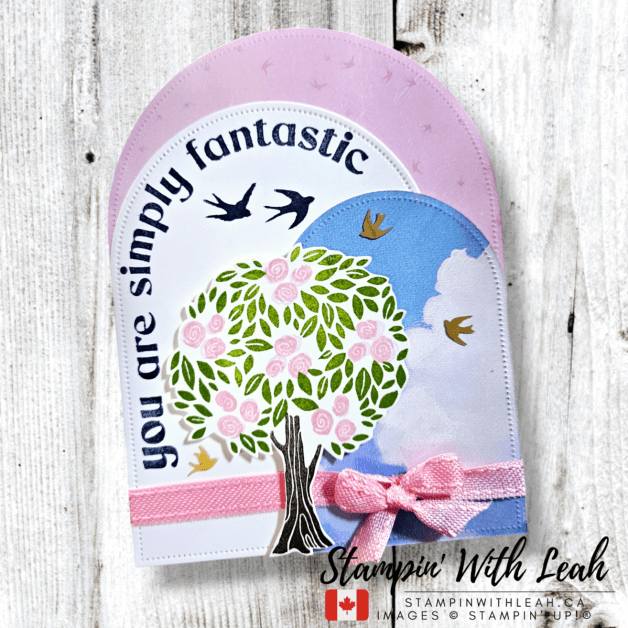
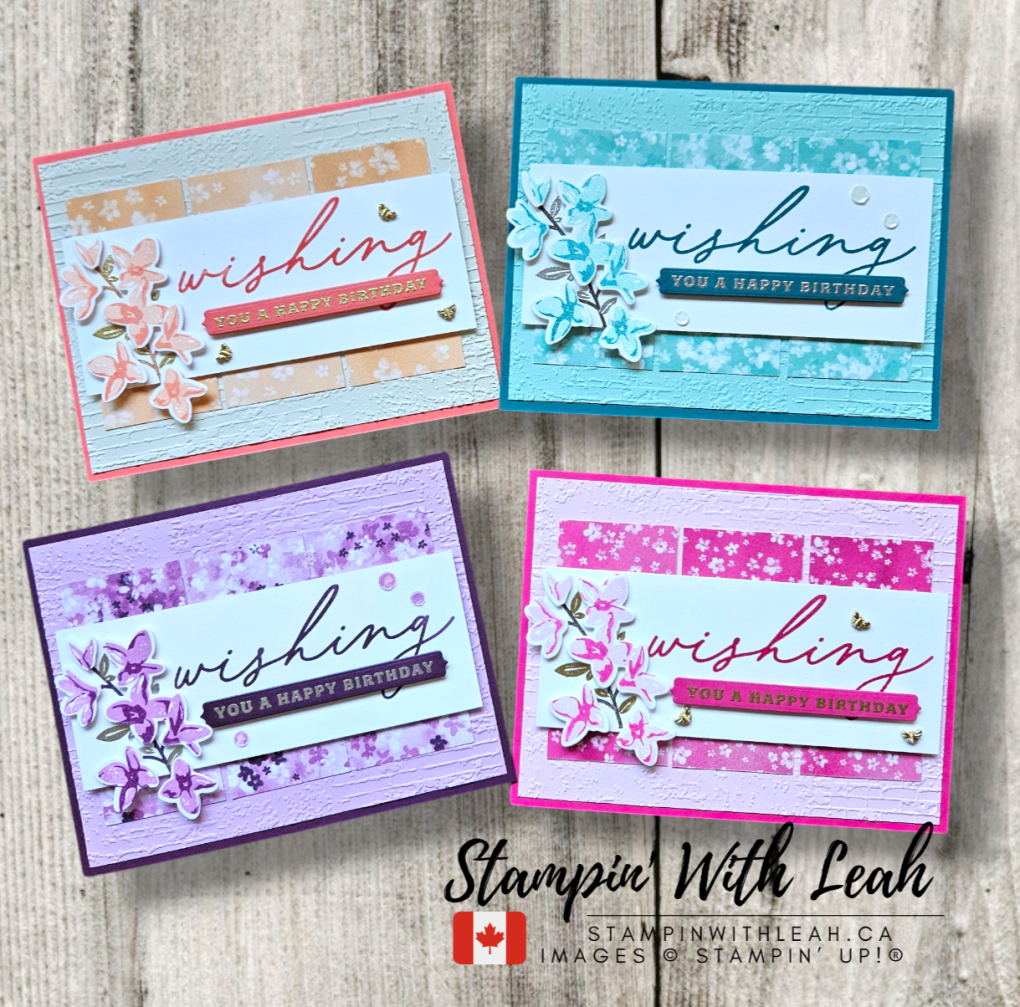
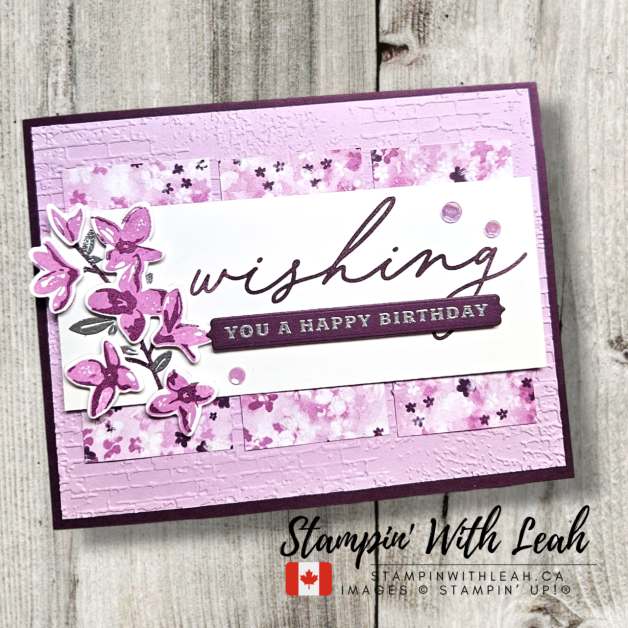
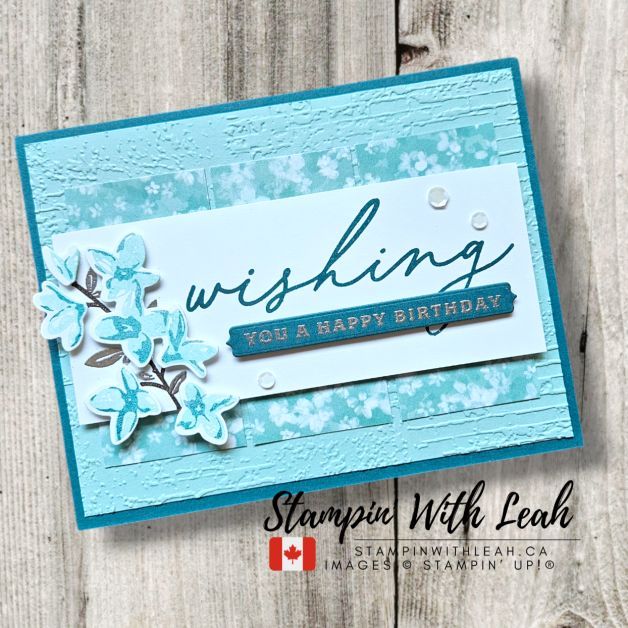
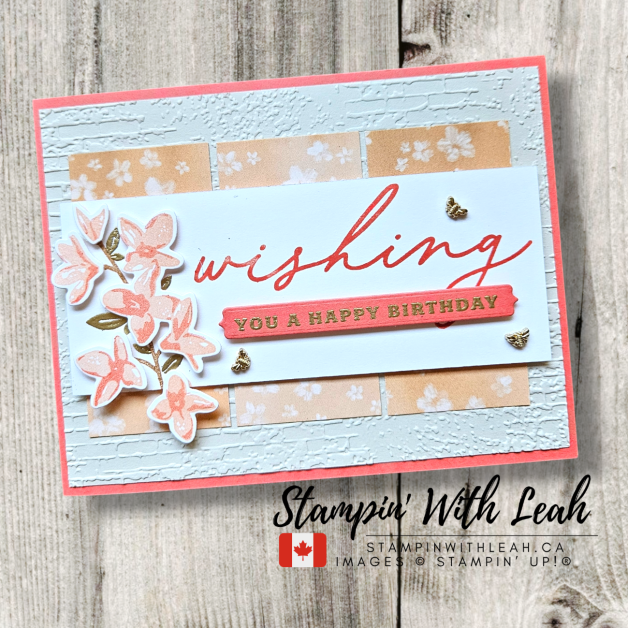
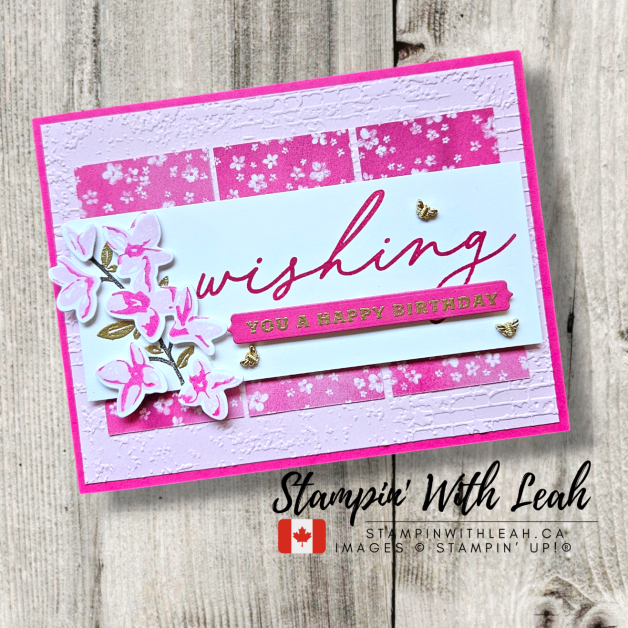
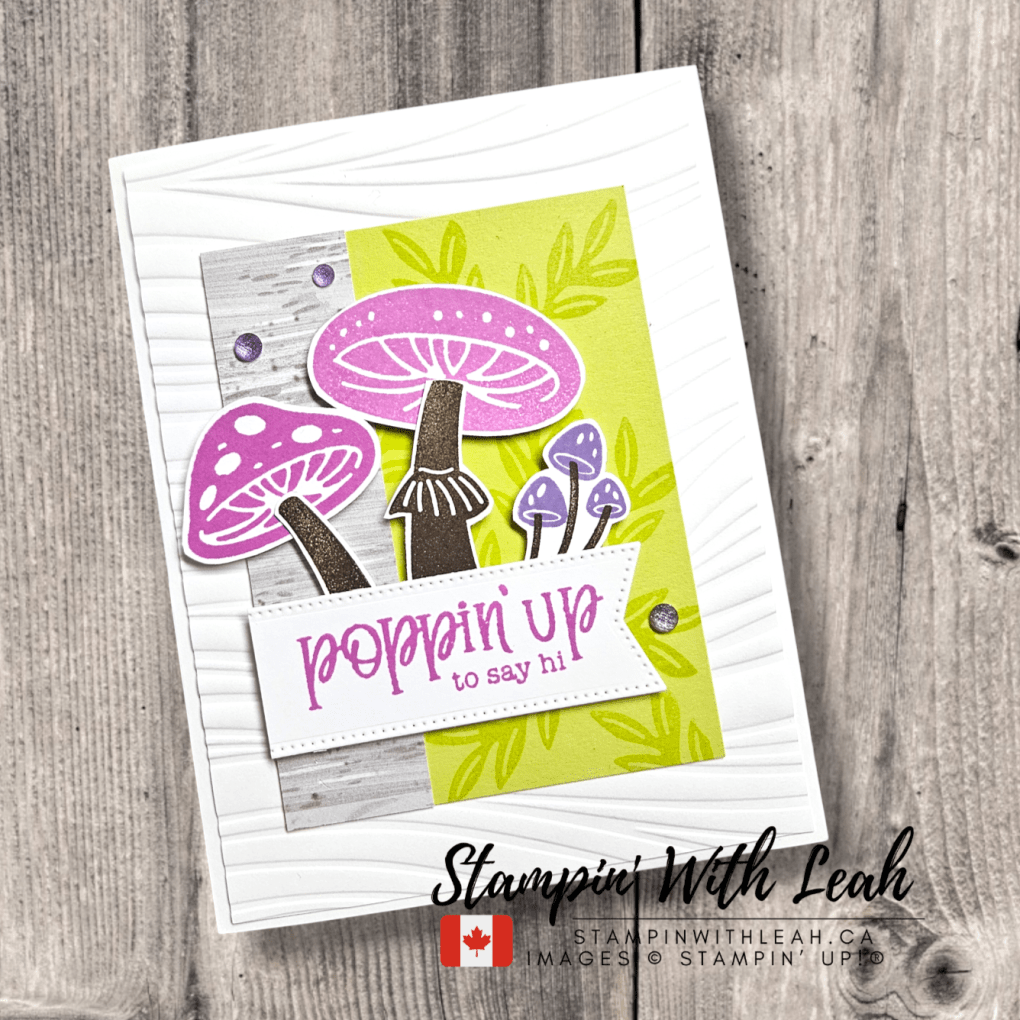
And here’s my interpretation of the sketch:
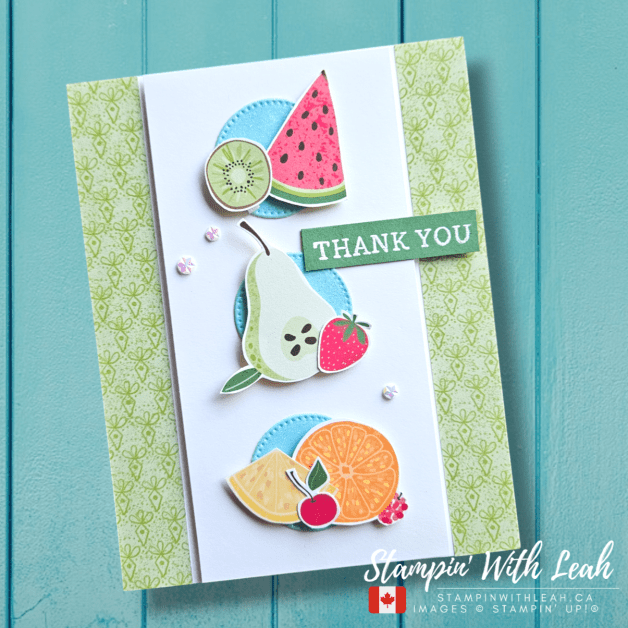
For this card, I used the delightful Fruit Salad 6″ x 6″ Designer Series Paper from the Sale-A-Bration (SAB) catalog. The vibrant fruit designs are so cheerful and perfect for this playful layout. I paired the DSP with the gorgeous Pastel Ombre Glimmer 12″ x 12″ Specialty Paper to add a touch of sparkle. To finish the card, I added some Iridescent Faceted Gems for that extra bit of shine.
Card Details:
- Main Panel: The circles on the sketch were the perfect opportunity to showcase the adorable fruit designs from the Fruit Salad DSP. I layered the fussy cut fruit on die-cut circles from the glimmer paper for a pop of colour and texture.
- Sentiment: The “Thank You” sentiment is stamped and heat-embossed on Garden Green cardstock that coordinates with the colours of the DSP.
- Background: I chose a soft, patterned background from the same DSP collection to keep the focus on the fruit clusters while adding a subtle layer of interest.
- Embellishments: A few Iridescent Faceted Gems complete the look, adding just the right amount of sparkle.
Join the Challenge!
This sketch challenge is open to everyone! Head over to the Hand Stamped Sentiments blog to see all the fabulous inspiration from the design team and fellow participants. I can’t wait to see what you create!
Don’t Miss Out on Sale-A-Bration!
Remember, the Sale-A-Bration promotion is in full swing, and it’s the perfect time to earn free products like the Fruit Salad DSP. In Canada, you can earn a free SAB reward with every $75 purchase. Shop with me today and let’s make something beautiful together! Shop Here and take advantage of this fantastic promotion before it’s gone.
Let’s Connect!
Do you have questions about the products I used or need help placing an order? Feel free to reach out—I’d love to assist you. And if you’re on Instagram, be sure to follow me @stampinwithleah for more creative inspiration.
Special Offers and Upcoming Events
When you use my host code (QFG6CMDQ) this month, I’ll send you a link to an exclusive 38-Project Tutorial Bundle as a thank-you!


Local or Online Events
- Coffee and Cards: Join me in Port Coquitlam on February 15th or book your own private class!

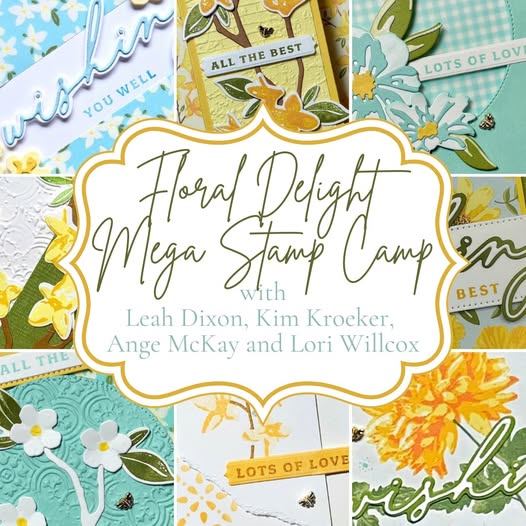
- Floral Delight MEGA Stamp Camp: Join the online stamp camp on Jan 25 & 26th, featuring 12 amazing cards! I still have 1 kit ready to go! Plus friends outside of Canada can register for the PDF only version right up until January 24th!
Looking for more ways to enjoy stamping? Join my Stampin’ Up! Ink Pad Pals team!
- Save 20%+ on your orders.
- Get free access to my monthly card class tutorials.
- Enjoy our monthly team meetings with stamping fun and collaboration.
During Sale-a-bration there are even more perks to joining.
- Option 1 – Join our crafting community as a new demonstrator and you can get $165 CAD worth of products PLUS a choice of two Stampin’ Write Marker Assortments AND the Handmade Designs Cling Stamp Set, an exclusive stamp set designed to work with the markers. That’s a $294 CAD value all for just $135 CAD!
- Option 2 – Join Stampin’ Up! during Sale-A-Bration and get $165 CAD worth of product PLUS an additional $41 CAD worth of product of your choice when you join for $135 CAD. That’s a $206 CAD value!
Contact me to find out more or see the details on my website.


Stay Connected
Want to stay in the loop for all upcoming events, sales, and inspiration?
- Join my newsletter here.
- Follow me on social media: linktr.ee/stampinwithleah.
Live in Canada and don’t have a demonstrator? Contact me to get a catalog and find out why now is the perfect time to join my team!
Leave a comment below and don’t forget to subscribe to this blog for more crafty inspiration!

Click here to shop my online store.
Click here to access & view the current catalogs.
Click here to subscribe to those fun Paper Pumpkin kits of creativity!
Click here for more information about joining my Online Monthly Technique Club. Earn even more goodies by joining a club!
Click here to learn more about joining my Ink Pad Pals Team. Get the MOST rewards including a discount on future products!
Follow me on social media! I share regularly on Pinterest, YouTube, and Facebook!
Please subscribe to my newsletter, too! Click here and enter your email. When you include your birthday you will even be added to my birthday card mailing list 🙂


 Designer Series Paper")

")


")


")


 Designer Series Paper")


 Bordered Ribbon")


 Designer Series Paper")
")


")


 Designer Series Paper")


")
")


")


 Designer Series Paper")

")

 Bordered Ribbon")


")


