

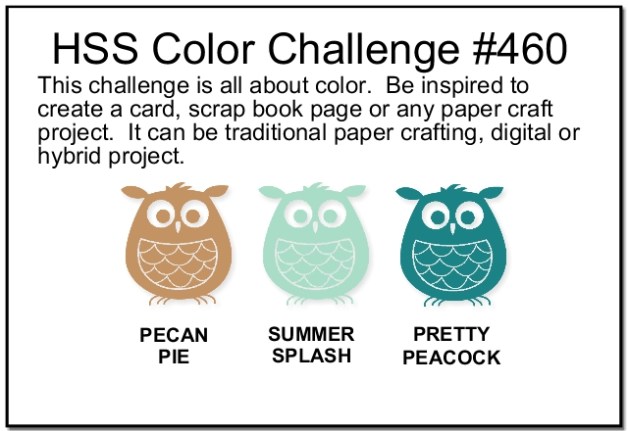
This week, I participated in the Hand Stamped Sentiments #460 Colour Challenge, featuring Pecan Pie, Summer Splash, and Pretty Peacock. These rich, bold hues inspired me to create this elegant “Everyday Details” card using the Textured Notes dies to add some special textures to the layers.
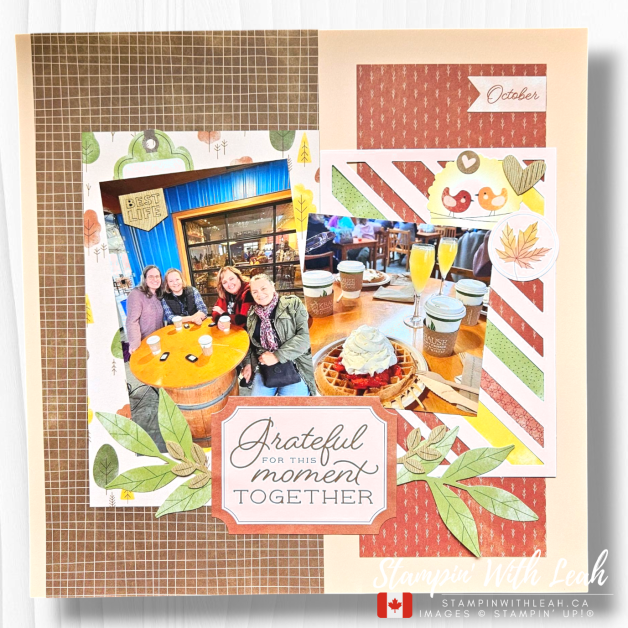
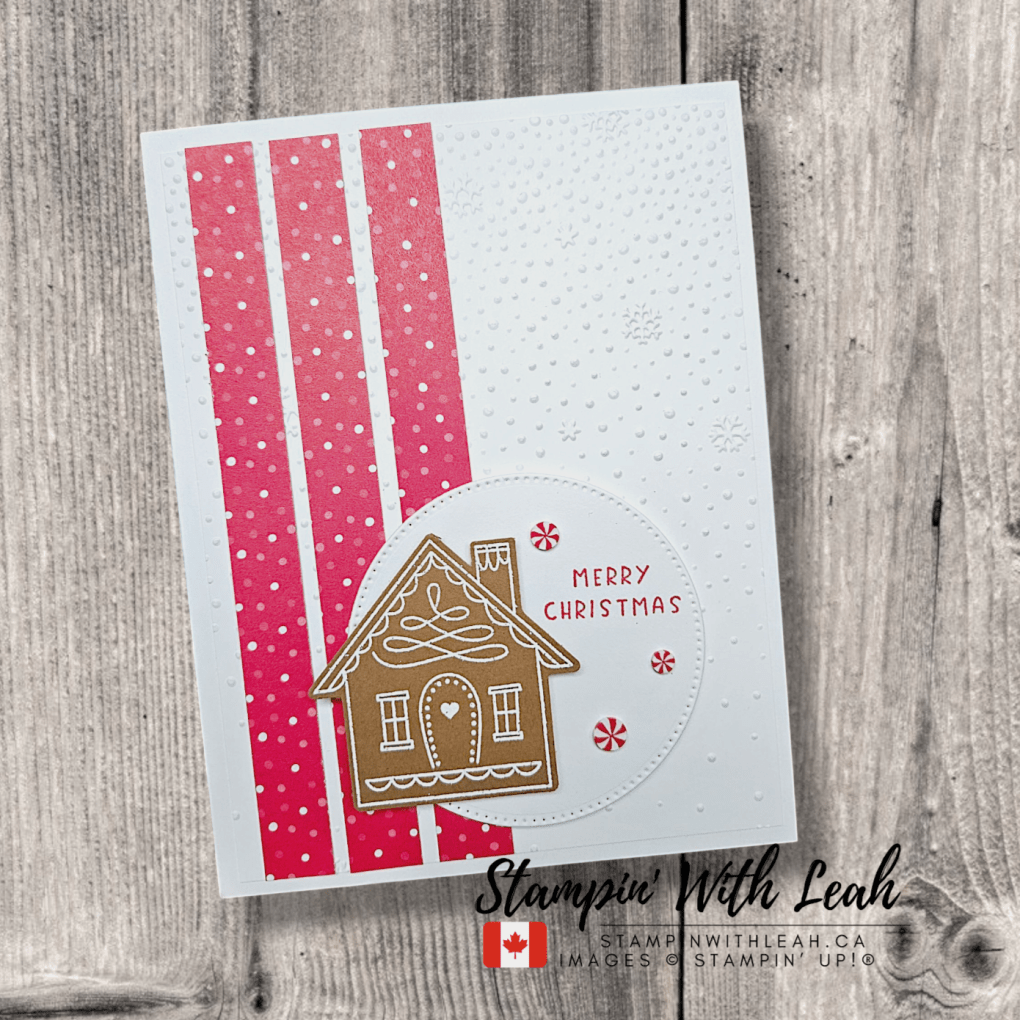
Here’s the card I created:

Project Details:
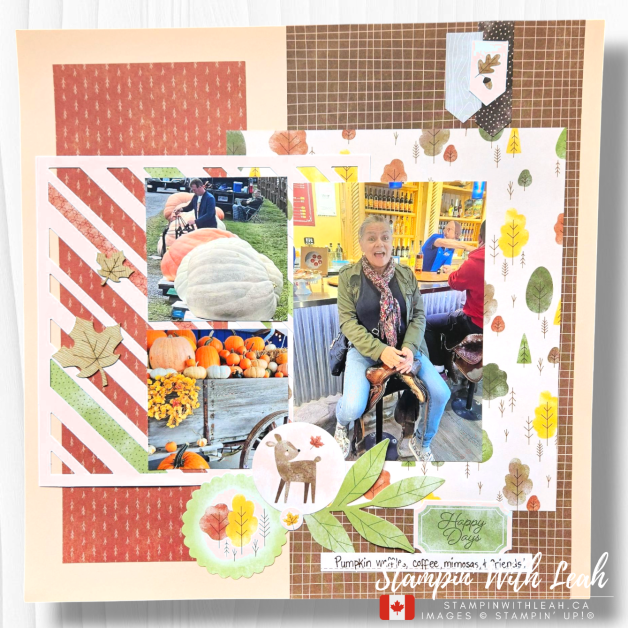
I started with a Pretty Peacock card base and layered it with a tone-on-tone stamped and die cut background for added texture. The detailed nest was stamped in Memento Black, then coloured with Pecan Pie Stampin’ Blends, paired beautifully with Summer Splash eggs and Pretty Peacock leaves. The Textured Notes dies added depth, and by double-cutting, I turned the original rectangle shape into a square for added versatility. A Basic White layer embossed with the Soft Waves embossing folder creates even more dimension, while the finishing touches—rhinestones and a white and silver bow—add a bit of shimmer and elegance.
This card is perfect for special occasions – like the arrival of a new baby. Be sure to check out the Hand Stamped Sentiments blog for more colour challenge inspiration and to share your own creation!
Here is a full list of the supplies I used:
 $11.00 | |||||
 $43.00 |  $8.25 | ||||
 $16.50 |  $8.25 |  $6.00 |  $177.00 |


")


 Sheer Ribbon")
📌 Pin this project for later! 📩 Subscribe for more card tutorials and inspiration!
Special Offers and Upcoming Events
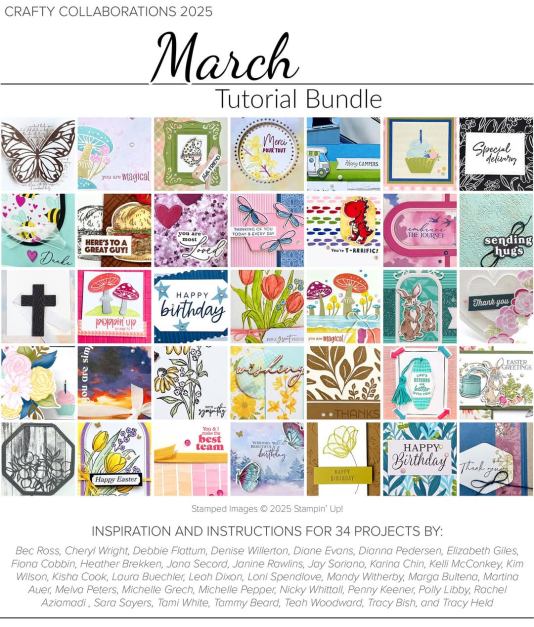
When you use my host code (6HQ62V46) this month, I’ll send you a link to an exclusive 34 Project Tutorial Bundle as a thank-you!

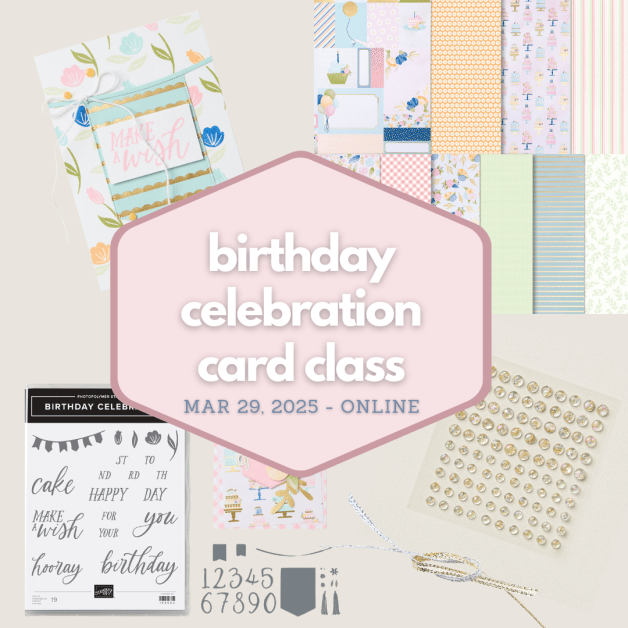
Upcoming Card Classes
Looking for more crafting fun? Join my April Card Class to learn new techniques and create beautiful projects. Spots are limited, so reserve yours today!

Looking for more ways to enjoy stamping? Join my Stampin’ Up! Ink Pad Pals team!
- Save 20%+ on your orders.
- Get free access to my monthly card class tutorials.
- Enjoy our monthly team meetings with stamping fun and collaboration.
Contact me to find out more or see the details on my website.

Stay Connected
Want to stay in the loop for all upcoming events, sales, and inspiration?
- Follow me on social media: linktr.ee/stampinwithleah
- Sign up for my email list: https://mailchi.mp/f1809c680508/subscribe-to-stampin-with-leahs-newsletter
- Click here to shop my online store.
- Click here to access & view the current catalogs.
- Follow me on social media! I share regularly on Pinterest, YouTube, and Facebook!


")


")


 Designer Series Paper")
")


")


")


 Designer Series Paper")
")


 Designer Series Paper")
")


