
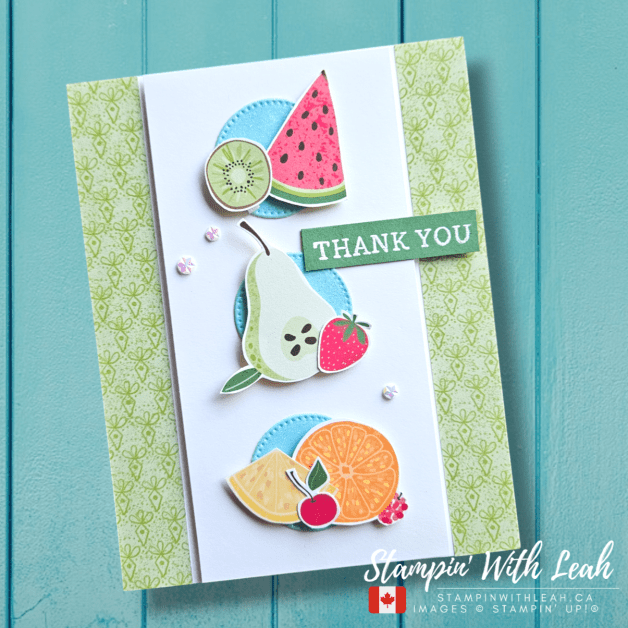
Hello, crafty friends! Today, I’m thrilled to share my project for the Hand Stamped Sentiments Inspiration Challenge #456. This challenge is all about celebrating with festive vibes, and the inspiration image is bursting with cheerful birthday themes – from cupcakes to beautiful cakes and vibrant colors! 🎂✨
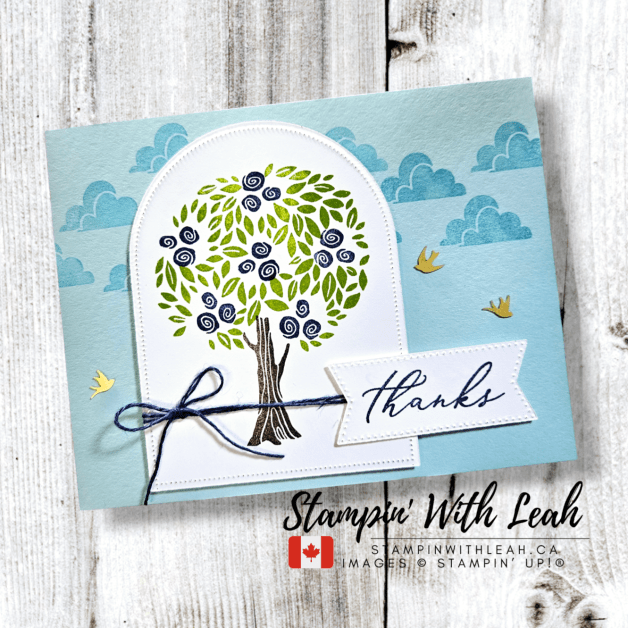
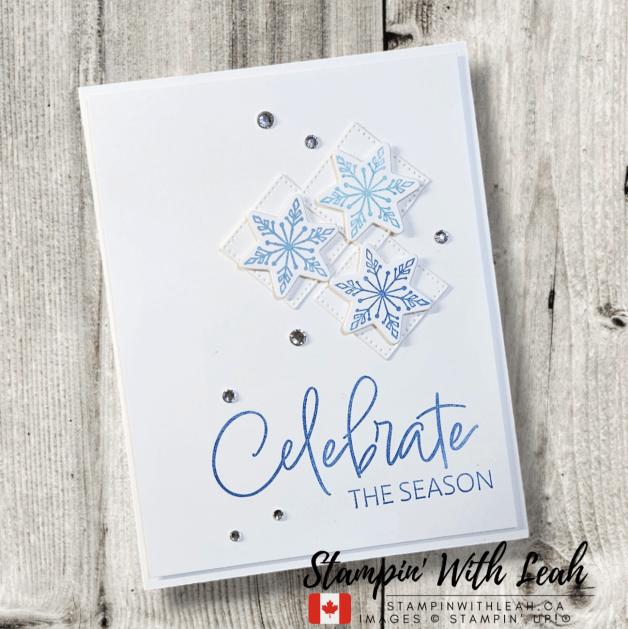
Here’s the inspiration image:

The talented Hand Stamped Sentiments Design Team has created stunning projects with this inspirational image. Hop over to their page to see all the amazing creations and join the challenge!
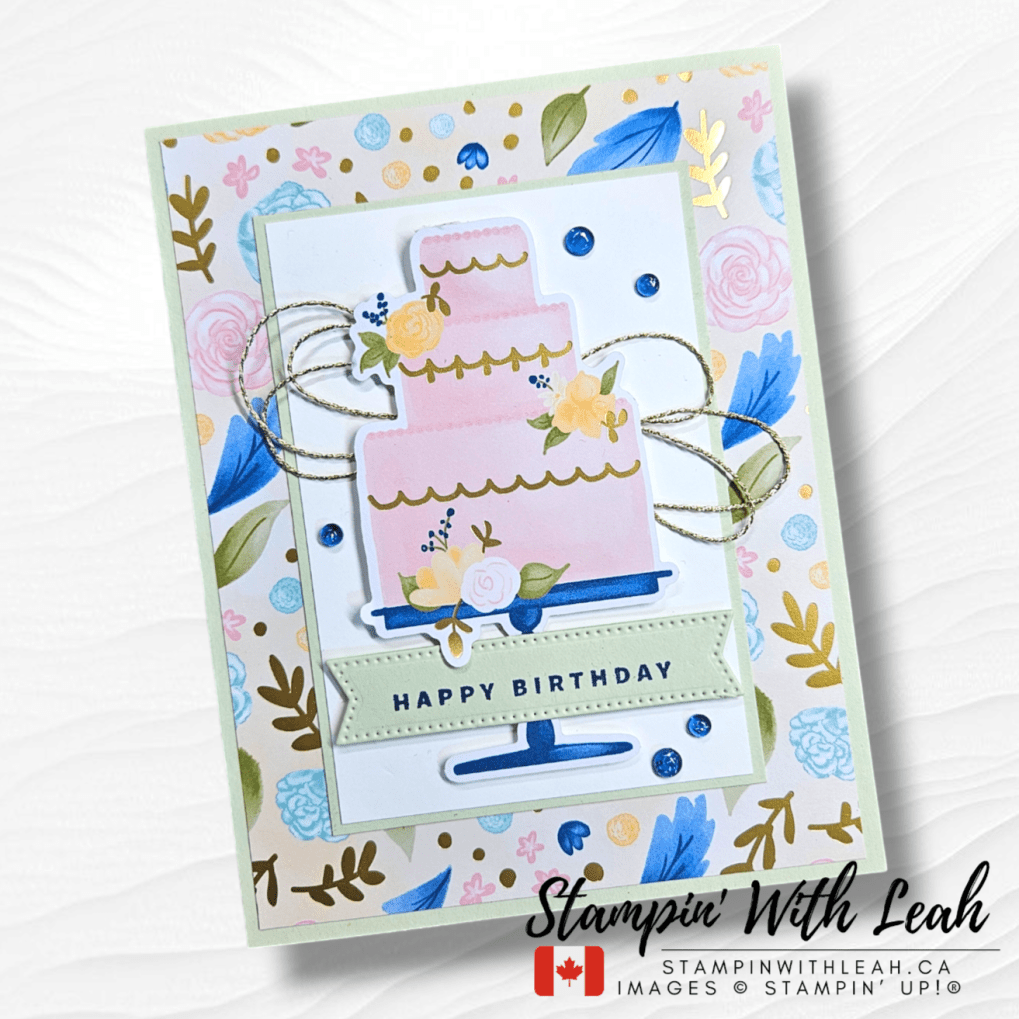
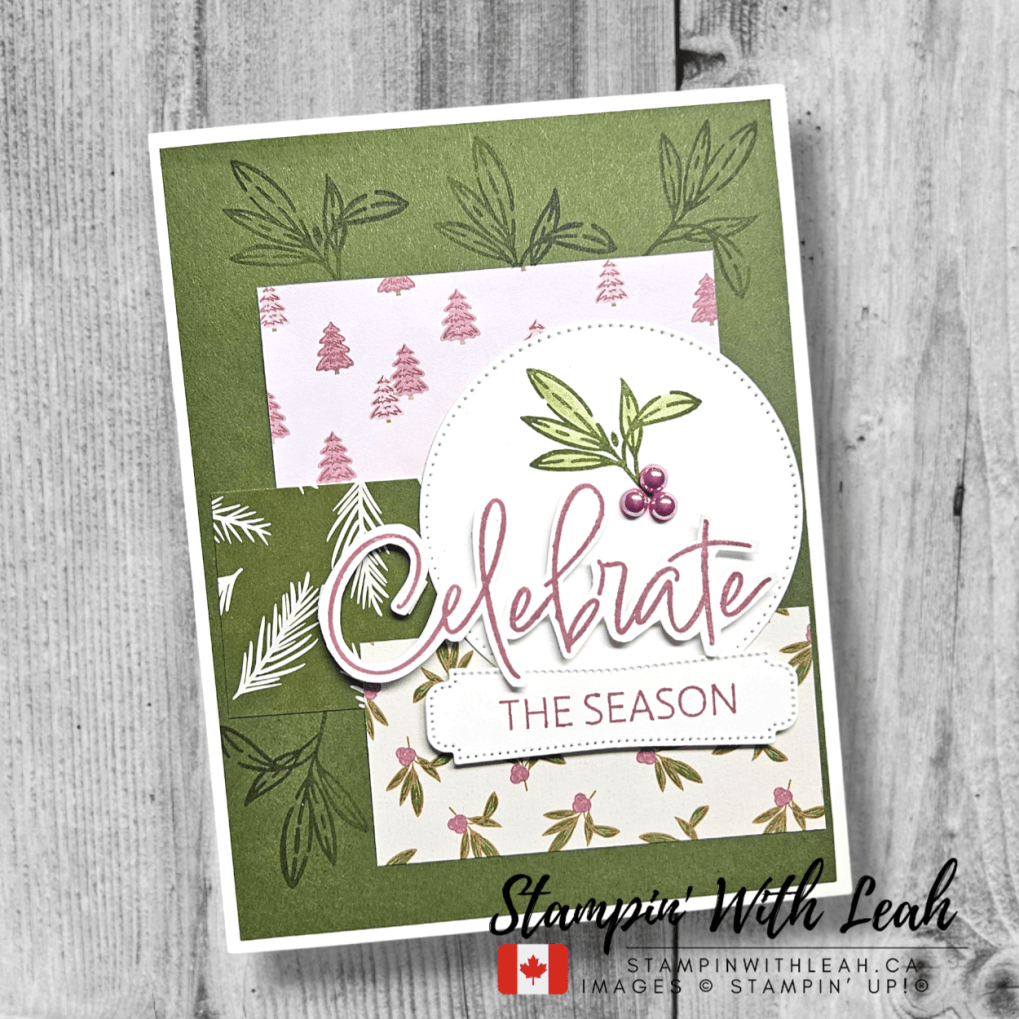
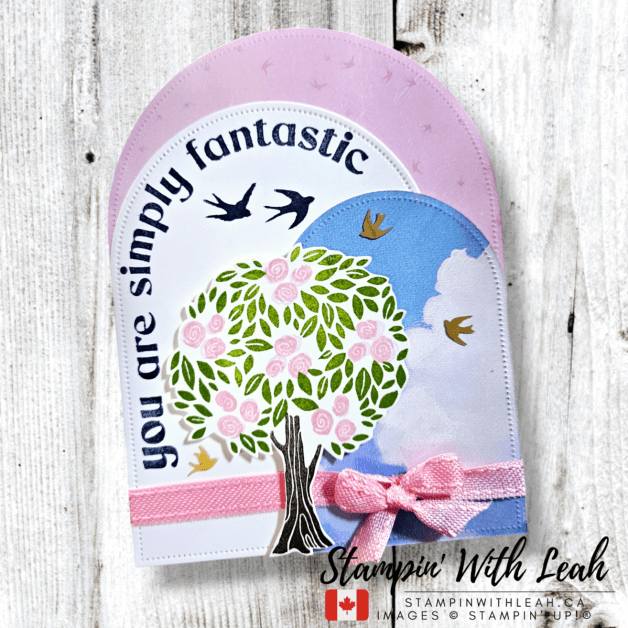
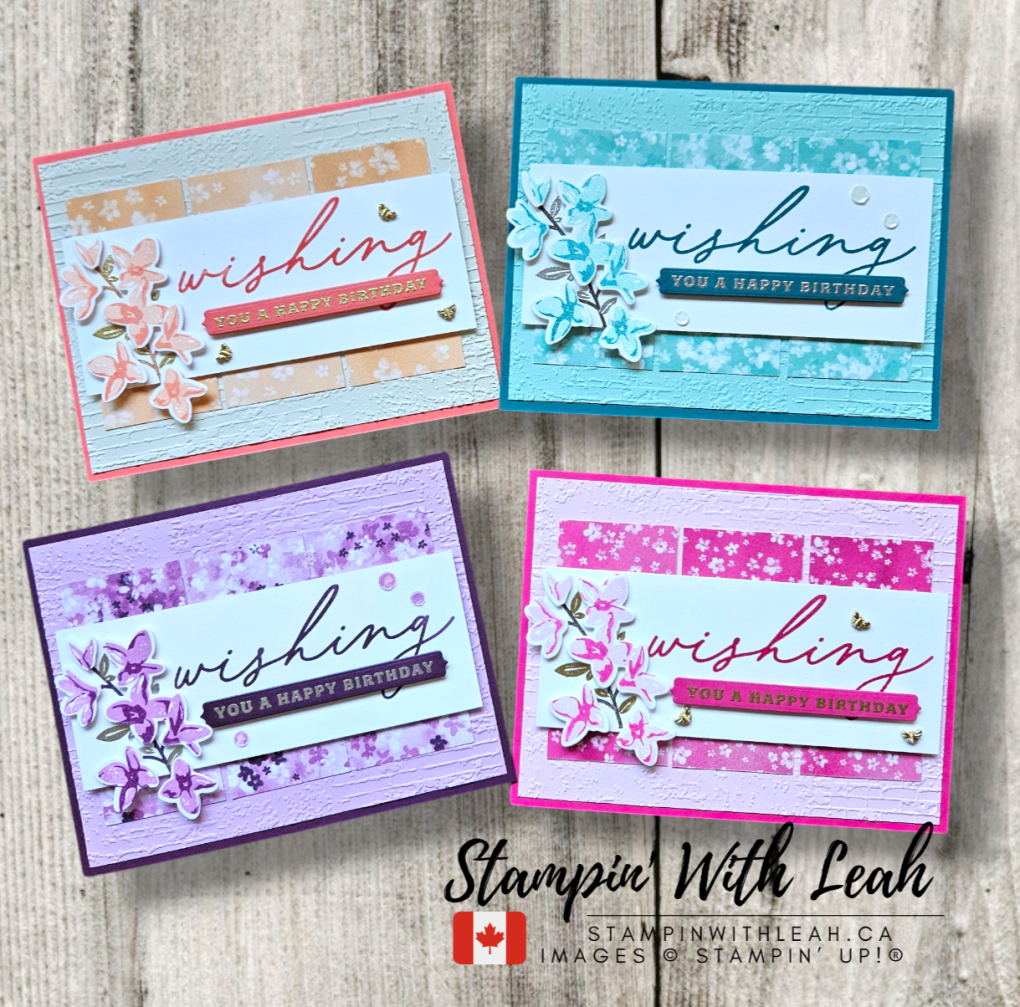
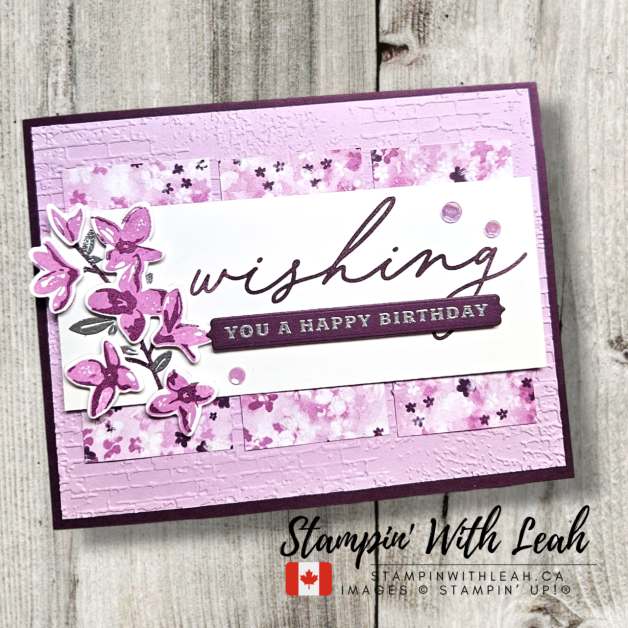
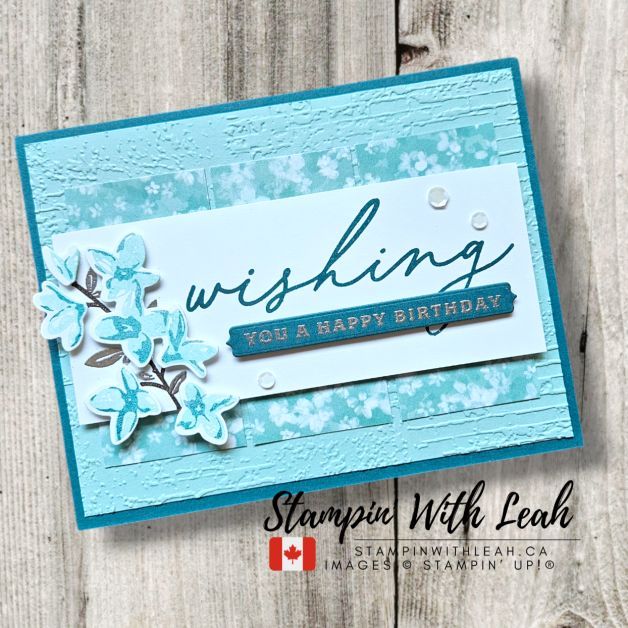
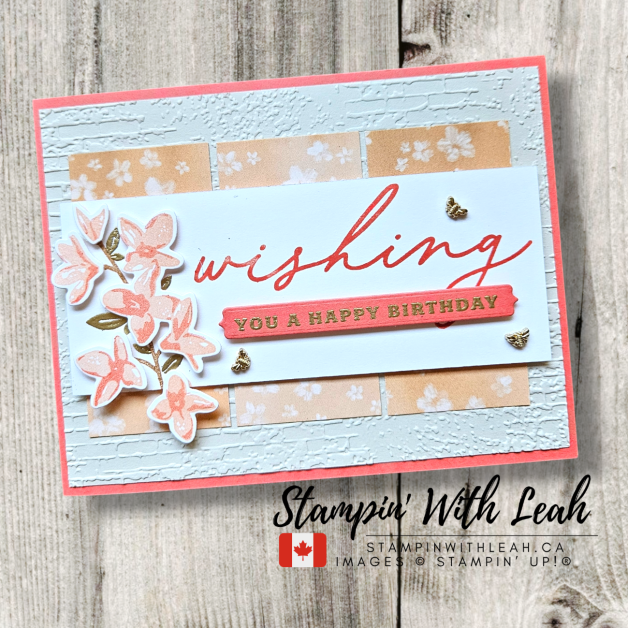
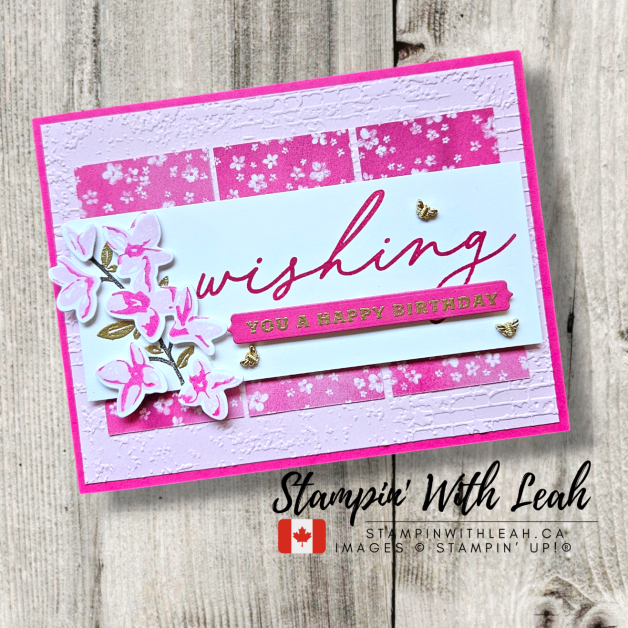
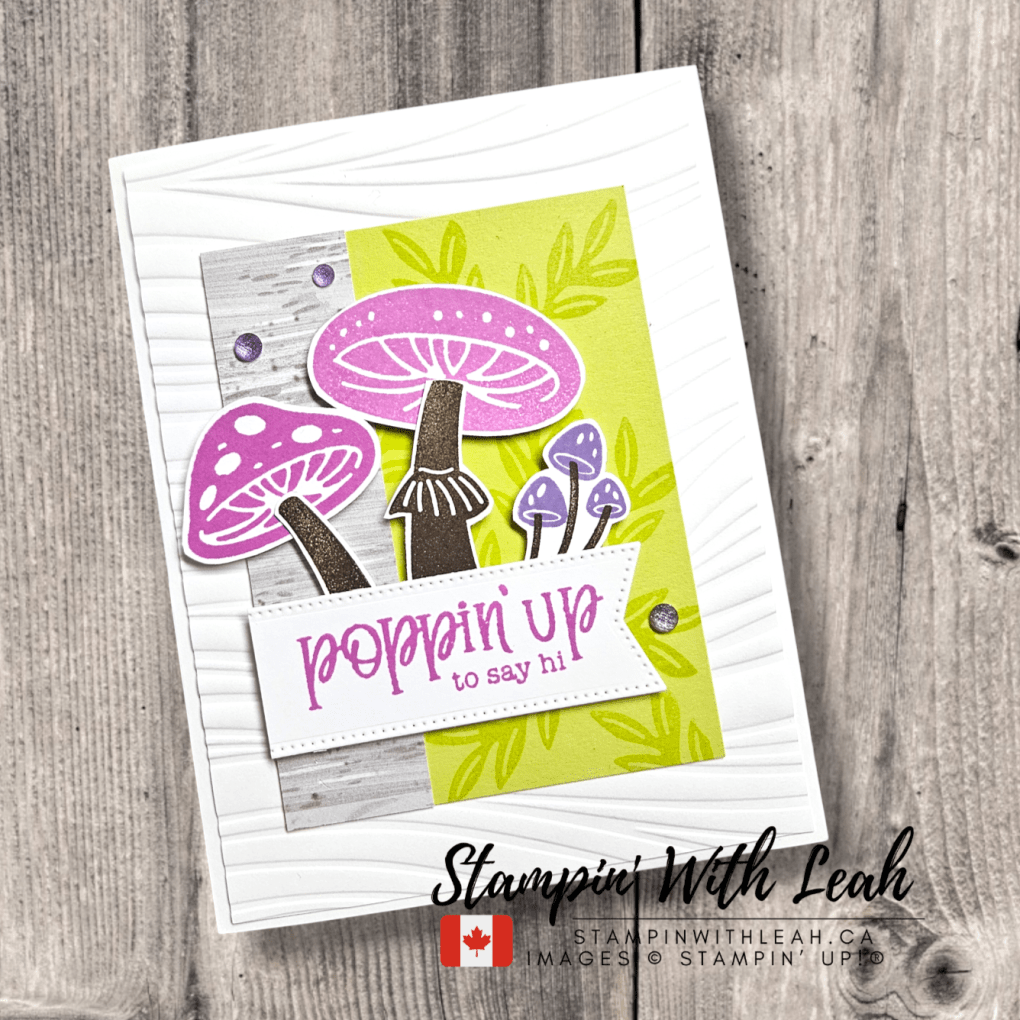
Here’s the card I created:

For this card, I used the stunning Wildflower Birthday Designer Series Paper (DSP) by Stampin’ Up! This paper’s delicate floral designs and gold accents perfectly complemented the inspiration’s celebratory feel. The birthday cake die-cut is the star of the show, layered over coordinating patterns and adorned with Gold Twisted Thread for an elegant touch. To finish, I added a few Tinsel Gems for a hint of sparkle.
Card Details:
Embellishments: Gold Twisted Thread and blue Tinsel Gems enhance the design with subtle texture and shine.
Designer Series Paper: The Wildflower Birthday DSP adds a fresh and cheerful background with its floral motifs and gold foiling.
Focal Point: The layered birthday cake die-cut (from the Wildflower Birthday DSP) is both elegant and playful, matching the inspiration perfectly.
Join the Inspiration Challenge!
Feeling inspired? Join the fun by participating in the Hand Stamped Sentiments Inspiration Challenge #456. Visit the Hand Stamped Sentiments blog to see more fabulous projects from the design team and participants. I’d love to see what you create!
Don’t Miss Out on Sale-A-Bration!
It’s the perfect time to stock up on your favorite crafting supplies during Sale-A-Bration. For every $75 CAD you spend, you’ll earn free rewards, like exclusive DSP and stamps! Don’t wait—Sale-A-Bration only runs until February 28th. Shop now and start earning those rewards!
Special Offers and Upcoming Events
When you use my host code (NSTY47WP) this month, I’ll send you a link to an exclusive 30+Project Tutorial Bundle as a thank-you!

February Card Class
Looking for more crafting fun? Join my February Card Class to learn new techniques and create beautiful projects. Spots are limited, so reserve yours today! Click here for more details.

Looking for more ways to enjoy stamping? Join my Stampin’ Up! Ink Pad Pals team!
- Save 20%+ on your orders.
- Get free access to my monthly card class tutorials.
- Enjoy our monthly team meetings with stamping fun and collaboration.
During Sale-a-bration there are even more perks to joining.
- Option 1 – Join our crafting community as a new demonstrator and you can get $165 CAD worth of products PLUS a choice of two Stampin’ Write Marker Assortments AND the Handmade Designs Cling Stamp Set, an exclusive stamp set designed to work with the markers. That’s a $294 CAD value all for just $135 CAD!
- Option 2 – Join Stampin’ Up! during Sale-A-Bration and get $165 CAD worth of product PLUS an additional $41 CAD worth of product of your choice when you join for $135 CAD. That’s a $206 CAD value!
Contact me to find out more or see the details on my website.


Stay Connected
Want to stay in the loop for all upcoming events, sales, and inspiration?
- Join my newsletter here.
- Follow me on social media: linktr.ee/stampinwithleah.
Live in Canada and don’t have a demonstrator? Contact me to get a catalog and find out why now is the perfect time to join my team!
Leave a comment below and don’t forget to subscribe to this blog for more crafty inspiration!
Happy crafting, and I can’t wait to see your creations! 💕

Click here to shop my online store.
Click here to access & view the current catalogs.
Click here to subscribe to those fun Paper Pumpkin kits of creativity!
Click here for more information about joining my Online Monthly Technique Club. Earn even more goodies by joining a club!
Click here to learn more about joining my Ink Pad Pals Team. Get the MOST rewards including a discount on future products!
Follow me on social media! I share regularly on Pinterest, YouTube, and Facebook!
Please subscribe to my newsletter, too! Click here and enter your email. When you include your birthday you will even be added to my birthday card mailing list 🙂


 Specialty Paper")
")


 Designer Series Paper")


 Glimmer Specialty Paper")
")
")


")


 Designer Series Paper")
")


")


 Designer Series Paper")


 Bordered Ribbon")


 Designer Series Paper")
")


")


 Designer Series Paper")


")
")


