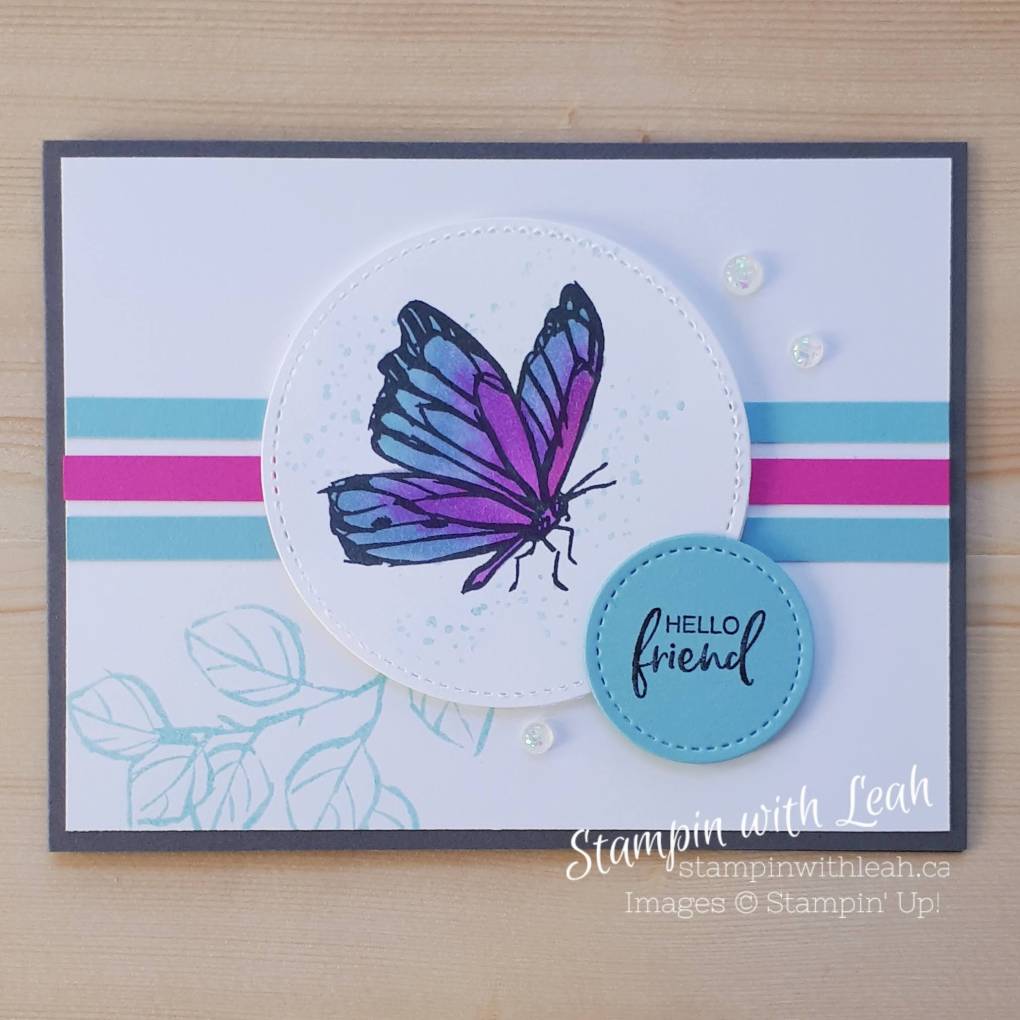
I love how easy it is to create with this stamp set. The images are beautiful and simple to colour.
On this card I used Stampin’ Blends to add colour to the butterfly wings. It is also simple to use the two step stampin’ images to colour the butterfly. You can check out my video to see all the details of this card.
This stamp set is part of the amazing Sale-a-bration FREE offerings. Check out the whole Sale-a-bration catalogue by clicking the image below. Or contact me directly to get a paper copy of the catalogue.
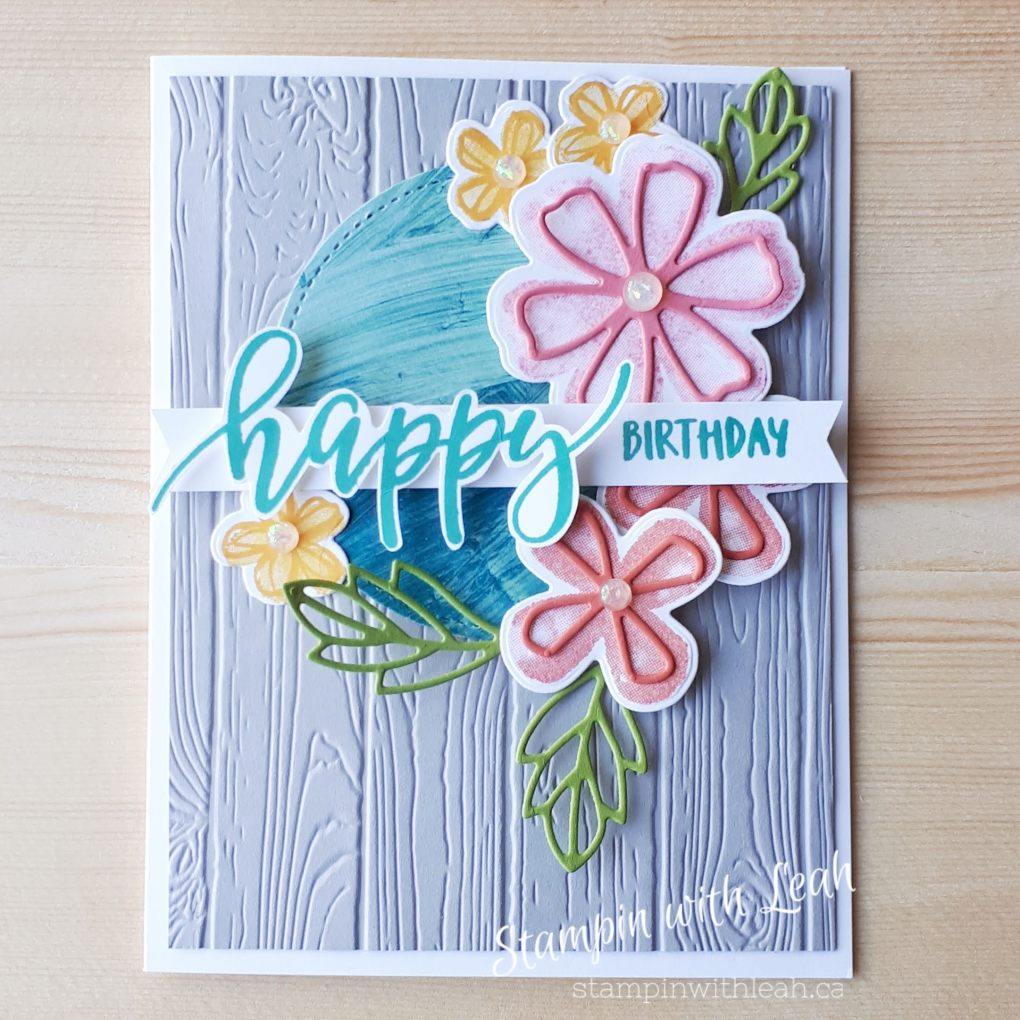
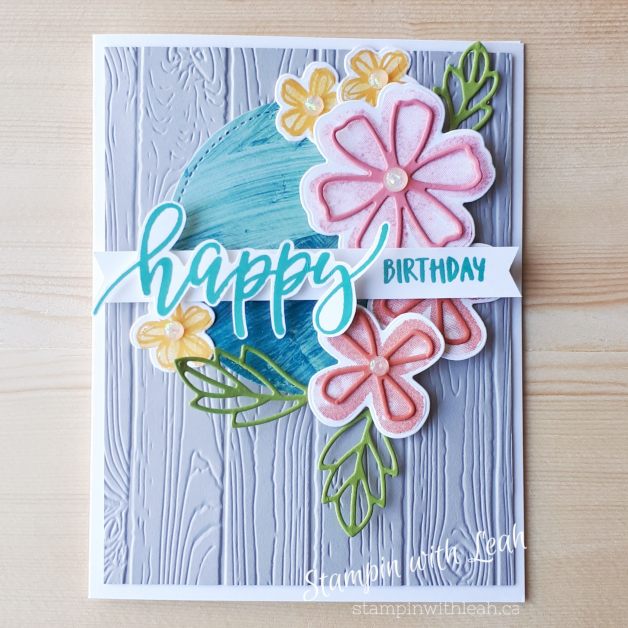
I am so lucky to be a part of a fabulous team – The West Coast Creators. The group is full of creative inspiration and challenges, support, and good friends. For this month’s hop I was playing around with the new Pretty Perennials stamp set and dies from the Stampin’ Up! Jan – June Mini Catalogue. I was also inspired by the TGIF Sketch Challenge #298. I love these flowers and how the die accents make them pop. The font for the sentiments was the real eye-catching part of this set for me – it just makes me HAPPY!
To create this card I stamped the flowers in 2nd Generation Flirty Flamingo, Calypso Coral and Crushed Curry. Then I die cut the flowers and added accents in the same colours using the coordinating dies. The sentiment was stamped in Bermuda Bay and then fussy cut. The background is Smoky Slate, embossed with the Pine Planks Embossing Folder. The circle in the back is cut using the largest Stitched Shapes circle out of Fine Art Floral 12 X 12 DSP. I embellished the flower centers using Opal Rounds. I think these are my new FAVOURITE embellishment!
Right now is also Sale-a-bration, which means that every $60 or $120 purchase earns you free Sale-a-bration items! Contact me for details or click here to check out the catalogues for yourself.
Want everything in the catalogue? Then join my team to get a 20% discount on all your purchases. This is truly the best deal in the catalogue!
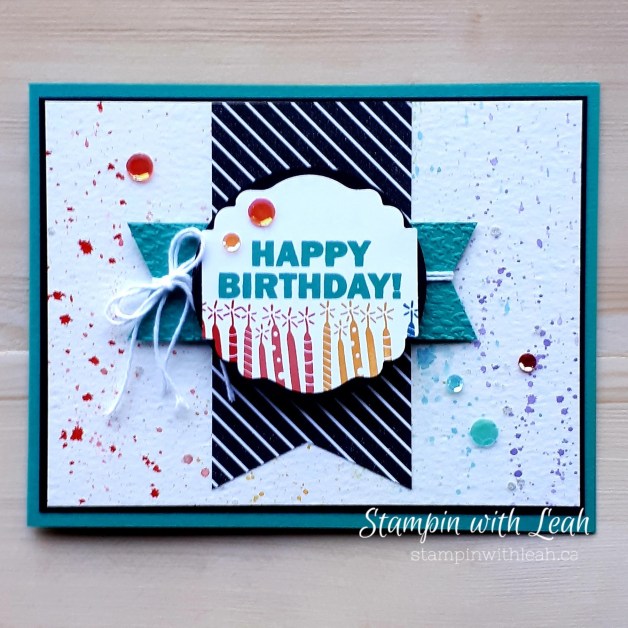
I am so happy with how this card turned out! You never know what you are going to get when you start splashing a smooshing inks. This card was inspired by The Spot Creative Challenge #145.
I started by splattering ink using my water painters and ink refills onto a piece of watercolour paper. Then I splattered some Wink of Stella. When I create backgrounds like this I tend to work with multiple papers so that I can use up all of the water colour that I create. It is also nice to have ready to go water coloured backgrounds for other projects. Next I stamped the Happy Birthday from the FREE Sale-a-bration stamp set Approaching Perfection in Bermuda Bay and a row of candles from the same set in Poppy Parade, Calypso Coral, Crushed Curry and Pacific Point. I punched those out using the Label Me Lovely Punch and mounted the whole image on a 2-1/4″ black circle. After that, I embossed a strip of 1-1/4″ X 3-1/2″ Bermuda Bay cardstock with the Tasteful Textile 3D Embossing Folder and snipped the ends with the Tailored Tag Punch. I tied a double strand of white twine and made a bow. The black and white DSP I used is from the True Love 12X12 DSP pack in the new Jan – June Mini Catalogue. The rest is pretty straight forward gluing, adhering with Dimensionals and embellishing with a dash of sequins. You’ll find a full list of supplies below.
Any purchase from our Annual or Mini Catalogue of $60 or $120 qualifies you to earn the FREE stamp set used in this card ( or a wide variety of other Sale-a-bration items). Check out the catalogue by clicking here.
If you are finding your wishlist is huge – why not join my team and get a 20% discount on all your purchases. You can find more information about the benefits of joining my Team here or click the image to join now.
I am SO excited to share with you today a card created using the Sweet Strawberry bundle and the FREE Ombre DSP. Why is the DSP free? Today is the start of SALE-a-bration! For every $60 or $120 you spend you can earn FREE product.
Click on the catalogue images in this post or on the side bar to see the full offering.
This is the best time of year to stock up on essentials like Basic White cardstock and envelopes, dimensionals and your Paper Pumpkin subscription. On top of all of the rewards you can earn with Stampin’ Up! I am offering a Sale-a-bration Celebration for my customers. Save the date: March 19th – 7pm!
Ok – so here is a photo of the card, my video showing how to make this great card and a link to all the product used.
I hope some of the tips in the video helped ( how to use a builder punch and how to store extra pieces).
Are you ready for some of the most adorable projects ever? Join me and some incredibly talented friends on Saturday January 30th and Sunday January 31st for a full weekend stamp camp! (10am – 3pm PST each day) It will be a fabulous weekend crafting together from anywhere in Canada!
PLEASE READ THE FOLLOWING DETAILS CAREFULLY!
What will you get in this Stamp camp??
Your FULL Sweet Ice Cream Stamp Camp includes:
The Sweet Ice Cream Stamp Set and Punch Bundle as well as the coordinating DSP Designer Series Paper, Blackberry Bliss Striped Ribbon and the Ice Cream Corner Sprinkles (The whole Ice Cream Corner Bundle!)
Access to an exclusive FB group where the LIVE presentations will be held all weekend
Make-n-takes for all 14 projects and an awesome PDF for you to follow along while creating!
*Card stock will be prepped and ready for you with any of the punching and die-cutting done that is not using your bundle. You will provide the ink, adhesive, and punching of any parts that came in the bundle although the card stock will be supplied.*
I hope you join in the fun with us! This is the sweetest bundle ever and you’ll be amazed at projects! It’s so versatile!
Registration ENDS January 5th (we need to order early to ensure your product arrives to you before the event – shipping has been tricky lately) and make-n-take kits are estimated to ship by January 18th.
How do you register for the event?
There are two ways to register:
1. Simply head to my store (on January 5th) and purchase the Sweet Ice Cream Bundle #155984 using Host Code: EDA36TNQ (or an equivalent amount of product ($75.75) if you’ve already got the bundle) and you’ll automatically be registered! If you’ve got other items you were wanting to order you can simply throw them on your Stamp Camp order and save on some shipping! By purchasing on this stamp camp host code you’ll automatically be registered for the event. Best part is you’ll also earn a FREE Sale-a-bration item as you’re placing your qualifying Stamp Camp order online as it’s over $60!
2. Do you already own the bundle? Don’t worry, there’s an option for you too!
*PDF/ Make N Take only option available (45.00 for all 14 projects , PDF, package of Ice Cream Corner Sprinkles, 1/2 package of Blackberry Bliss Striped Ribbon, 1/2 package of Ice Cream Corner Designer Series Paper)
For those of you who are uncomfortable with online ordering or wanting to purchase the PDF/ Make-n-take option you can complete your registration by emailing me directly and sending an etransfer to: leahdixon41@gmail.com
Today I created a fun, simple card using the Sweet Ice Cream stamp set. This set is not even available yet ( unless you are a demonstrator). It is in the new catalogue – which goes live on January 5th. You can grab this early by signing up for your own Starter Kit, or on Jan 5th when you order this Suite using my host code (EDA36TNQ) you can get free access to my upcoming Sweet Ice Cream Weekend Stamp Camp.
You can see all the details of how I made this card in the video below.
Aside from the Sweet Ice Cream stamp set and punch, here are the supplies I used to create this sweet card.
In the video I also created a second card using a masking technique. I am running low on Whisper White Cardstock – so I created using Pool Party instead. If you have White cardstock these sweet cones would pop even more. 🙂
In addition to the product listed below, I used a sticky note, the Sweet Ice Cream stamp set and Sweet Ice Cream Sprinkles.
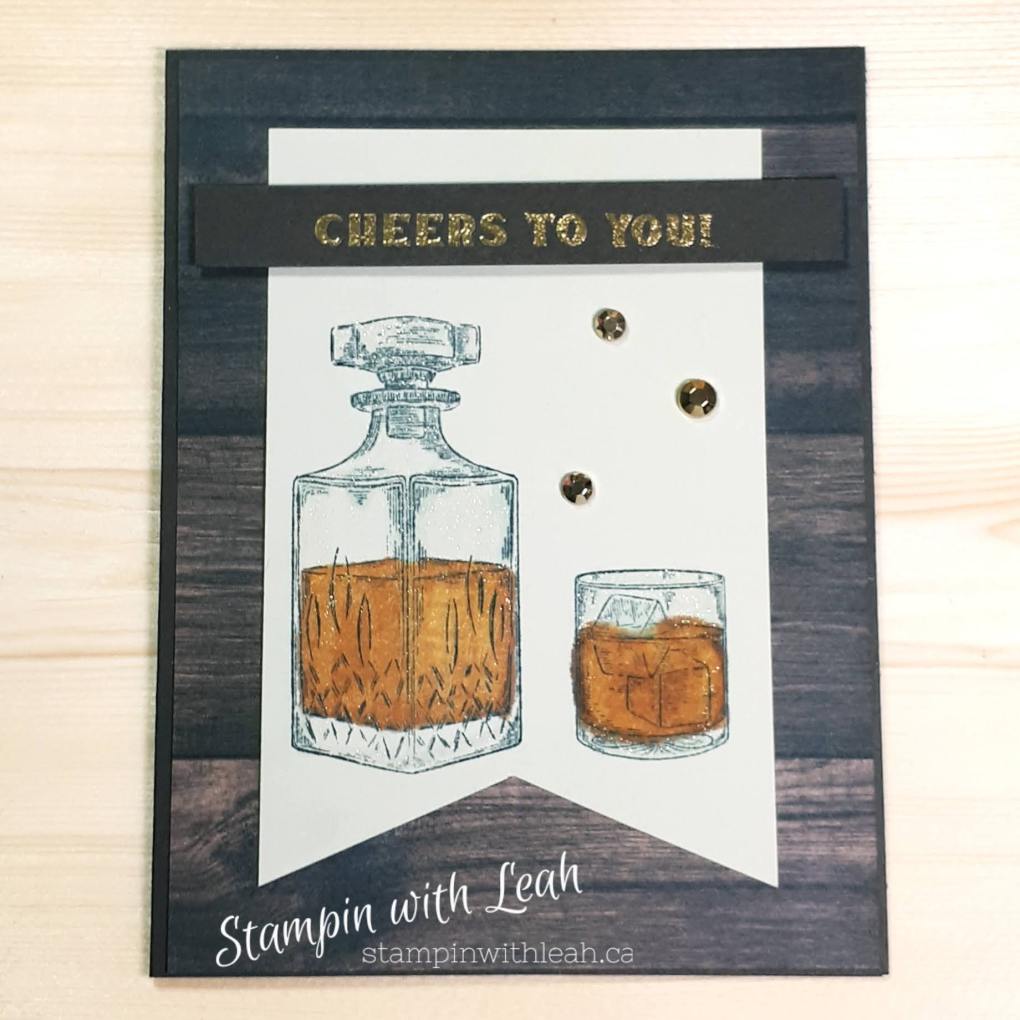
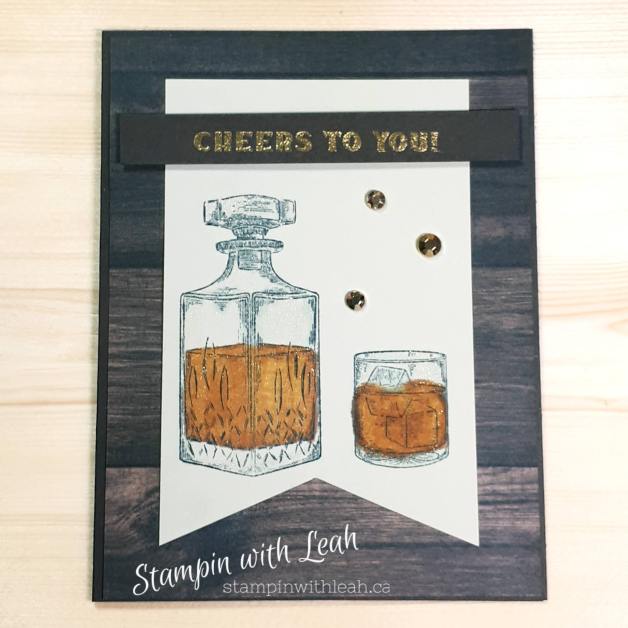
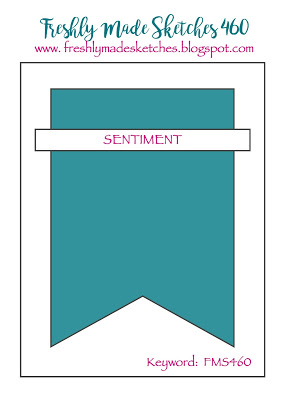
If you follow my blog or Facebook page you will know that i am a HUGE fan of using sketches to design. Today’s card was made using a sketch from Freshly Made Sketches. I wanted to add details, but still keep it simple. I think the detail that makes this card is the wink of stella added to the decanter and glass. I just love how it adds a shine to everything it touches!!
The dimensions for this card are standard base (8.5″X5.5″, scored at 4.25″) then a layer of DSP ( 5-3/8″ X 4-1/8″). The banner is 3″ by 4.5″. To make the v at the bottom I marked aspot that was 1.5″ across and .75″ up the banner and then used snips to cut tot he point. The whiskey itself was created by highlighting with light Cinnamon Cider blends and then blending it with light Mango melody blends.