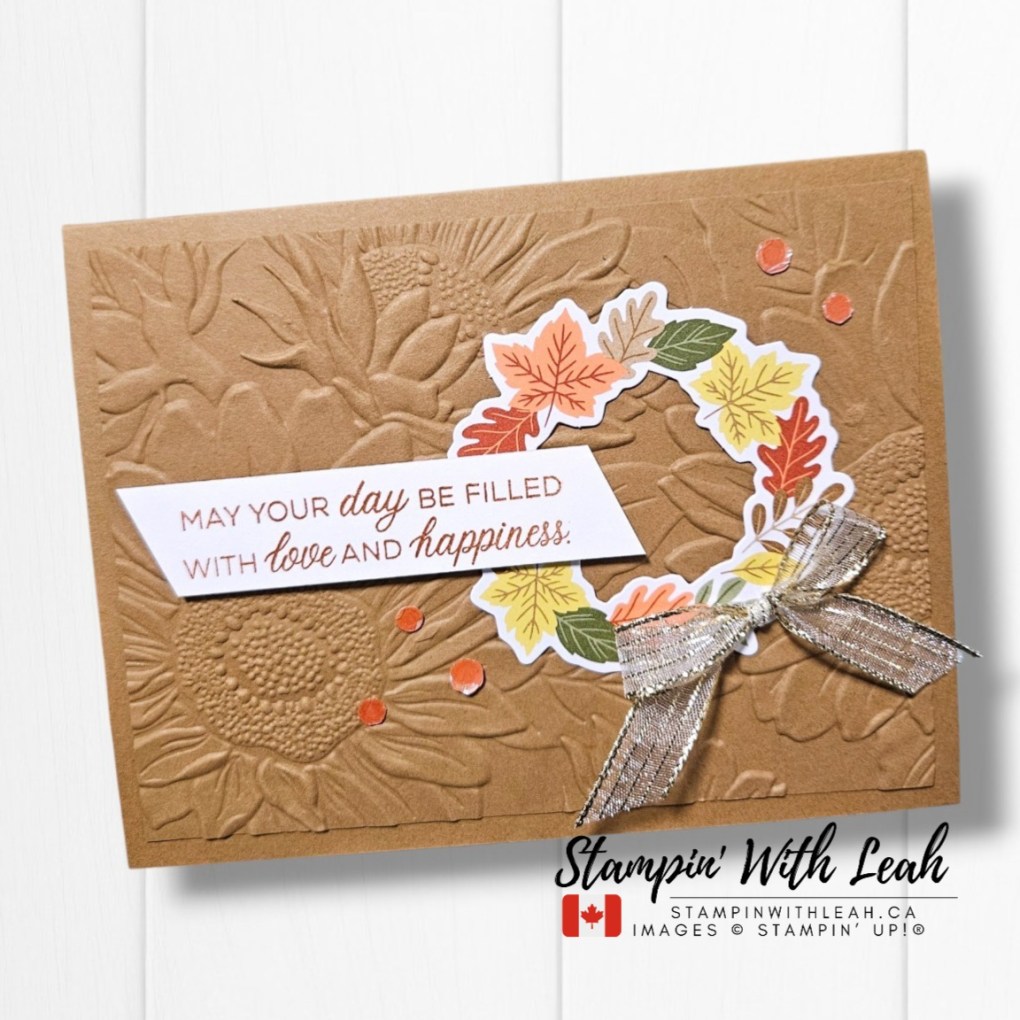
It’s time for another challenge over at Hand Stamped Sentiments , and this week we have a gorgeous Inspiration Challenge for HSS498!
There was SO much to love in this inspiration board — pumpkins, sunflowers, falling leaves and all those warm autumn colours. I decided to pull out the rich oranges, yellows, greens and natural tones for my card.
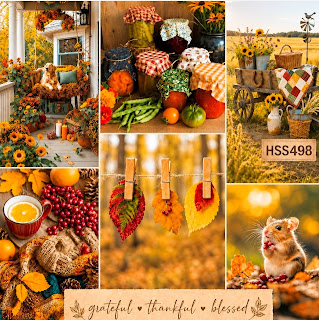
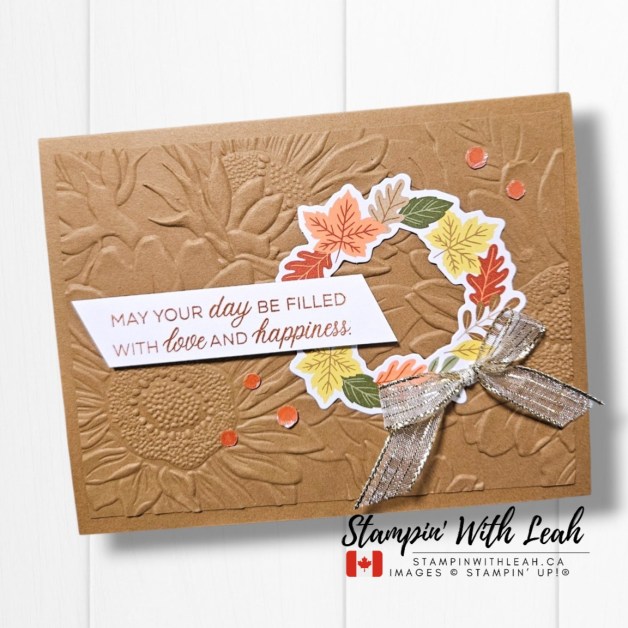
For my focal point, I used the Harvest Hues Mix & Match Ephemera. I love having these little pieces on hand when I want to create without pulling out a whole collection of stamps and dies. The leafy wreath gave me all the autumn colour I wanted and made such an easy focal point.
I paired it with a warm neutral background and added lots of texture with the beautiful Sunflower 3D embossing folder. I love how the tone-on-tone embossing adds interest without competing with the wreath.
A simple sentiment, a few little pops of orange and that gorgeous metallic bow finished everything off.
I think my favourite thing about an inspiration challenge is that there really is no “right” way to interpret it. You might be drawn to the pumpkins, the sunflowers, the little squirrel, the colours — or something completely different!
Be sure to head over to Hand Stamped Sentiments to see what the rest of the Design Team created for HSS498, and then I hope you’ll play along with us. I’d love to see what catches your eye in this week’s inspiration!
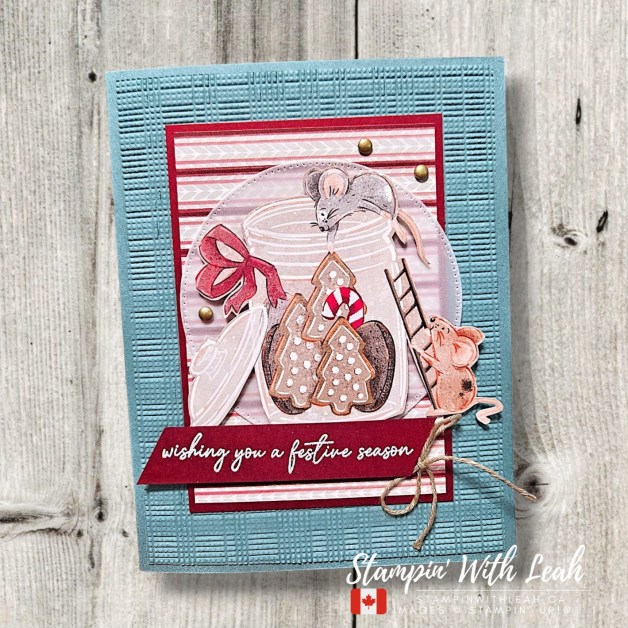
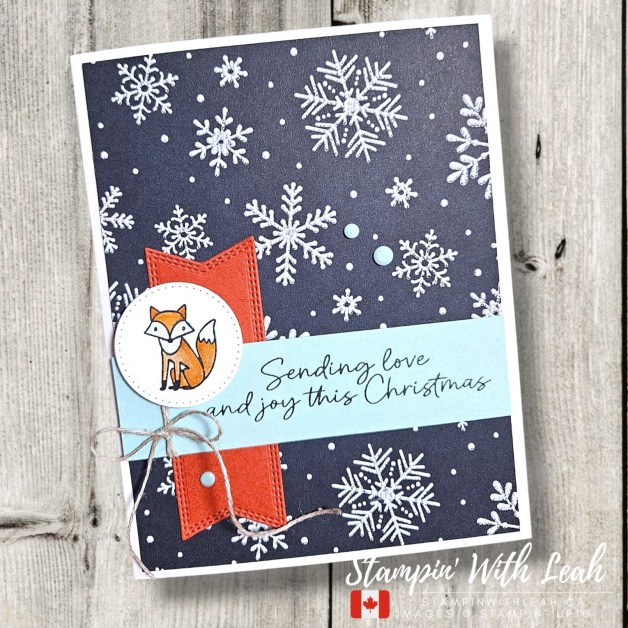
Woodland Wishes Card Class To Go
I’m so excited to be offering a Woodland Wishes Card Class To Go! It’s been a little while since I’ve offered one of my Card Classes To Go, and I’m very happy to be getting back into the swing of things.
For $55, you’ll receive the supplies to create a beautiful collection of cards along with the class instructions, and we’ll craft together during my live class. You’ll just need to provide your own colouring tools, inks and adhesives.
The registration deadline is October 5th, so don’t wait too long if you’d like to join me!
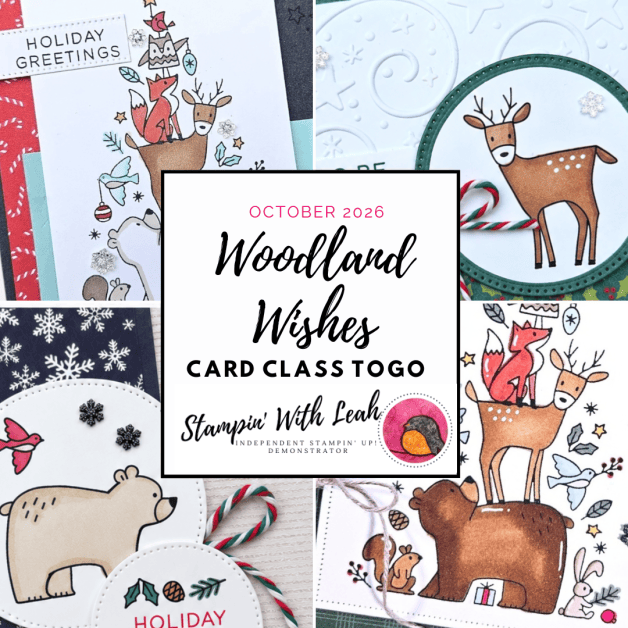
REGISTER HERE: https://form.jotform.com/leahdixon41/woodland-wishes-online-card-class
Want to Make This Card?
Shop the links below or head to my shop. You can also scroll down for a printable set of instructions so you can recreate this card yourself.
![Pecan Pie 8 1/2" X 11" Cardstock [ 161717 ]](https://assets1.tamsnetwork.com/images/EC042017NF/161717s.jpg "Pecan Pie 8 1/2\" X 11\" Cardstock [ 161717 ]")
![Basic White 8 1/2" X 11" Cardstock [ 166780 ]](https://assets1.tamsnetwork.com/images/EC042017NF/166780s.jpg "Basic White 8 1/2\" X 11\" Cardstock [ 166780 ]")
![Phrases & Frames Photopolymer Stamp Set (English) [ 167581 ]](https://assets1.tamsnetwork.com/images/EC042017NF/167581s.jpg "Phrases & Frames Photopolymer Stamp Set (English) [ 167581 ]")
![Cajun Craze Classic Stampin' Pad [ 147085 ]](https://assets1.tamsnetwork.com/images/EC042017NF/147085s.jpg "Cajun Craze Classic Stampin' Pad [ 147085 ]")
![Harvest Hues Mix & Match Ephemera Pack [ 168495 ]](https://assets1.tamsnetwork.com/images/EC042017NF/168495s.jpg "Harvest Hues Mix & Match Ephemera Pack [ 168495 ]")
![Sunflower 3 D Embossing Folder [ 166145 ]](https://assets1.tamsnetwork.com/images/EC042017NF/166145s.jpg "Sunflower 3 D Embossing Folder [ 166145 ]")
![Gold Striped 3/8" (1 Cm) Mesh Ribbon [ 165599 ]](https://assets1.tamsnetwork.com/images/EC042017NF/165599s.jpg "Gold Striped 3/8\" (1 Cm) Mesh Ribbon [ 165599 ]")
![Sunset Sparkle Sequins [ 167785 ]](https://assets1.tamsnetwork.com/images/EC042017NF/167785s.jpg "Sunset Sparkle Sequins [ 167785 ]")
![Multipurpose Liquid Glue [ 110755 ]](https://assets1.tamsnetwork.com/images/EC042017NF/110755s.jpg "Multipurpose Liquid Glue [ 110755 ]")
![Stampin' Dimensionals [ 104430 ]](https://assets1.tamsnetwork.com/images/EC042017NF/104430s.jpg "Stampin' Dimensionals [ 104430 ]")
![Detail Scissors [ 170902 ]](https://assets1.tamsnetwork.com/images/EC042017NF/170902s.jpg "Detail Scissors [ 170902 ]")
![Stampin' Cut & Emboss Machine [ 149653 ]](https://assets1.tamsnetwork.com/images/EC042017NF/149653s.jpg "Stampin' Cut & Emboss Machine [ 149653 ]")
Looking for even more inspiration and more ways to enjoy stamping? Join my Stampin’ Up! Ink Pad Pals team!
The join process has changed a bit (sign up for $135 and get a $170 coupon) and you now get a fantastic Welcome Box too. The perks once you’ve joined remain the same.
- Save 20%+ on your orders.
- Get free access to my monthly card class tutorials.
- Enjoy our monthly team meetings with stamping fun and collaboration.
Contact me to find out more or see the details on my website.


![Secret Sea 8 1/2" X 11" Cardstock [ 165624 ]](https://assets1.tamsnetwork.com/images/EC042017NF/165624s.jpg "Secret Sea 8 1/2\" X 11\" Cardstock [ 165624 ]")
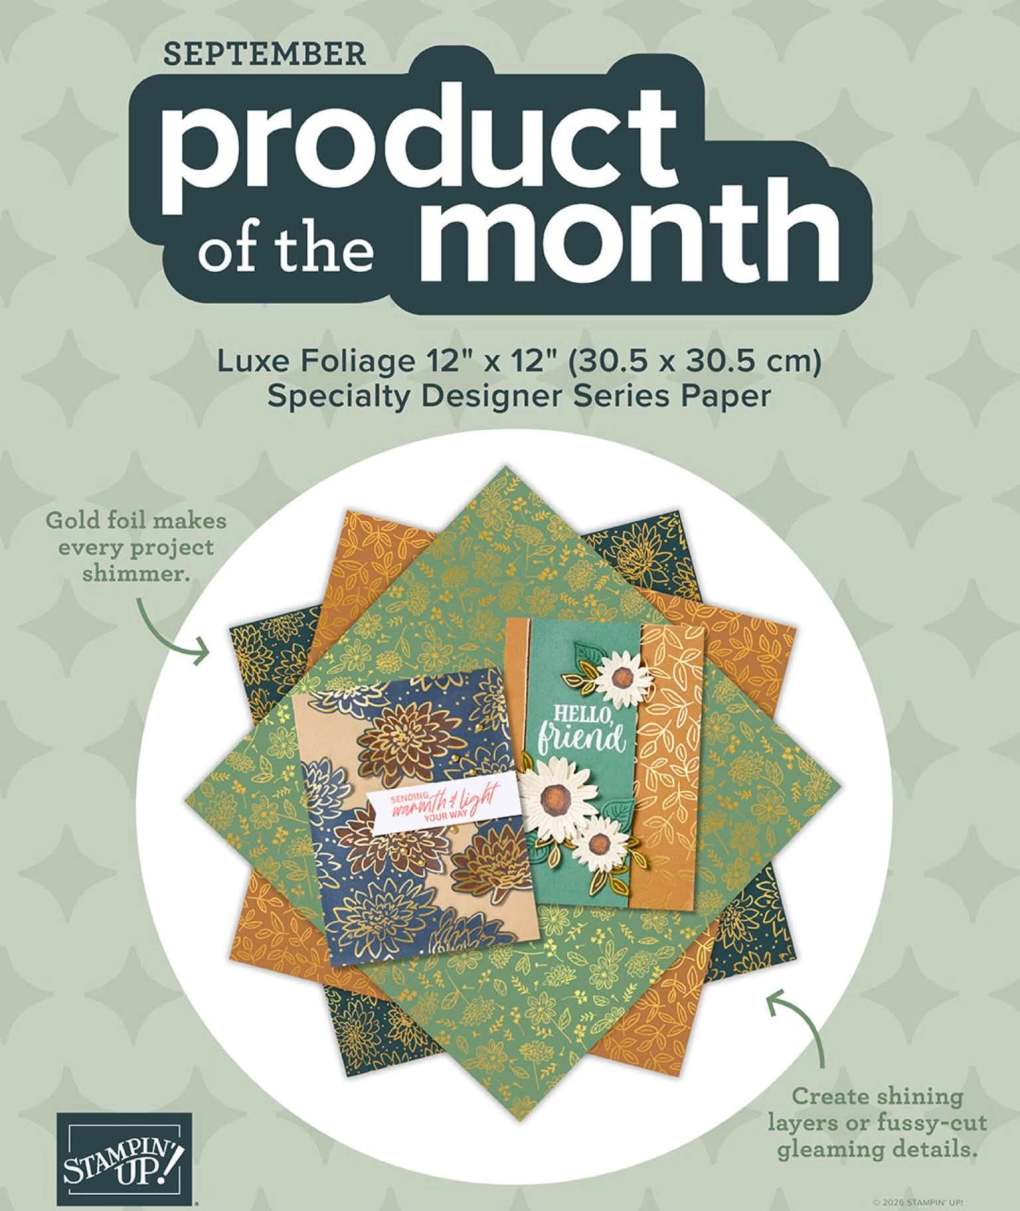
![Luxe Foliage 12" X 12" (30.5 X 30.5 Cm) Specialty Designer Series Paper [ 168599 ]](https://assets1.tamsnetwork.com/images/EC042017NF/168599s.jpg "Luxe Foliage 12\" X 12\" (30.5 X 30.5 Cm) Specialty Designer Series Paper [ 168599 ]")
![Exciting Times Photopolymer Stamp Set (English) [ 167875 ]](https://assets1.tamsnetwork.com/images/EC042017NF/167875s.jpg "Exciting Times Photopolymer Stamp Set (English) [ 167875 ]")
![Secret Sea Classic Stampin' Pad [ 165285 ]](https://assets1.tamsnetwork.com/images/EC042017NF/165285s.jpg "Secret Sea Classic Stampin' Pad [ 165285 ]")
![2025–2027 In Color™ Flat Pearls [ 165192 ]](https://assets1.tamsnetwork.com/images/EC042017NF/165192s.jpg "2025–2027 In Color™ Flat Pearls [ 165192 ]")
![Basic White 8 1/2" X 11" Thick Cardstock [ 159229 ]](https://assets1.tamsnetwork.com/images/EC042017NF/159229s.jpg "Basic White 8 1/2\" X 11\" Thick Cardstock [ 159229 ]")
![A Christmas Wish Hot Foil Dies [ 170591 ]](https://assets1.tamsnetwork.com/images/EC042017NF/170591s.jpg "A Christmas Wish Hot Foil Dies [ 170591 ]")
![Holly Jolly Branches Photopolymer Stamp Set (English) [ 168273 ]](https://assets1.tamsnetwork.com/images/EC042017NF/168273s.jpg "Holly Jolly Branches Photopolymer Stamp Set (English) [ 168273 ]")
![Gold Stampin' Hot Foil Rolls [ 170066 ]](https://assets1.tamsnetwork.com/images/EC042017NF/170066s.jpg "Gold Stampin' Hot Foil Rolls [ 170066 ]")
![Metallics Wow! Embossing Powder [ 165678 ]](https://assets1.tamsnetwork.com/images/EC042017NF/165678s.jpg "Metallics Wow! Embossing Powder [ 165678 ]")
![Embossing Additions Tool Kit [ 159971 ]](https://assets1.tamsnetwork.com/images/EC042017NF/159971s.jpg "Embossing Additions Tool Kit [ 159971 ]")
![Heat Tool (Us And Canada) [ 129053 ]](https://assets1.tamsnetwork.com/images/EC042017NF/129053s.jpg "Heat Tool (Us And Canada) [ 129053 ]")
![Stampin' Hot Foil System Na & Craft Class [ 170009 ]](https://assets1.tamsnetwork.com/images/EC042017NF/170009s.jpg "Stampin' Hot Foil System Na & Craft Class [ 170009 ]")
![Gold Adhesive Backed Dots [ 168467 ]](https://assets1.tamsnetwork.com/images/EC042017NF/168467s.jpg "Gold Adhesive Backed Dots [ 168467 ]")
![Stylish Shapes Dies [ 159183 ]](https://assets1.tamsnetwork.com/images/EC042017NF/159183s.jpg "Stylish Shapes Dies [ 159183 ]")
![Swirls Of Magic Embossing Folder [ 168179 ]](https://assets1.tamsnetwork.com/images/EC042017NF/168179s.jpg "Swirls Of Magic Embossing Folder [ 168179 ]")
![Basic White Medium Envelopes [ 159236 ]](https://assets1.tamsnetwork.com/images/EC042017NF/159236s.jpg "Basic White Medium Envelopes [ 159236 ]")
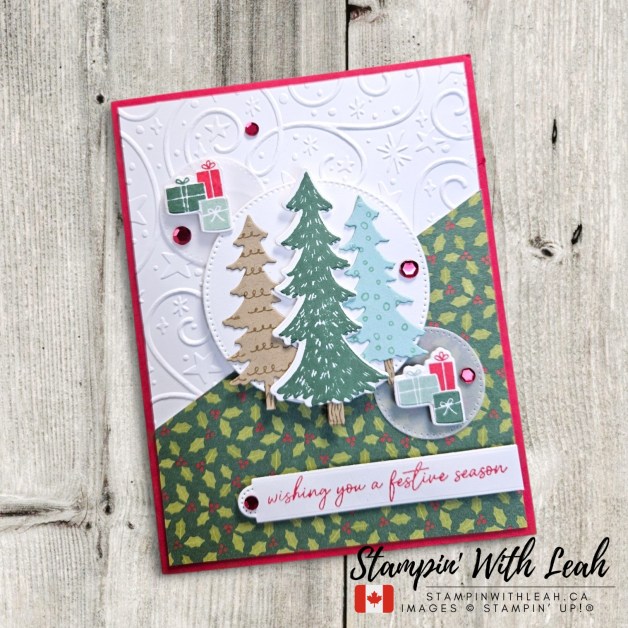
![Real Red 8-1/2" X 11" Cardstock [ 102482 ]](https://assets1.tamsnetwork.com/images/EC042017NF/102482s.jpg "Real Red 8-1/2\" X 11\" Cardstock [ 102482 ]")
![Pool Party 8-1/2" X 11" Cardstock [ 122924 ]](https://assets1.tamsnetwork.com/images/EC042017NF/122924s.jpg "Pool Party 8-1/2\" X 11\" Cardstock [ 122924 ]")
![Crumb Cake 8-1/2" X 11" Cardstock [ 120953 ]](https://assets1.tamsnetwork.com/images/EC042017NF/120953s.jpg "Crumb Cake 8-1/2\" X 11\" Cardstock [ 120953 ]")
![Vellum 12" X 12" (30.5 X 30.5 Cm) Specialty Paper [ 167099 ]](https://assets1.tamsnetwork.com/images/EC042017NF/167099s.jpg "Vellum 12\" X 12\" (30.5 X 30.5 Cm) Specialty Paper [ 167099 ]")
![A Stitched Season 12" X 12" (30.5 X 30.5 Cm) Designer Series Paper [ 168223 ]](https://assets1.tamsnetwork.com/images/EC042017NF/168223s.jpg "A Stitched Season 12\" X 12\" (30.5 X 30.5 Cm) Designer Series Paper [ 168223 ]")
![Holly Jolly Branches Bundle (English) [ 168280 ]](https://assets1.tamsnetwork.com/images/EC042017NF/168280s.jpg "Holly Jolly Branches Bundle (English) [ 168280 ]")
![Peaceful Pine Classic Stampin Pad [ 167679 ]](https://assets1.tamsnetwork.com/images/EC042017NF/167679s.jpg "Peaceful Pine Classic Stampin Pad [ 167679 ]")
![Crumb Cake Classic Stampin' Pad [ 147116 ]](https://assets1.tamsnetwork.com/images/EC042017NF/147116s.jpg "Crumb Cake Classic Stampin' Pad [ 147116 ]")
![Pool Party Classic Stampin' Pad [ 147107 ]](https://assets1.tamsnetwork.com/images/EC042017NF/147107s.jpg "Pool Party Classic Stampin' Pad [ 147107 ]")
![Real Red Classic Stampin' Pad [ 147084 ]](https://assets1.tamsnetwork.com/images/EC042017NF/147084s.jpg "Real Red Classic Stampin' Pad [ 147084 ]")
![Adhesive Backed Sparkle Sequins [ 168488 ]](https://assets1.tamsnetwork.com/images/EC042017NF/168488s.jpg "Adhesive Backed Sparkle Sequins [ 168488 ]")
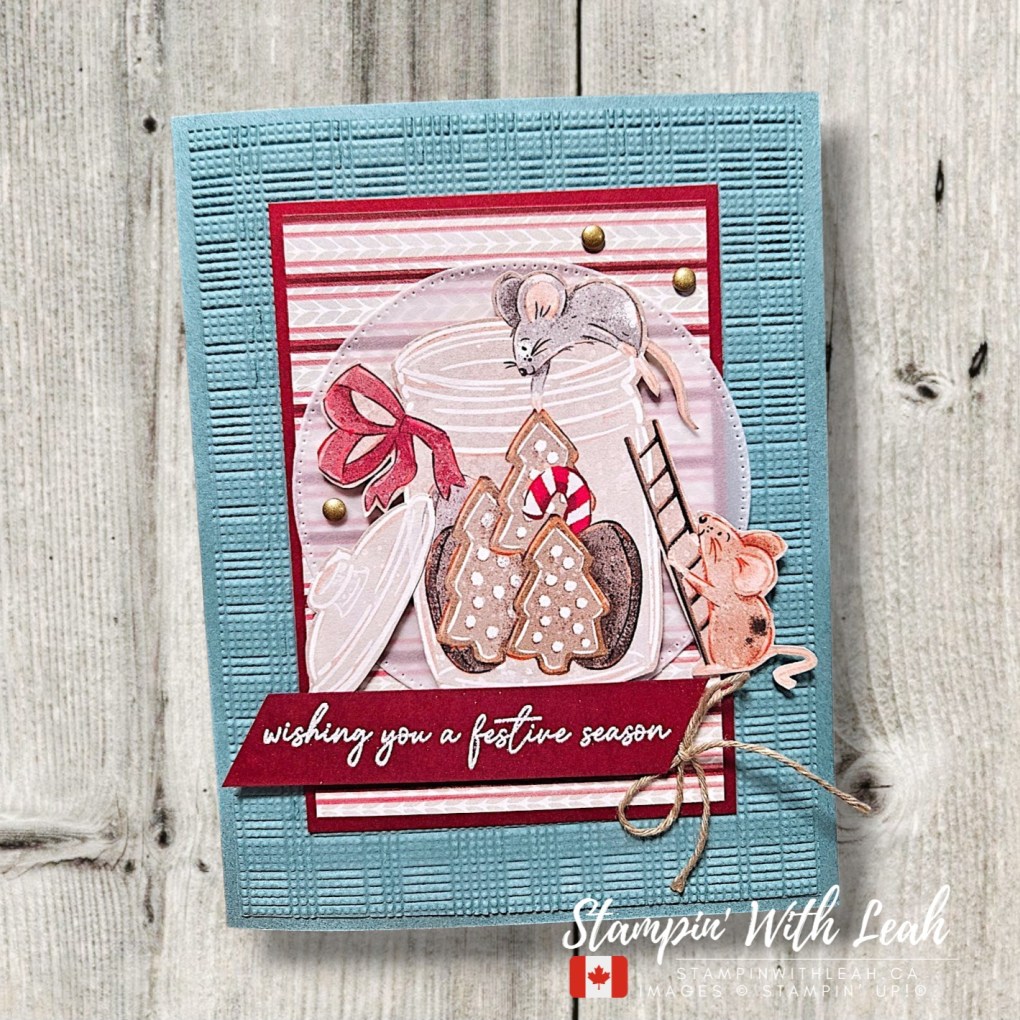

![Lost Lagoon 8-1/2" X 11" Cardstock [ 133679 ]](https://assets1.tamsnetwork.com/images/EC042017NF/133679s.jpg "Lost Lagoon 8-1/2\" X 11\" Cardstock [ 133679 ]")
![Cherry Cobbler 8-1/2" X 11" Cardstock [ 119685 ]](https://assets1.tamsnetwork.com/images/EC042017NF/119685s.jpg "Cherry Cobbler 8-1/2\" X 11\" Cardstock [ 119685 ]")
![A Little Christmas 12" X 12" (30.5 X 30.5 Cm) Designer Series Paper [ 168414 ]](https://assets1.tamsnetwork.com/images/EC042017NF/168414s.jpg "A Little Christmas 12\" X 12\" (30.5 X 30.5 Cm) Designer Series Paper [ 168414 ]")
![Baker's Twine Essentials Pack [ 155475 ]](https://assets1.tamsnetwork.com/images/EC042017NF/155475s.jpg "Baker's Twine Essentials Pack [ 155475 ]")
![Basics Wow! Embossing Powder [ 165679 ]](https://assets1.tamsnetwork.com/images/EC042017NF/165679s.jpg "Basics Wow! Embossing Powder [ 165679 ]")
![Softly Woven 3 D Embossing Folder [ 168466 ]](https://assets1.tamsnetwork.com/images/EC042017NF/168466s.jpg "Softly Woven 3 D Embossing Folder [ 168466 ]")

![Beautiful Ordinary Life 12" X 12" (30.5 X 30.5 Cm) Designer Series Paper [ 167553 ]](https://assets1.tamsnetwork.com/images/EC042017NF/167553s.jpg "Beautiful Ordinary Life 12\" X 12\" (30.5 X 30.5 Cm) Designer Series Paper [ 167553 ]")
![Cutest Crew Bundle (English) [ 167149 ]](https://assets1.tamsnetwork.com/images/EC042017NF/167149s.jpg "Cutest Crew Bundle (English) [ 167149 ]")
![Tuxedo Black Memento Ink Pad [ 132708 ]](https://assets1.tamsnetwork.com/images/EC042017NF/132708s.jpg "Tuxedo Black Memento Ink Pad [ 132708 ]")
![Smoky Slate Stampin' Blends Combo Pack [ 154904 ]](https://assets1.tamsnetwork.com/images/EC042017NF/154904s.jpg "Smoky Slate Stampin' Blends Combo Pack [ 154904 ]")
![Flirty Flamingo Stampin' Blends Combo Pack [ 154884 ]](https://assets1.tamsnetwork.com/images/EC042017NF/154884s.jpg "Flirty Flamingo Stampin' Blends Combo Pack [ 154884 ]")
![Daffodil Delight Classic Stampin' Pad [ 147094 ]](https://assets1.tamsnetwork.com/images/EC042017NF/147094s.jpg "Daffodil Delight Classic Stampin' Pad [ 147094 ]")
![Blending Brushes [ 153611 ]](https://assets1.tamsnetwork.com/images/EC042017NF/153611s.jpg "Blending Brushes [ 153611 ]")
![2026–2028 In Color™ Butterflies [ 167656 ]](https://assets1.tamsnetwork.com/images/EC042017NF/167656s.jpg "2026–2028 In Color™ Butterflies [ 167656 ]")
![Tile Garden Dies [ 168573 ]](https://assets1.tamsnetwork.com/images/EC042017NF/168573s.jpg "Tile Garden Dies [ 168573 ]")
![Graceful Evergreen Deer Bundle [ 170567 ]](https://assets1.tamsnetwork.com/images/EC042017NF/170567s.jpg "Graceful Evergreen Deer Bundle [ 170567 ]")
![Magical Christmas Hot Foil Dies (English) [ 170592 ]](https://assets1.tamsnetwork.com/images/EC042017NF/170592s.jpg "Magical Christmas Hot Foil Dies (English) [ 170592 ]")
![Versamark Pad [ 102283 ]](https://assets1.tamsnetwork.com/images/EC042017NF/102283s.jpg "Versamark Pad [ 102283 ]")
![Red Stampin' Hot Foil Rolls [ 170552 ]](https://assets1.tamsnetwork.com/images/EC042017NF/170552s.jpg "Red Stampin' Hot Foil Rolls [ 170552 ]")
![Reverse Hot Foil Die [ 170043 ]](https://assets1.tamsnetwork.com/images/EC042017NF/170043s.jpg "Reverse Hot Foil Die [ 170043 ]")
![Everyday Arches Dies [ 164629 ]](https://assets1.tamsnetwork.com/images/EC042017NF/164629s.jpg "Everyday Arches Dies [ 164629 ]")
![Adhesive Backed Snowflakes [ 168316 ]](https://assets1.tamsnetwork.com/images/EC042017NF/168316s.jpg "Adhesive Backed Snowflakes [ 168316 ]")

![Glow Of Harvest 12" X 12" (30.5 X 30.5 Cm) Specialty Designer Series Paper [ 168598 ]](https://assets1.tamsnetwork.com/images/EC042017NF/168598s.jpg "Glow Of Harvest 12\" X 12\" (30.5 X 30.5 Cm) Specialty Designer Series Paper [ 168598 ]")
![Addressed To You Photopolymer Stamp Set (English) [ 167010 ]](https://assets1.tamsnetwork.com/images/EC042017NF/167010s.jpg "Addressed To You Photopolymer Stamp Set (English) [ 167010 ]")
![Pecan Pie Classic Stampin' Pad [ 161665 ]](https://assets1.tamsnetwork.com/images/EC042017NF/161665s.jpg "Pecan Pie Classic Stampin' Pad [ 161665 ]")
![Lost Lagoon Classic Stampin' Pad [ 161678 ]](https://assets1.tamsnetwork.com/images/EC042017NF/161678s.jpg "Lost Lagoon Classic Stampin' Pad [ 161678 ]")
![Mini Glue Dots [ 103683 ]](https://assets1.tamsnetwork.com/images/EC042017NF/103683s.jpg "Mini Glue Dots [ 103683 ]")
![Take Your Pick [ 144107 ]](https://assets1.tamsnetwork.com/images/EC042017NF/144107s.jpg "Take Your Pick [ 144107 ]")
![Paper Trimmer [ 152392 ]](https://assets1.tamsnetwork.com/images/EC042017NF/152392s.jpg "Paper Trimmer [ 152392 ]")
![Cajun Craze 8-1/2" X 11" Cardstock [ 119684 ]](https://assets1.tamsnetwork.com/images/EC042017NF/119684s.jpg "Cajun Craze 8-1/2\" X 11\" Cardstock [ 119684 ]")
![Winter Dreams 12" X 12" (30.5 X 30.5 Cm) Specialty Designer Series Paper [ 168315 ]](https://assets1.tamsnetwork.com/images/EC042017NF/168315s.jpg "Winter Dreams 12\" X 12\" (30.5 X 30.5 Cm) Specialty Designer Series Paper [ 168315 ]")
![Woodland Wishes Photopolymer Stamp Set (English) [ 168243 ]](https://assets1.tamsnetwork.com/images/EC042017NF/168243s.jpg "Woodland Wishes Photopolymer Stamp Set (English) [ 168243 ]")
![Clear Wink Of Stella Glitter Brush [ 141897 ]](https://assets1.tamsnetwork.com/images/EC042017NF/141897s.jpg "Clear Wink Of Stella Glitter Brush [ 141897 ]")
![Linen Thread [ 104199 ]](https://assets1.tamsnetwork.com/images/EC042017NF/104199s.jpg "Linen Thread [ 104199 ]")
![Painted Patch Adhesive Backed Dots [ 168443 ]](https://assets1.tamsnetwork.com/images/EC042017NF/168443s.jpg "Painted Patch Adhesive Backed Dots [ 168443 ]")
![Nested Essentials Dies [ 161597 ]](https://assets1.tamsnetwork.com/images/EC042017NF/161597s.jpg "Nested Essentials Dies [ 161597 ]")
![Mini Stampin' Cut & Emboss Machine [ 150673 ]](https://assets1.tamsnetwork.com/images/EC042017NF/150673s.jpg "Mini Stampin' Cut & Emboss Machine [ 150673 ]")