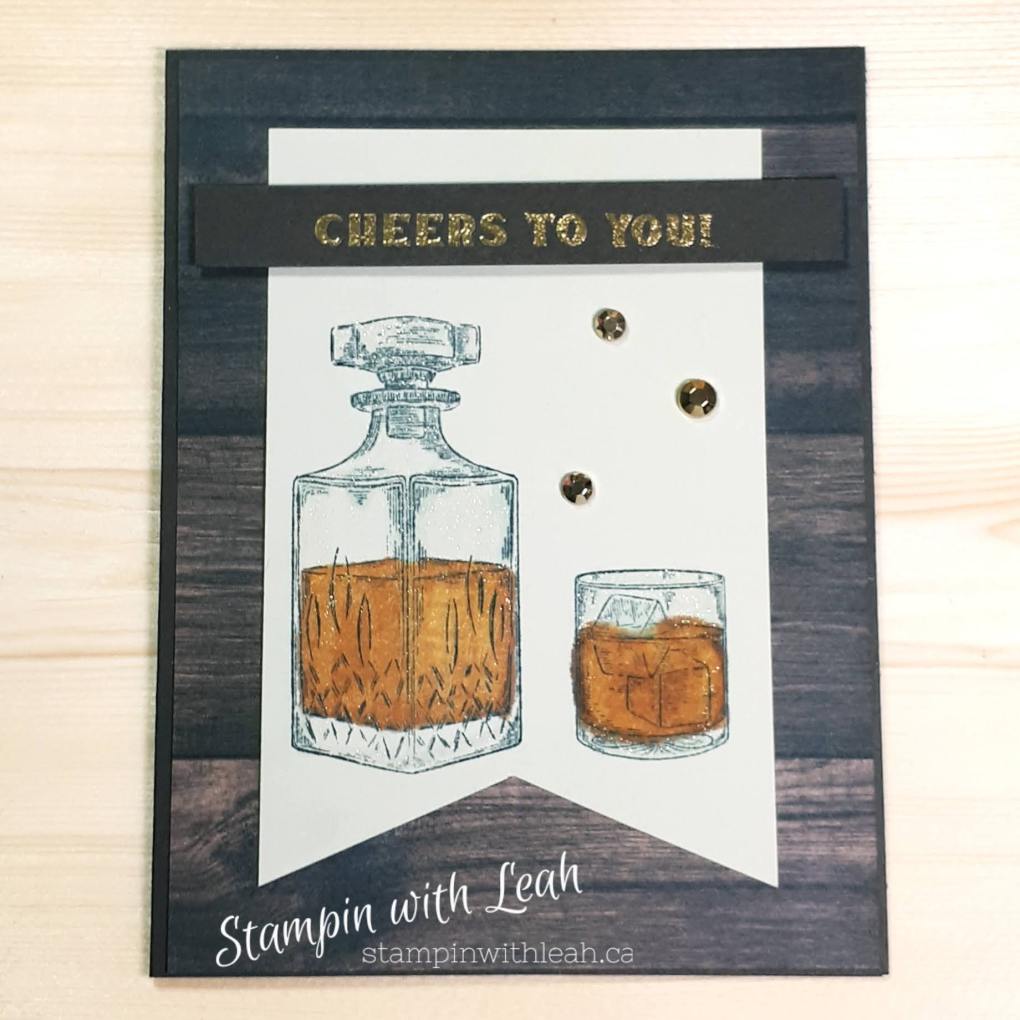
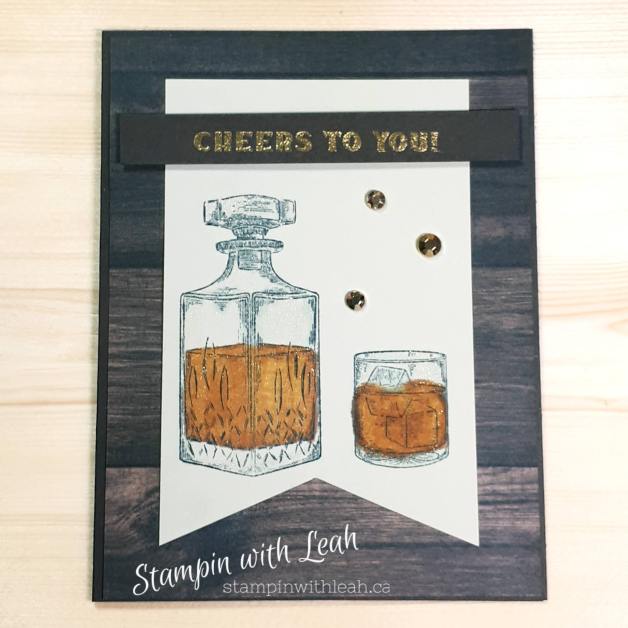
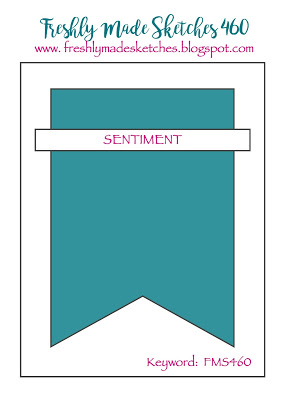
If you follow my blog or Facebook page you will know that i am a HUGE fan of using sketches to design. Today’s card was made using a sketch from Freshly Made Sketches. I wanted to add details, but still keep it simple. I think the detail that makes this card is the wink of stella added to the decanter and glass. I just love how it adds a shine to everything it touches!!
The dimensions for this card are standard base (8.5″X5.5″, scored at 4.25″) then a layer of DSP ( 5-3/8″ X 4-1/8″). The banner is 3″ by 4.5″. To make the v at the bottom I marked aspot that was 1.5″ across and .75″ up the banner and then used snips to cut tot he point. The whiskey itself was created by highlighting with light Cinnamon Cider blends and then blending it with light Mango melody blends.
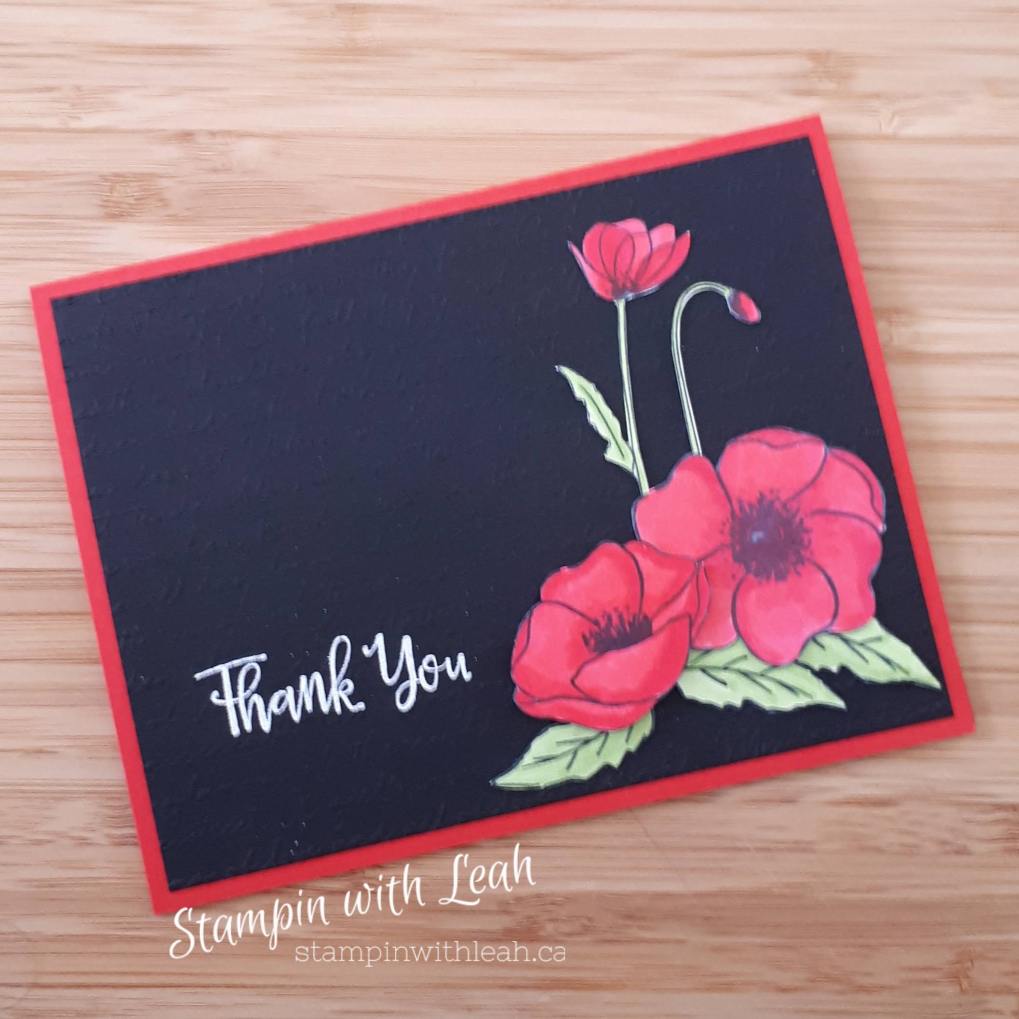
This week I will be spending a lot of time chatting with my Grade 2/3 class about Remembrance Day, planting our own Poppies in our school garden and we will be creating our own Poppy art in class. So I thought I’d spend my Stampin’ week focussing on Stampin’ Up!’s gorgeous Painted Poppies set. Today’s card is created using the Painted Poppies stamp set and a lot of fussy cutting (there are dies available- I just wanted a closer cut).I also heat embossed and then dry embossed the background.
If you want to get your own supplies to create this card ( and many others – check out my FB page for more samples this week) you can simply click the product images below.
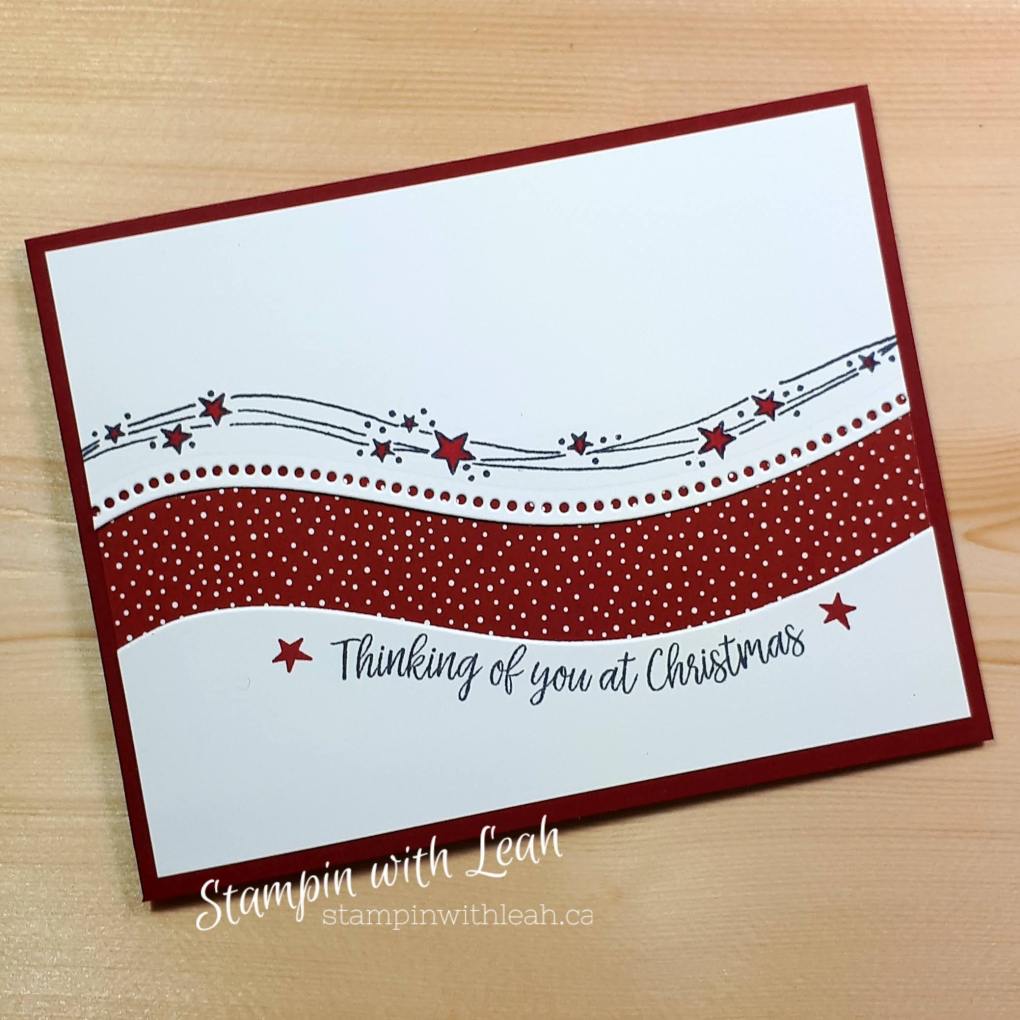
I’m so excited to be designing with some exclusive products today. This card is a case from the very talented Jan Clothier. I loved how with minimal effort she created a very beautiful card.
The stamp set being used will be available to customers on November 3rd. It is the Curvy Christmas Stamp Set (155364). It will also be available at a discount as part of the Quite Curvy Variety Bundle. If you absolutely can’t wait to get your hands on it you can grab a starter kit and include this in your product choices.
For all the details on how this card was created you can watch my You Tube video below. Enjoy!
Here is a listing of the non-bundle items I used. Contact me directly to order the bundle ( or wait until November 3rd to grab it your self).
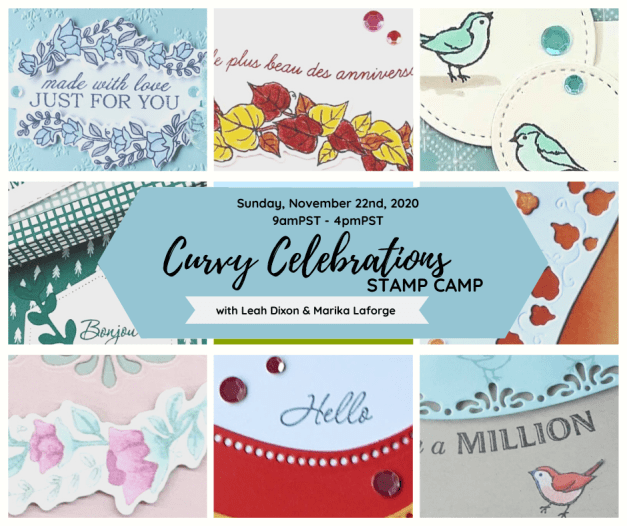
Another way to get your hands on this Bundle is if you live in Canada and sign up for the Curvy Celebrations Stamp Camp I am offering with Marika LaForge. Make sure to RSVP by November 4th so we can send you all of your supplies on time.
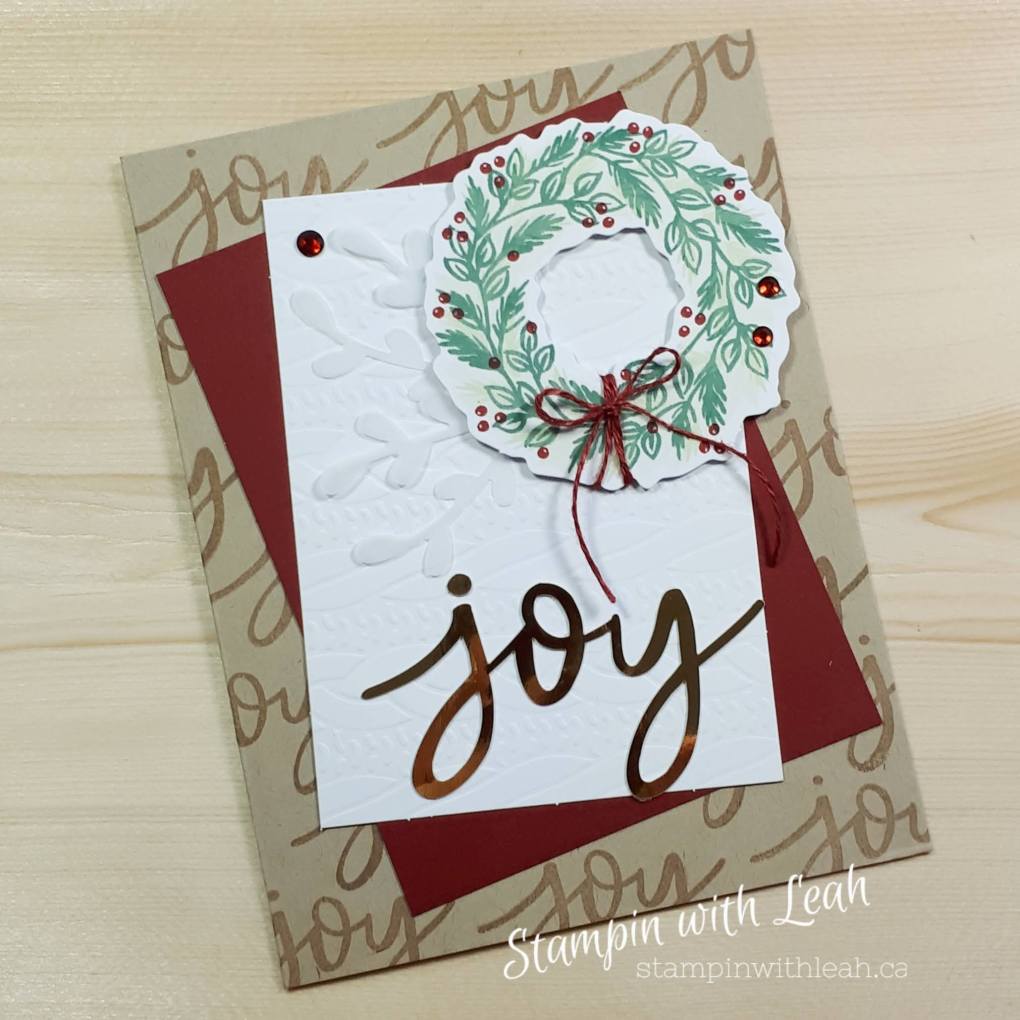
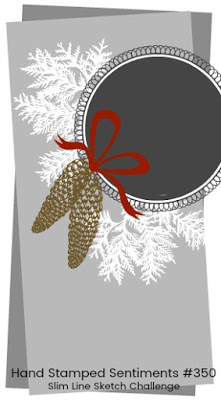
I have two more Paper pumpkin Alternatives for you today. The first one was inspired by the Hand Stamped Sentiments Sketch Challenge #350. (#HSSSC350)
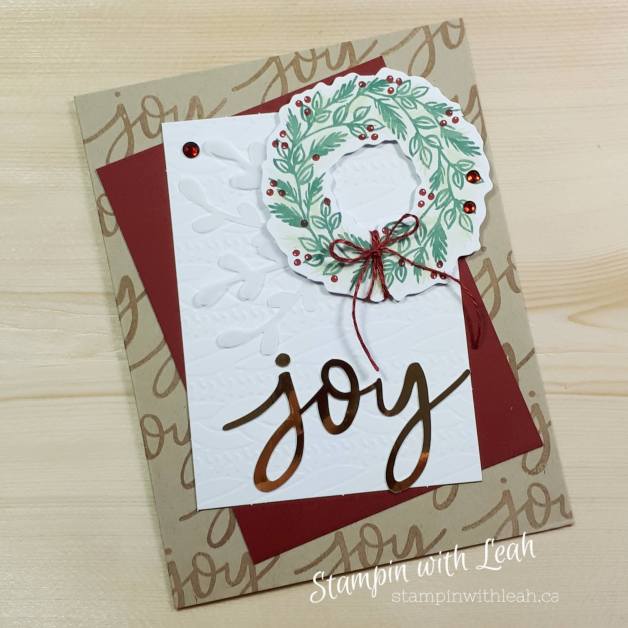
I added a Crumb Cake cardstock base and stamped Joy using Crumb cake ink all over the background. Then I layered a Cherry Cobbler cardstock piece that was the same size as the larger white embossed piece from the Paper Pumpkin kit ( which was the next layer). Finally I added some vellum cardstock sprigs, the wreath from the kit, the gold foil “Joy” from the kit and some Holiday Rhinestones.
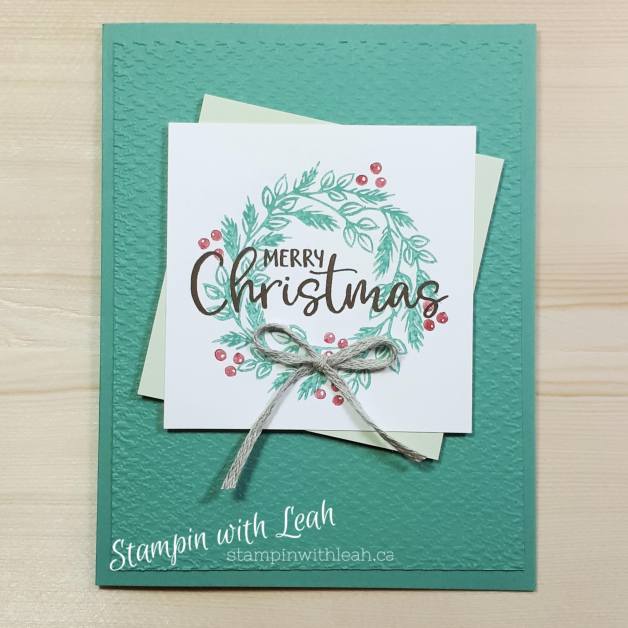
My last alternative for today was a take on an alternative presented in the kit.
I used a piece of Just Jade cardstock. 8.5″ X 5.5″ ( scored at 4.25″) and then I embossed another layer of Just Jade cardstock (4″X 5.25″) using the Tasteful Textiles embossing folder. Next I stamped the wreath image using Just Jade (stamped off) and Cherry Cobbler berries ( stamped off) on a 3″X3″ piece of Whisper White cardstock. Then I stamped the sentiment using Early Espresso ink. I layered the wreath on a tilted piece of Soft Seafoam cardstock ( 3″X 3″). I attached those pieces to the card base using dimensionals. Finally I tied a bow using Braided Linen Trim and attached it to the wreath using a mini dimensional.
I hope you enjoyed these Paper Pumpkin alternatives.
If you missed out on the October kit – make sure to grab the November Jolly Gingerbread kit. You can order yours by clicking the image below. You have until Nov. 10, 2020 to get this kit!
It looks so fun and who doesn’t need gift card holders for this upcoming holiday season. The pieces can also be used to create gift tags or as card candy.
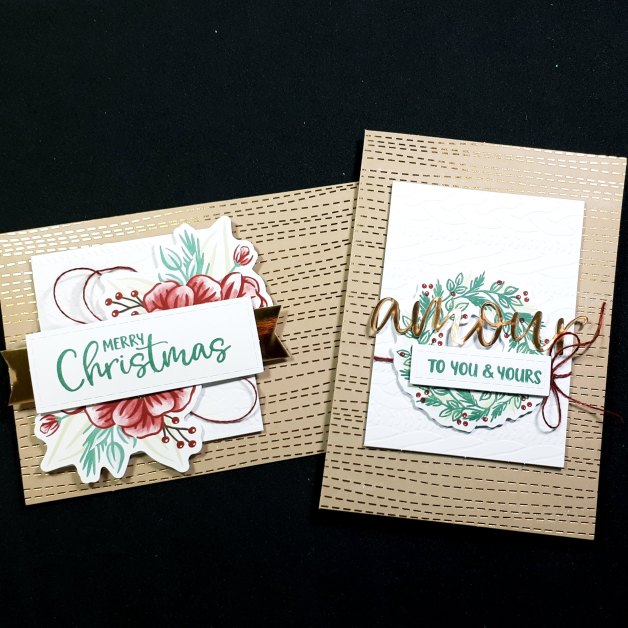
This month’s Paper Pumpkin kit – October 2020 Joy to the World is absolutely gorgeous! I love the warm Cherry Cobbler, Crumb Cake, Just Jade and Gold combo. Today I am actually going to share with you some alternative cards that I created using the elements from the kit.
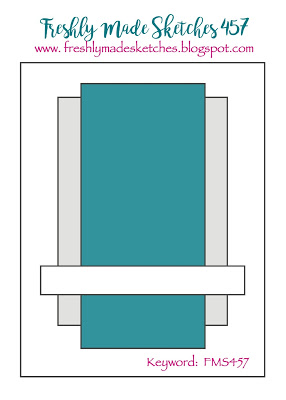
My first alternative project was actually inspired by a Freshly Made Sketches Challenge.
I used one of the card bases and the inside of the fancy envelopes to cut strips 3/4″ X 2.5″. I used Early Espresso cardstock to mount it all on and Early Espresso ink to stamp the sentiment. The beautiful rose was inked using Cherry Cobbler and Just Jade markers and then coloured in using the same colours in Stampin’ Blends.
The second card I created was a take on one of the sample alternatives shown in the kit. Again I used part of the inside of the envelope for the gorgeous red DSP. As an extra I added red holiday rhinestones to the wreath.
As I was pulling out the gold foil words they seemed a bit burnished. To shine them up again I used my simply shammy to clean them. It worked beautifully.
Thank you so much for joining me on my blog today! This post is featuring the Ornamental Envelopes bundle ( you can see lots more samples by checking out my FB page all week. ) I created this card using an Inspiration board from TGIF Challenges. For all the details on how I created the card you can watch my you tube video or check out my Product List below. I hope you love the colour scheme as much as I do and that some of my stampin’ tips help you with your own creations.
Please note – there are some tech difficulties at the beginning of this video – you can skip ahead to 3:37 to miss the echo and tech trouble.
I hope you enjoyed this card!
Happy Stampin!
Leah Dixon, Independent Canadian Stampin’ Up! Demonstrator
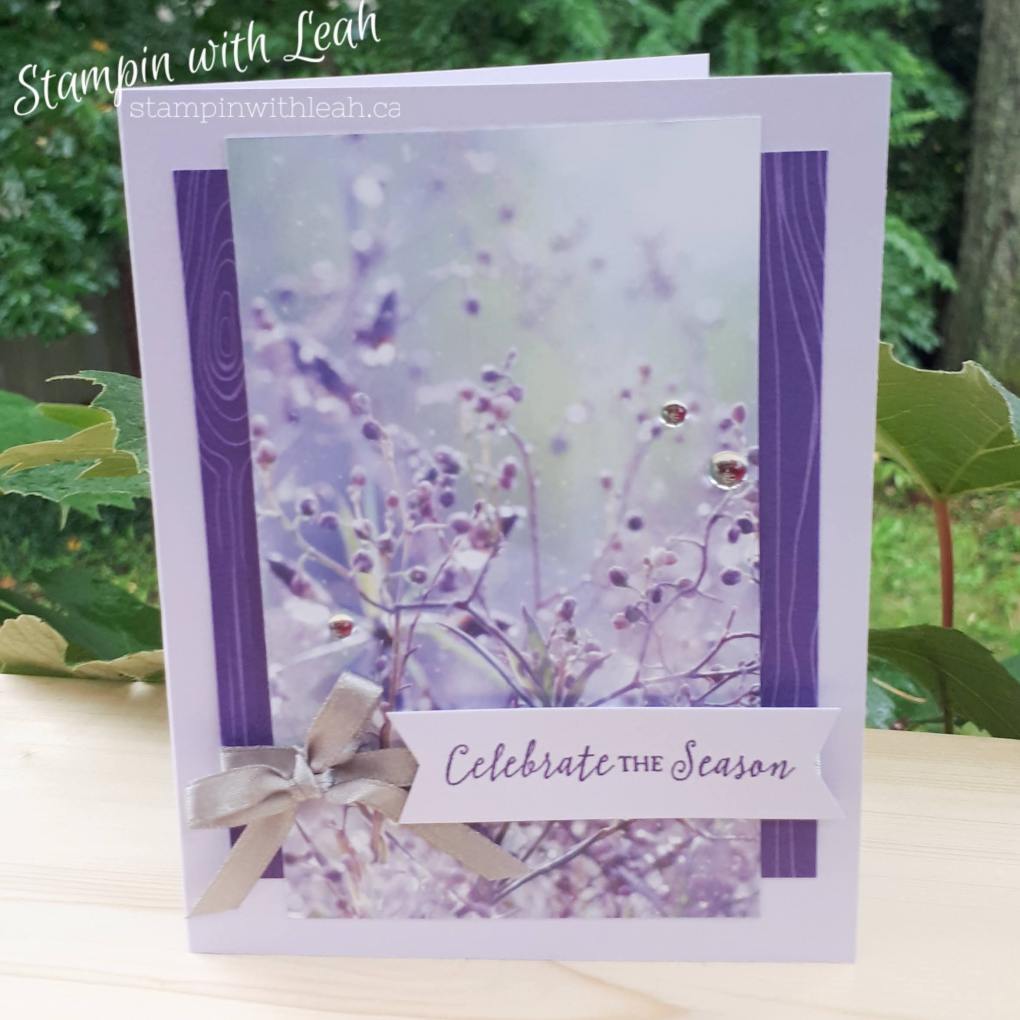
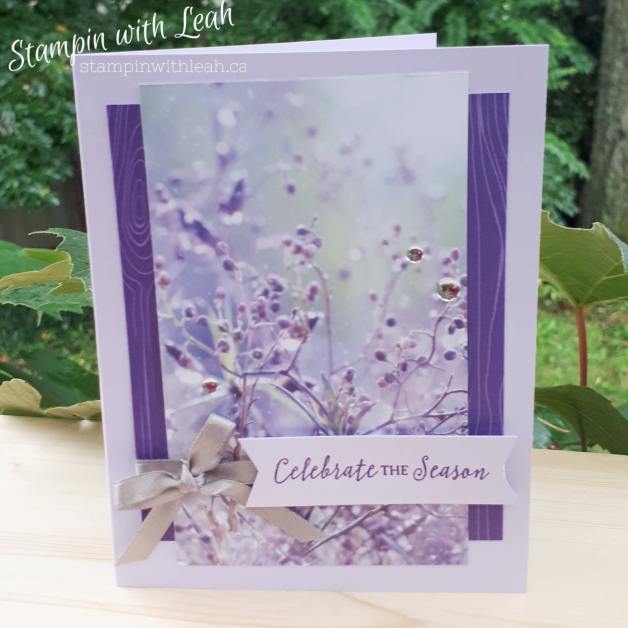
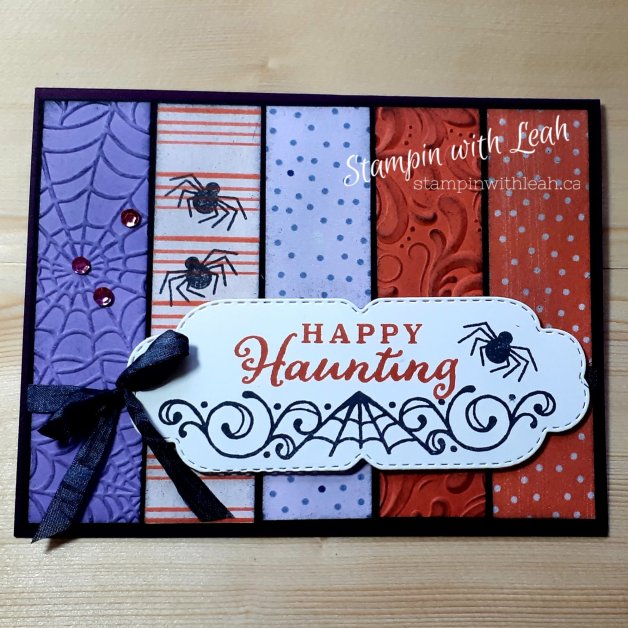
This card is basically two layers of DSP wrapped with a ribbon, a sentiment and some bling. Doesn’t get much easier. 🙂
Here are the dimensions for the card: Purple Posie Cardstock – 5.5″ X 8.5″ ( score at 4.25″) and .75″ X 3″ for the label, Gorgeous Grape Brights 6X6 DSP – 3.75″ X 4.5″, Feels Like Frost DSP – 3″ X 5″.
This month’s Paper pumpkin is incredible! I love the fonts, I love the images and of course, I love Christmas cards 🙂 I recorded a live unboxing of this kit and demonstrated how these beauties were made. You can view it on my You Tube channel ( don’t forget to subscribe while you are there so you never miss a video).
If you live in Canada, I have one extra kit available – just message me to buy it.
If you missed out on this incredible kit, make sure to sign up for Paper Pumpkin and never miss another project. Next month is featured a Gingerbread themed set of gift card carriers ( which could also be made into tags or full cards). https://www.paperpumpkin.com/en-ca/sign-up/?demoid=2189587 . Don’t forget to subscribe before November 10th!
Watch my FB page for alternative project being posted with this kit. The Friday after kits are delivered I hold a little virtual Paper Pumpkin social, we get together online, create our kits, create and share alternatives and generally just unwind after a long week. To join our social evening all you have to do is be part of my Ink Pad Pals Team or subscribe to Paper Pumpkin through me.
I am excited to once again be participating in the West Coast Creators Blog Hop.
I am loving creating for Hallowe’en and especially the orange/purple/black combo (this time I specifically used Calypso Coral and Highland Heather). What makes my card even better is that the Playing With Patterns DSP that I used is on sale!! Check out the full details of the DSP sale here.
Some of the fun techniques I used on this card are:
The Black Ribbon – which is actually Whisper White Crinkled Seam Binding, coloured in using a Black Stampin’ Blend.
Sponging Black Memento ink onto an embossed piece of cardstock to allow it to look tarnished and to let the pattern pop out more. I also sponged the edges and across the front of all the other strips of paper to make them less bright.
Using the Celebration Tidings dies twice to cut one tag down to the size and shape I wanted it to be.
The paper strips are each 1″ wide which allowed for nice spacing on the 5.25″ black card front that was then attached to a 5.5″ wide Blackberry Bliss card base.