Colour Your Season

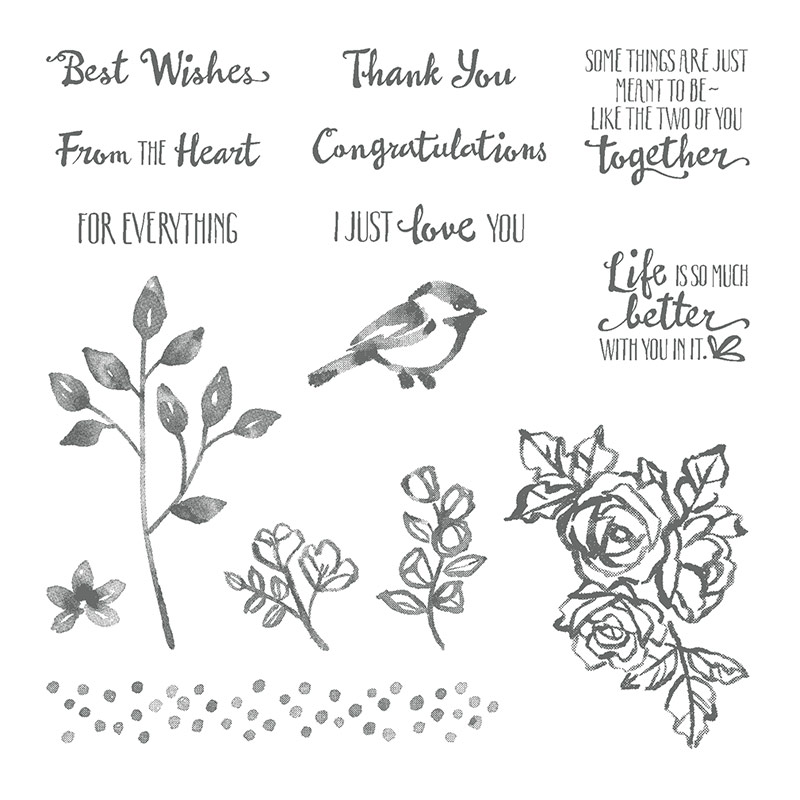
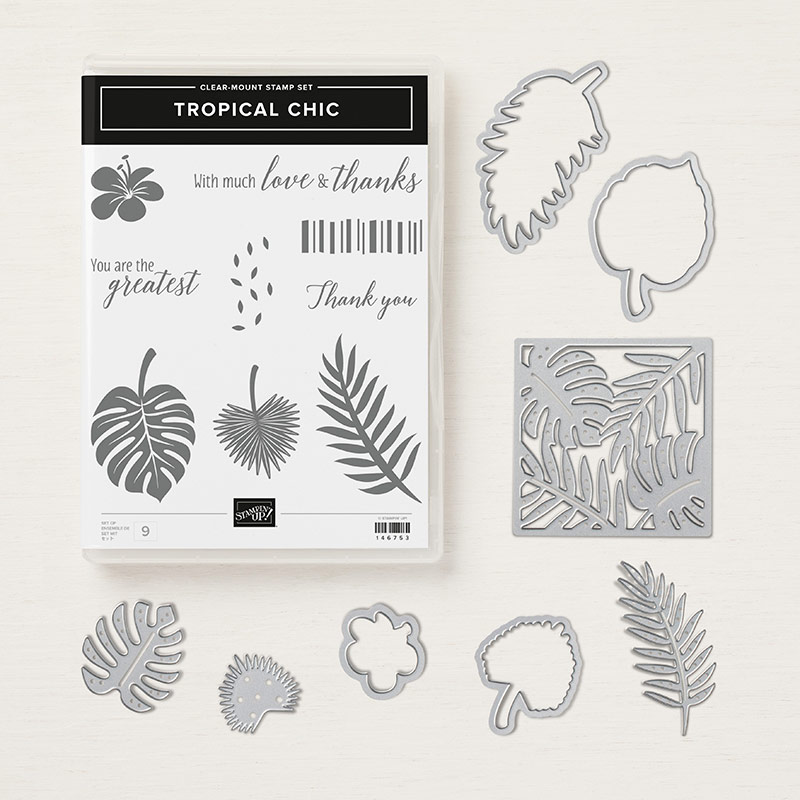
This is a LIMITED- TIME product. These beautiful stamps and stitched thinlits are available together or seperate, but ONLY until AUGUST 31 or while supplies last.
Check out my shop to order yours. https://www.stampinup.com/…/produ…/20030/colour-your-season…

 
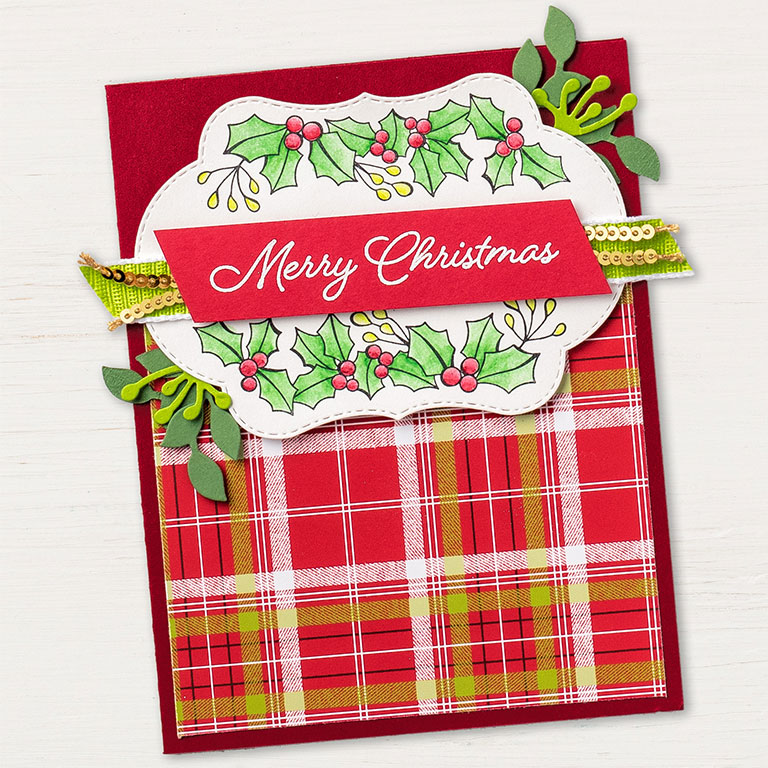
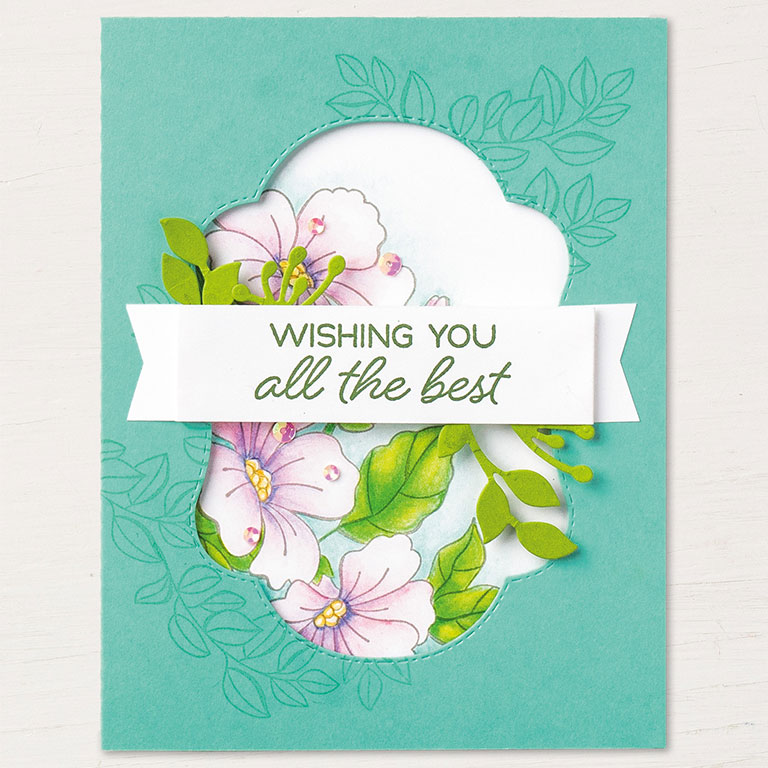
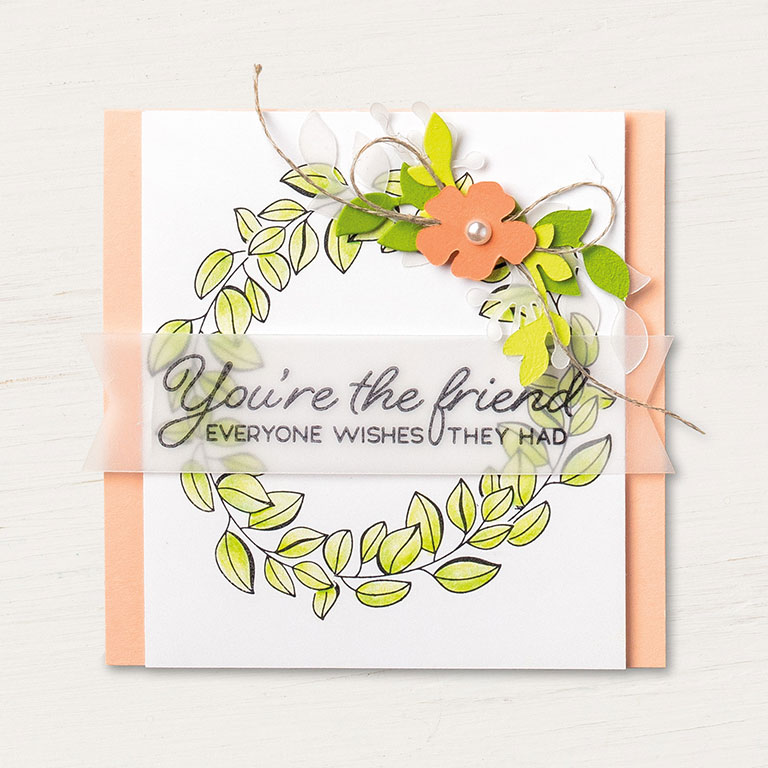
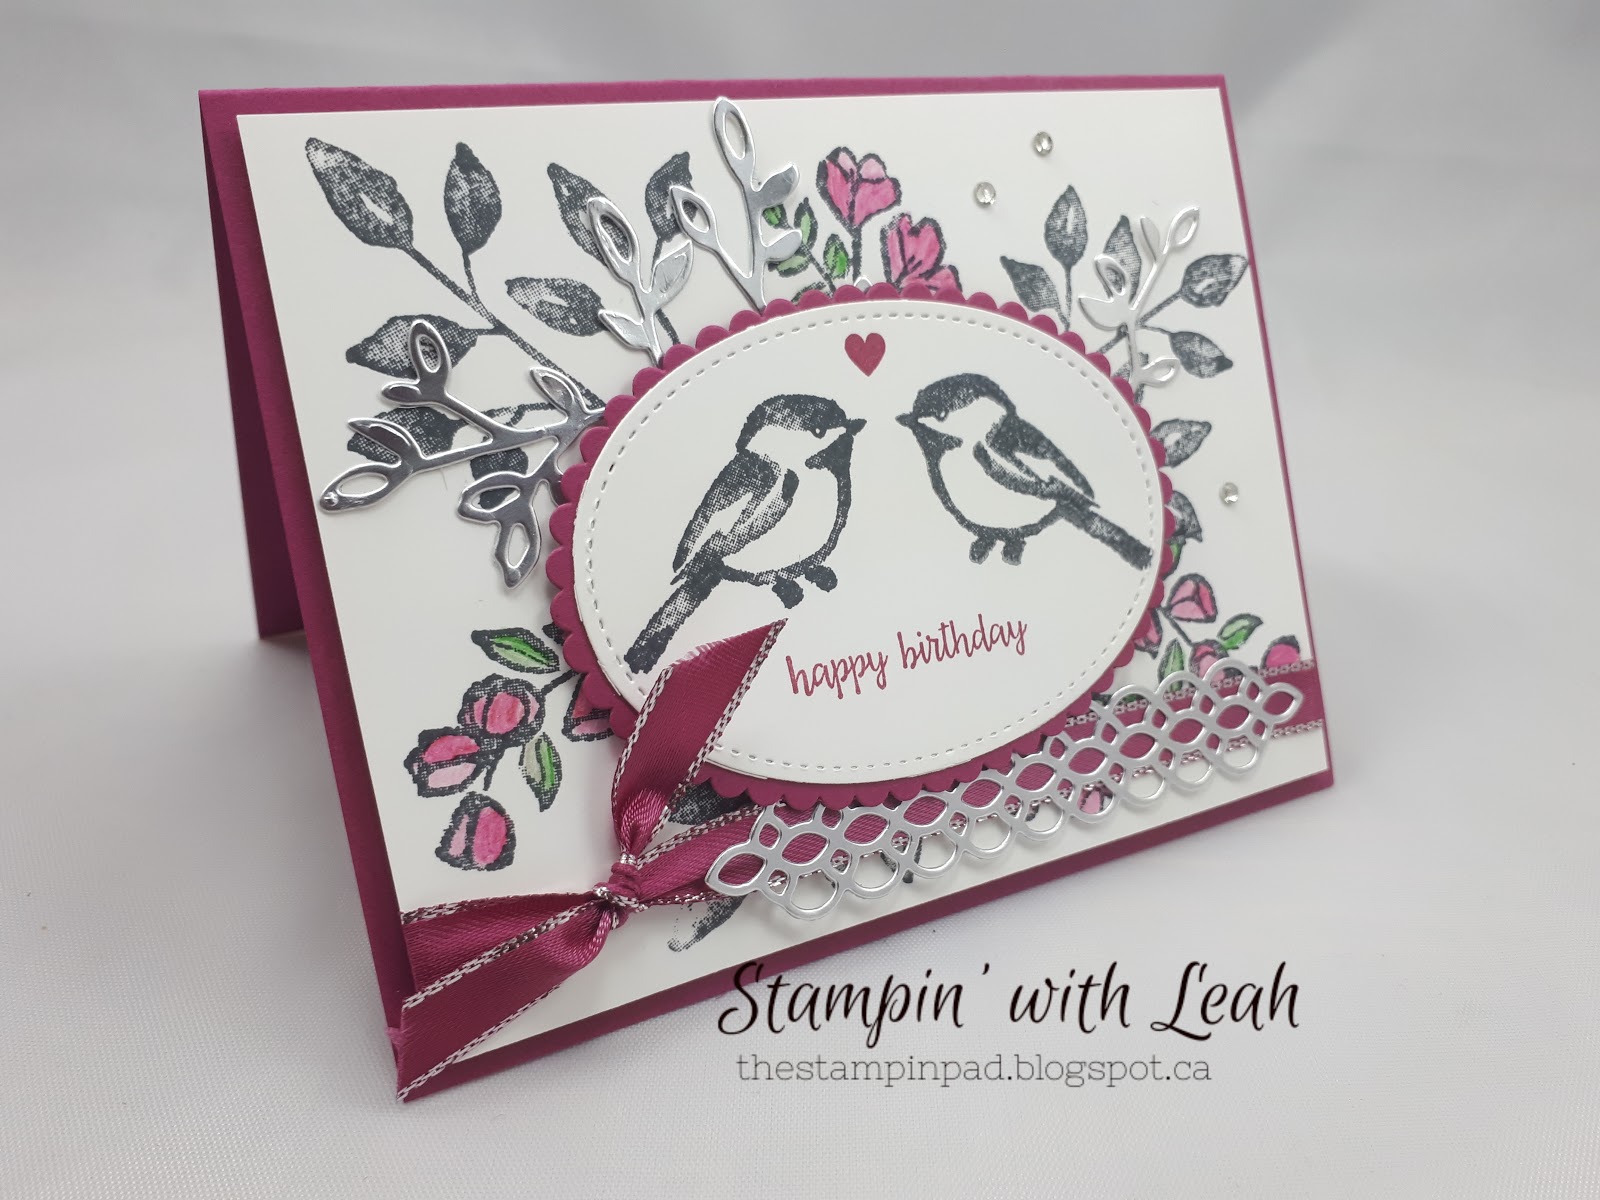
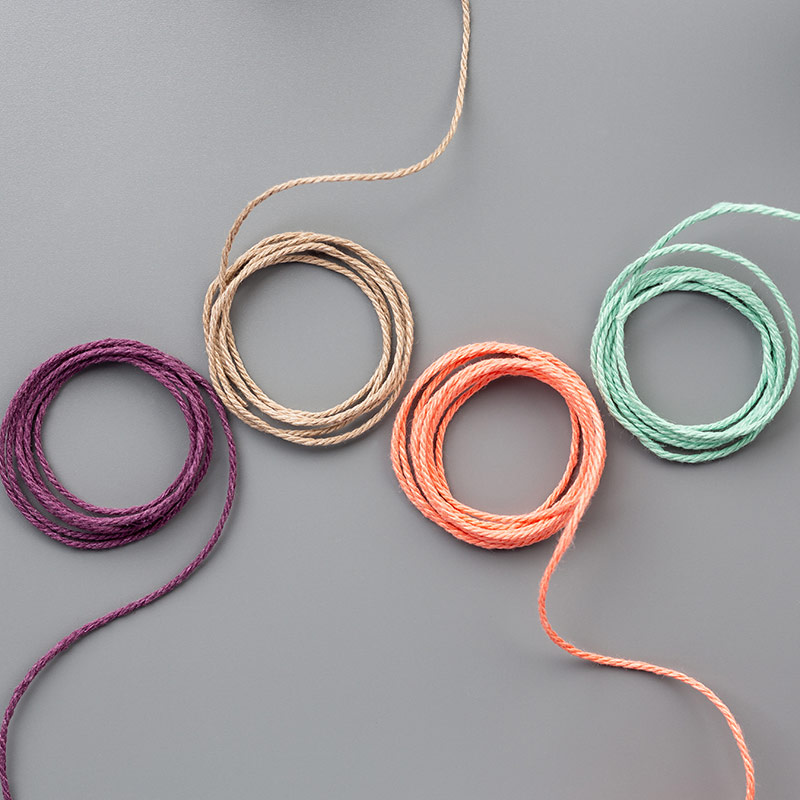
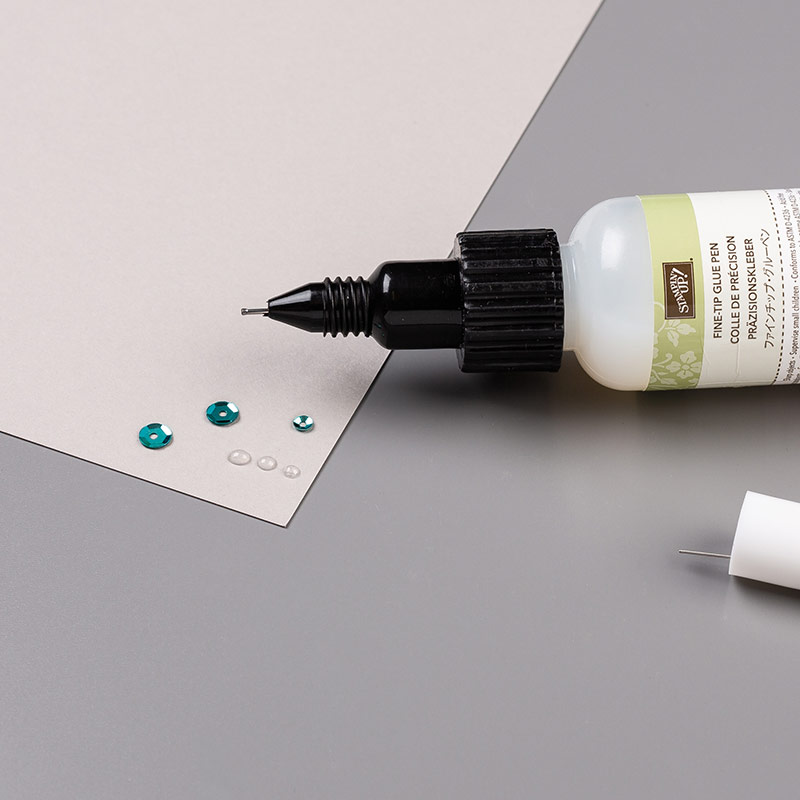
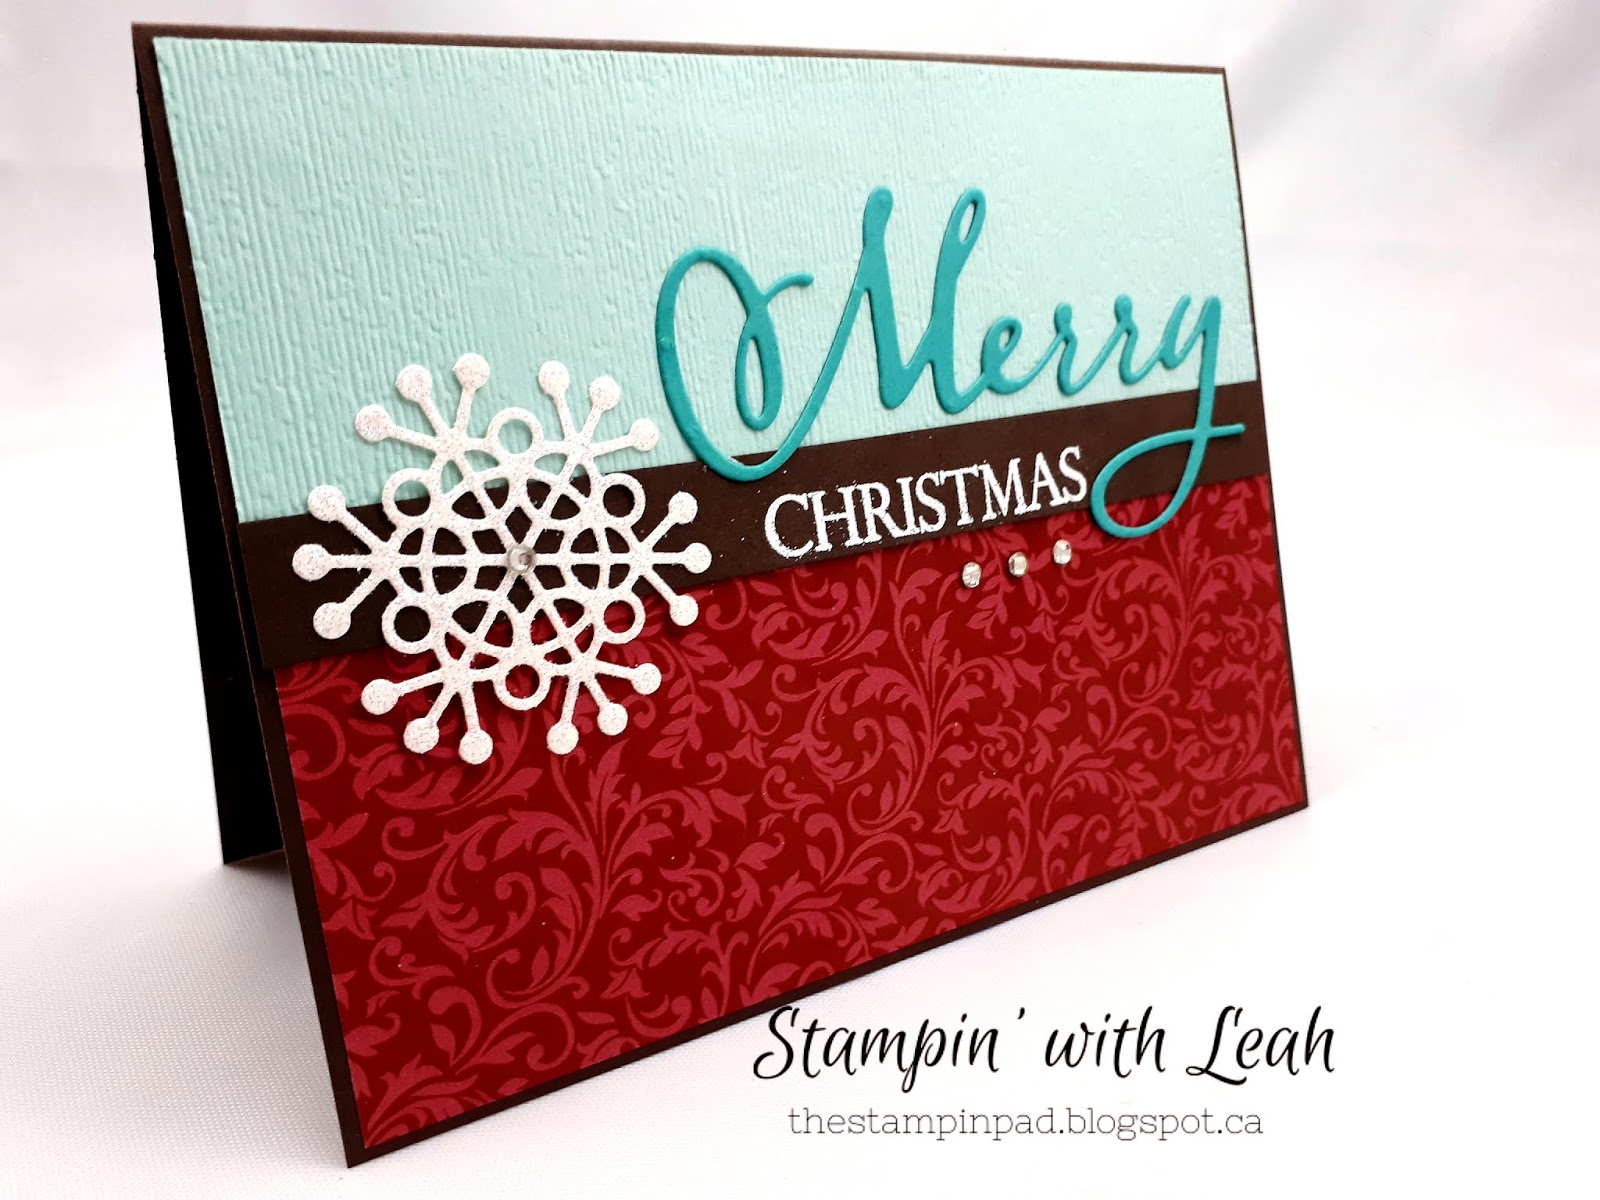
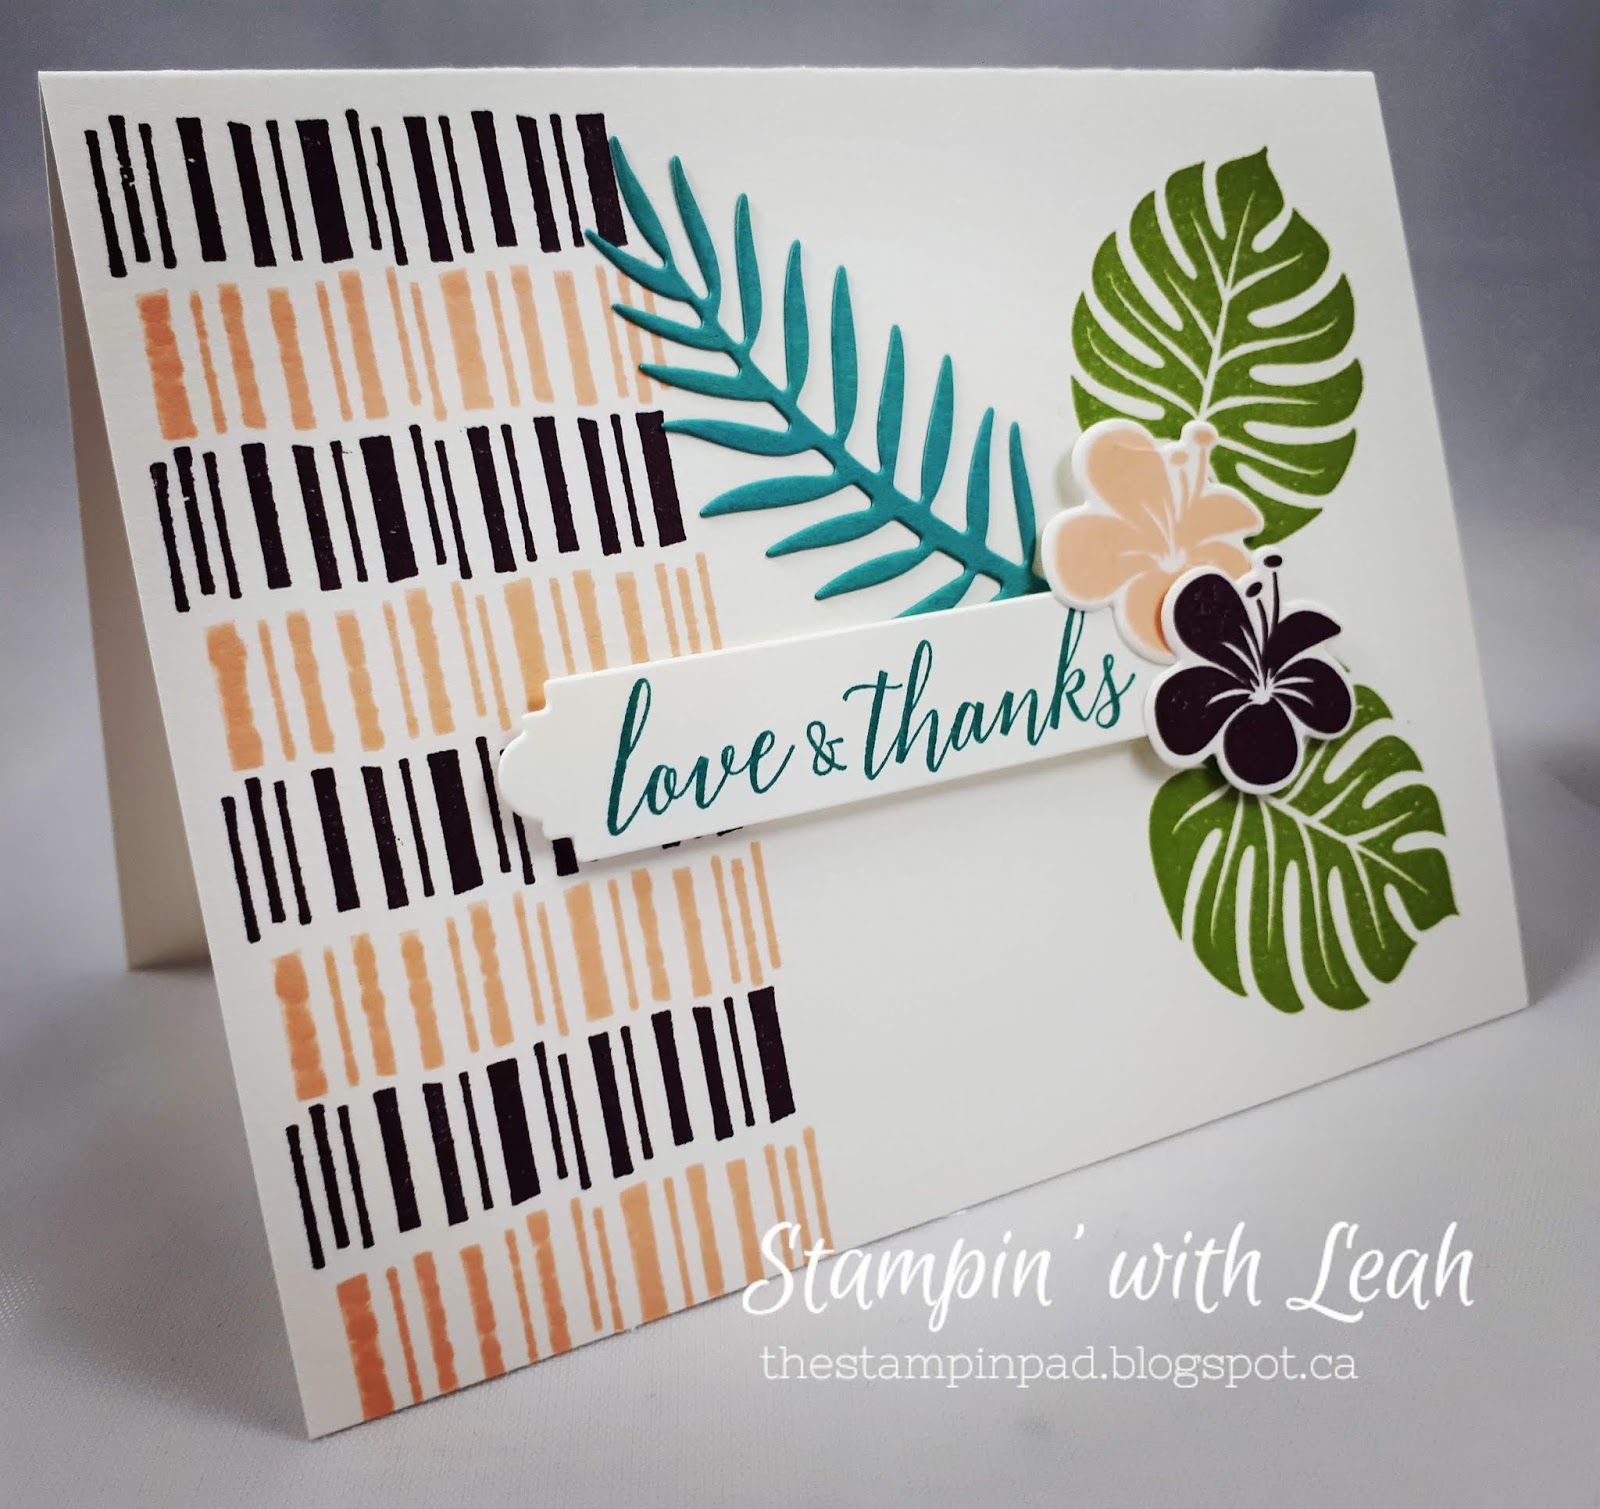
Here are some amazing samples – check out the detailed stitching on both the inside and outside of the shapes. These stamped images can be coloured using blender pens, markers, or our fabulous watercolour pencils – new colours are currently available for a limited time only.


Petal Palette Birthday card

Another Petal Palette card. I created the background by stamping the leaves and flower images using black memento ink. I adore how this stamp set creates the black and gray tones simply by stamping – no fancy technique required.

I then used my watercolour pencil crayons and a blender pen to colour in the flowers and leaves.

Add some embellishments such as silver foil leaves and the lacy bar at the bottom (die cut using the Petals and More thinlit dies), some berry burst ribbon, and a few clear rhinestones.

https://www.stampinup.com/ecweb/default.aspx?dbwsdemoid=2189587

Petal Palette

I absolutely LOVE the details on the Petals and More thinlit dies! They cut out the Petal Palette images AND create some beautiful coordinating shapes.

You can see all the materials I used listed below. Don’t forget that this month is BONUS DAYS – a $60 order gets you a $6 off coupon that you can redeem in September!

Check out my shop now!

Product Used:

In-colour DSP
In Color 2018–2020 6

Grapefruit Grove cardstock

Grapefruit Grove 8-1/2

Smoky Slate cardstock 
Smoky Slate 8-1/2

Smoky Slate ink 
 Smoky Slate Classic Stampin' Pad

Nature’s twine
Nature's Twine

Petal Palette stamp set 
 Petal Palette Clear-Mount Stamp Set

Petals and More thinlit dies
 Petals & More Thinlits Dies

Basic Pearls
 Pearl Basic Jewels

Dimensionals
 Stampin' Dimensionals

Fine Tip Glue Pen
Fine-Tip Glue Pen

Big Shot
 Big Shot


Spooky Paper Pumpkin

You’ve probably guessed already, but there are no tricks in the September Paper Pumpkin kit, just treats—treat packaging, that is. This is the perfect kit for those of you with kids in your life. Need treats for the class, your own brood of grandkids, or just as a special treat for your clients? This is an almost all- inclusive package (you provide the treat).
Sign up before September 10th to get your Spooky Paper Pumpkin Kit! https://www.stampinup.com/ecweb/default.aspx…, scroll down and click the paper pumkpin image.

If you are not interested in Halloween treats, as with every Paper Pumpkin kit, September’s kit can be repurposed. For instance, you can add cardstock and make some cards! This kit’s coordinating colors are:

  • Mango Melody (item 146989) US | CA
  • Gorgeous Grape (item 146987) US | CA
  • Pumpkin Pie (item 105117) US | CA
  • Basic Black (item 121045) US | CA

You can view samples of alternate projects on Stampin Up! Paper Pumkpin page.

Contact me today to order yours!!


No Naked Envelopes!

TIP OF THE WEEK – No Naked Envelopes!

Decorating your envelopes is a quick and beautiful way to make a card look professional and complete.

Beside the fox card you can see I glued a piece of designer paper to the envelope flap and then trimmed it. This is a great way to use some of your older dsp and makes the envelope so pretty.

Most often I just stamp a small image in the bottom right corner of my envelope. This keep s the image away from where you need to put addresses or postage and is like a sneak peek to the card inside. Doing this envelope stamping as you create your card saves time as well since you already have the image and the ink in hand.

Alternatively, I will occasionally stamp the flap of the envelope. This works well with large or repeating images (like the confetti in the birthday card below). To do this, I put a piece of scrap paper under my envelope and tucked under the fap. That ensures all my ink goes on the flap only and I can overlap the edges.

Any queestions, comments? I’d love to hear from you! leahdixon41@gmail.com


Stamparatus meets Tropical Chic

I created this card using the Stamparatus to evenly space these colour stripes. No worries about stamping a partial image, being crooked or having uneven spaces. I will post a video later this week demonstrating some of the Stamparatus techniques.

In the meantime, you can contact me to book your own party where I can give you a chance to use the Stamparatus and get a hands on experience with it. You can see for yourself  how easy and stress free stamping can be. This tool makes stamping accessible to even young children or people who suffer from arthritis and other ailments of the hands that make holding steady to stamp difficult.

Products Used:

Petal Pink ink
Petal Pink Classic Stampin' Pad

Blackberry Bliss ink
Blackberry Bliss Classic Stampin' Pad

Granny Apple Green ink
Granny Apple Green Stampin' Pad

Bermuda Bay ink
 Bermuda Bay Classic Stampin' Pad

Bermuda Bay cs
Bermuda Bay 8-1/2

Thick Whisper White cs
Whisper White 8-1/2

Tropical Chic (stamp set and dies) Bundle
Tropical chic Clear-Mount Bundle

Petals and More Thinlit dies 
Petals & More Thinlits Dies

Mini Dimensionals
Mini Stampin' Dimensionals